If you’ve used BrightCarbon’s guides before, we have no doubt that you can make your content look incredible. But something you might not have dabbled in yet is changing up the slide background in PowerPoint. The right presentation backdrop can do a lot, from keeping everything on brand to adding visual flair.
There are a couple of reasons you might want to design a PowerPoint slide background, rather than placing graphics directly on the slide. Firstly, you can easily apply the background to multiple slides and, secondly, if you have graphics as a background you won’t keep accidentally selecting the image or other elements when you’re placing content on top.
1. How to make a picture background
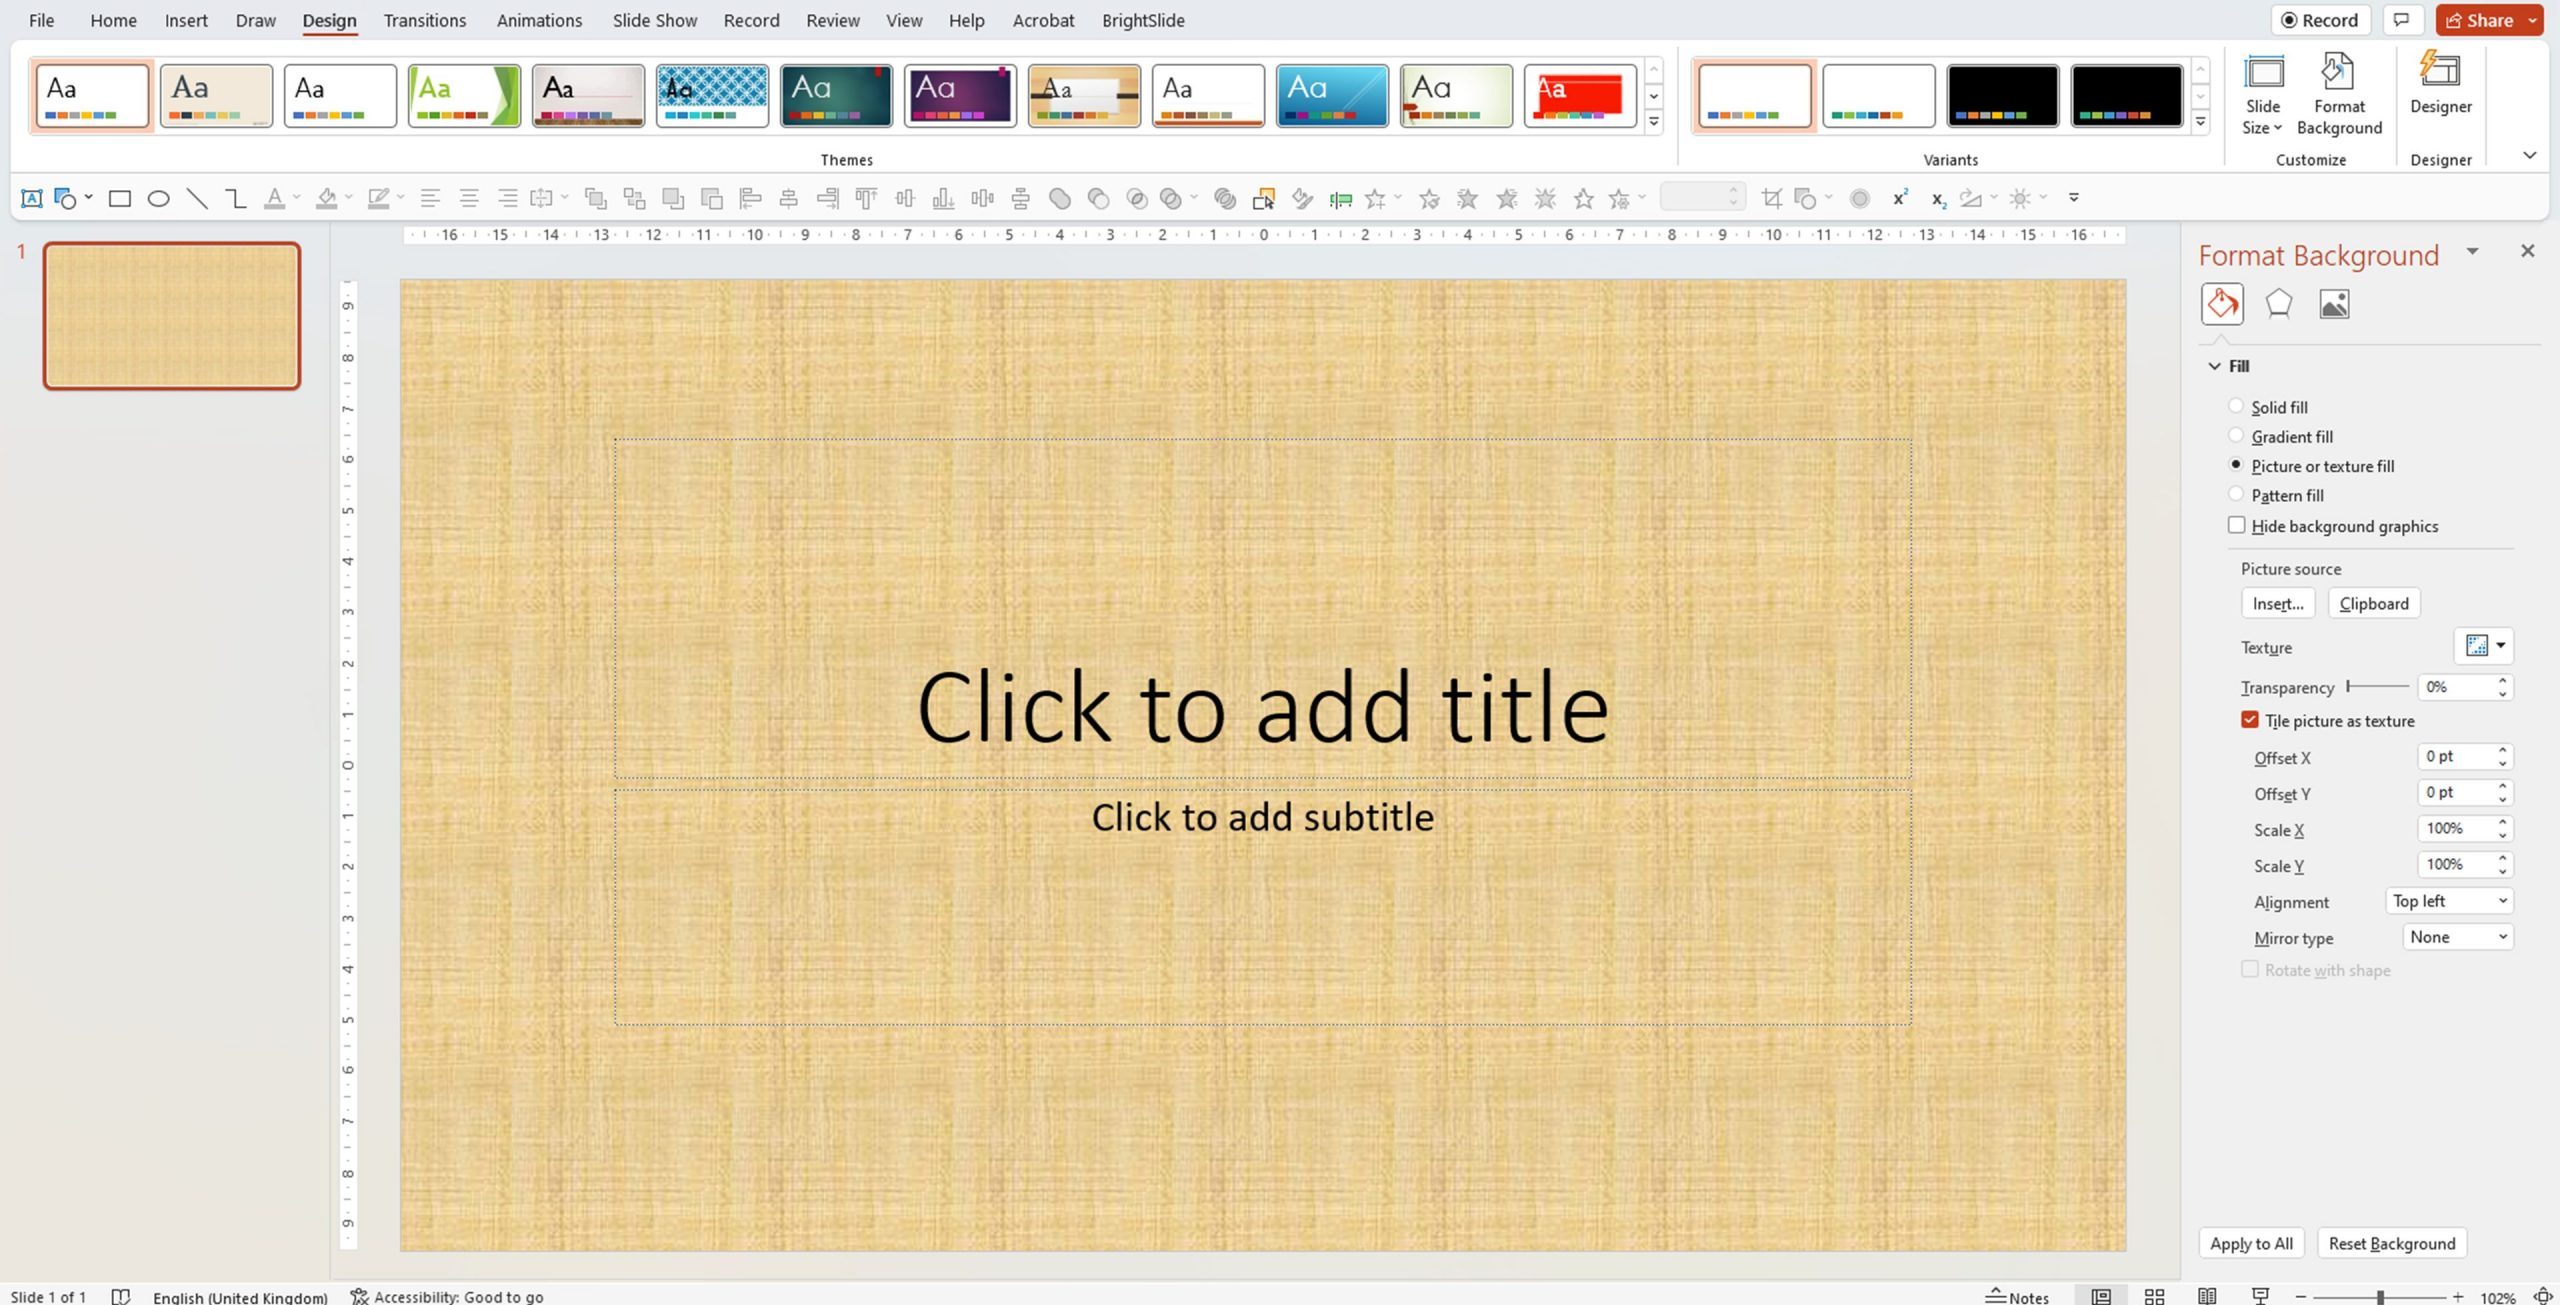
This is probably the easiest PowerPoint slide background to put together. Before you start, make sure you have the image you want to use saved somewhere accessible (and make sure it’s high definition; low res, blurry images won’t make you look good!). Then, start with a blank slide.
Go to the Design tab and select Format Background. This will bring up the Format Background sidebar. When you select Picture or texture fill, PowerPoint automatically fills the slide with this lovely texture.
If you’re not creating a presentation on Ancient Egypt, it might not be the right choice for you. There are a couple of ways to swap out the image. Right-click or Ctrl + C to copy the picture you want to use, then go back to the Format Background panel, and select Clipboard under Picture source. Alternatively, select Insert. This will bring up a pop up which gives you a few options:
From a file: Select a saved image from your documents.
Stock images: Pick from a robust library of stock imagery.
Online pictures: Search straight from the web.
From icons: Browse the icon library and construct a background from this. We wouldn’t recommend this option as it can look a bit naff!
I’ve saved a nice image for our purposes, so I’ll select Froma File.
And boom! That lovely image is now my background, and doesn’t it look great?
A couple of considerations for using images as slide backgrounds in PowerPoint:
You can apply a background to every slide but it might be a bit too intense (and repetitive) for the audience, especially if your image is very eye-catching. Use image backgrounds sparingly on title and divider slides instead.
Don’t forget about contrast. Make sure the colour contrast between the background and the text is high enough across all your slides – this can be especially tricky with images. But the payoff is huge, making your presentation more accessible for your audience. For more information on colour contrast in presentations, plus a free contrast checker, check out this blog post: Colour contrast post.
2. How to create a colourful slide background in PowerPoint
But what if you don’t want an image as your background? Fear not, we’ve got you covered here as well. Let’s make something colourful.
First, open the Format Background sidebar again, but this time go to the Gradient fill option. You have a few options to play around with, and some pre-set gradients to choose from but you’ll likely want to create a gradient that matches your brand. First, select the two markers or Gradient stops and adjust their colours to your desired combination (I’ve gone for a subtle blue-to-pink).
You can add in more colours by clicking anywhere on the Gradient stops bar. Just be wary about adding too many as it can quickly become an eyesore!
You can also move the sliders to change the proportions of each colour segment, add more markers, change the direction or shape of the gradient and more to produce even more variations. If you’re new to gradients, this Digital Synopsis article has a few useful tips on how to create gradients that look just right.
There’s plenty of options and we can’t cover them all here, but try to familiarise yourself with the different settings so you can produce more beautiful backgrounds like this! Though gradient backgrounds are easier to place content over than images, again, don’t forget about contrast – your audience still needs to be able to see your content clearly.
If you want to produce a colourful background more in line with some specific branding or colour scheme, check out our blog post on Custom colors to develop your own template.
3. How to create an animated background in PowerPoint
‘But BrightCarbon’ you say, ‘A picture isn’t enough! Colour isn’t enough! I want something dynamic that will give my slides an edge.’
‘An edge?’ We say, with a wry smile. ‘How about you make your background move.’
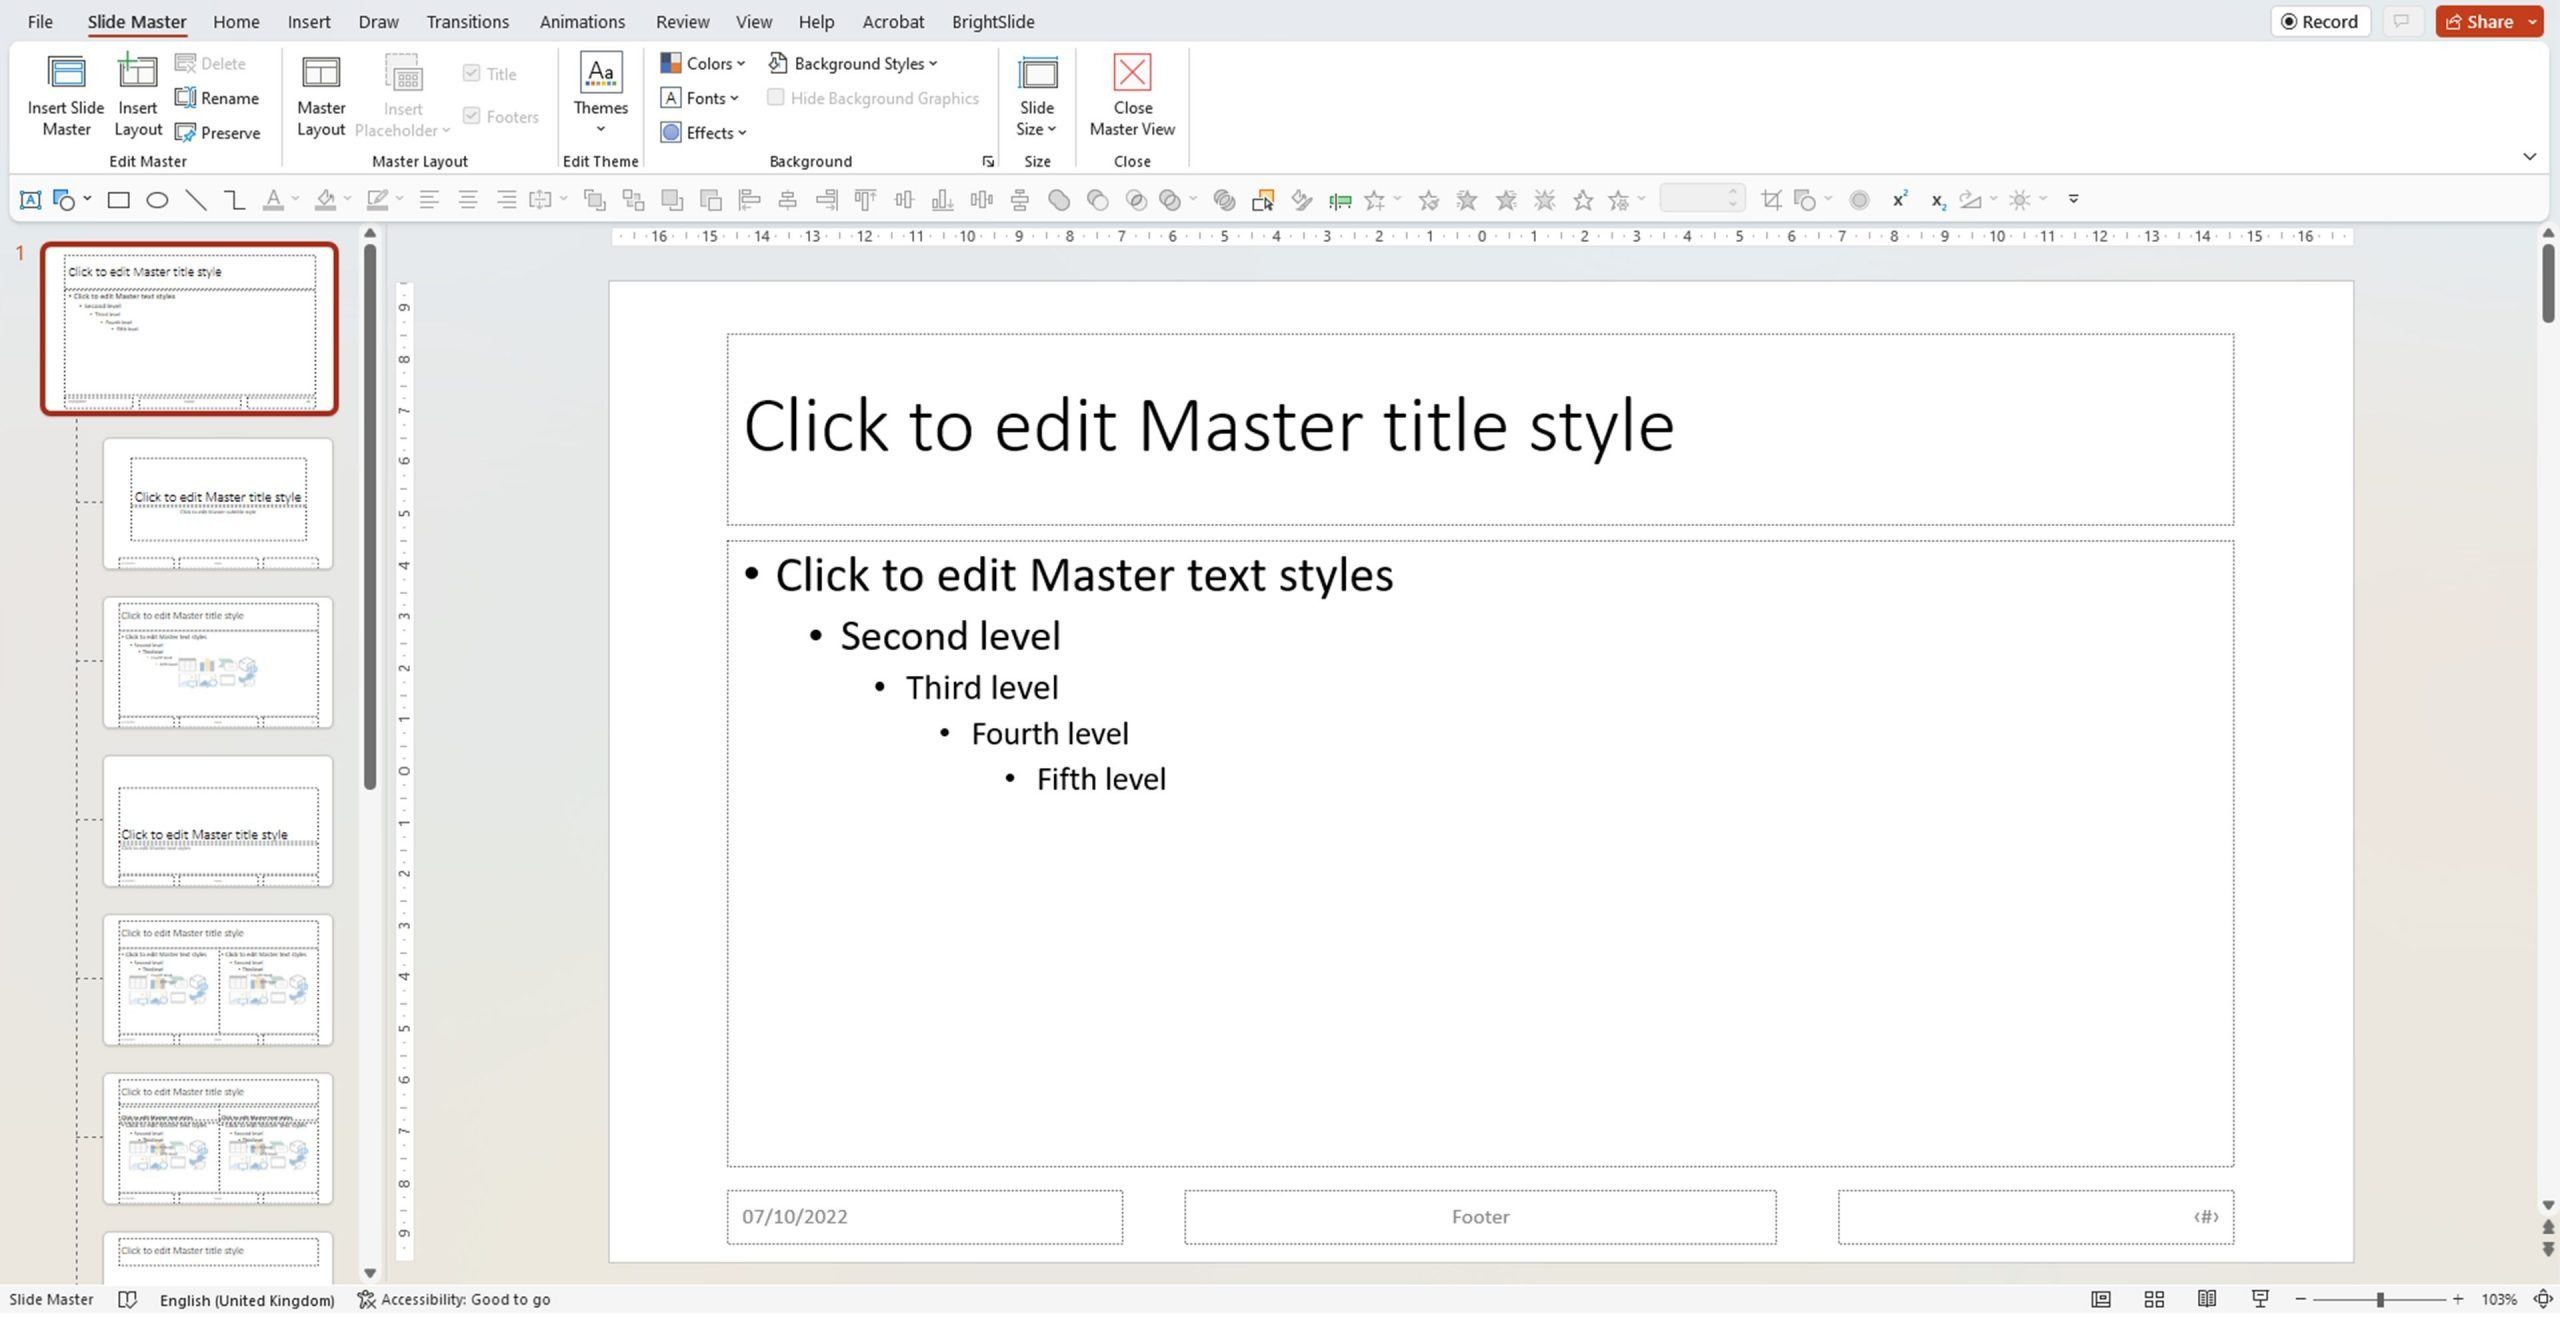
So, you want to create an animated background that will move constantly as your content changes – of course you do. To create an animated slide background in PowerPoint, we need to add our design to the Slide Master. First, go to the View tab in PowerPoint and select the Slide Master icon. Then, you can choose to edit just one master slide or every layout. For our purposes, we’ll add our design to the top slide as this will then apply it to all slide layouts.
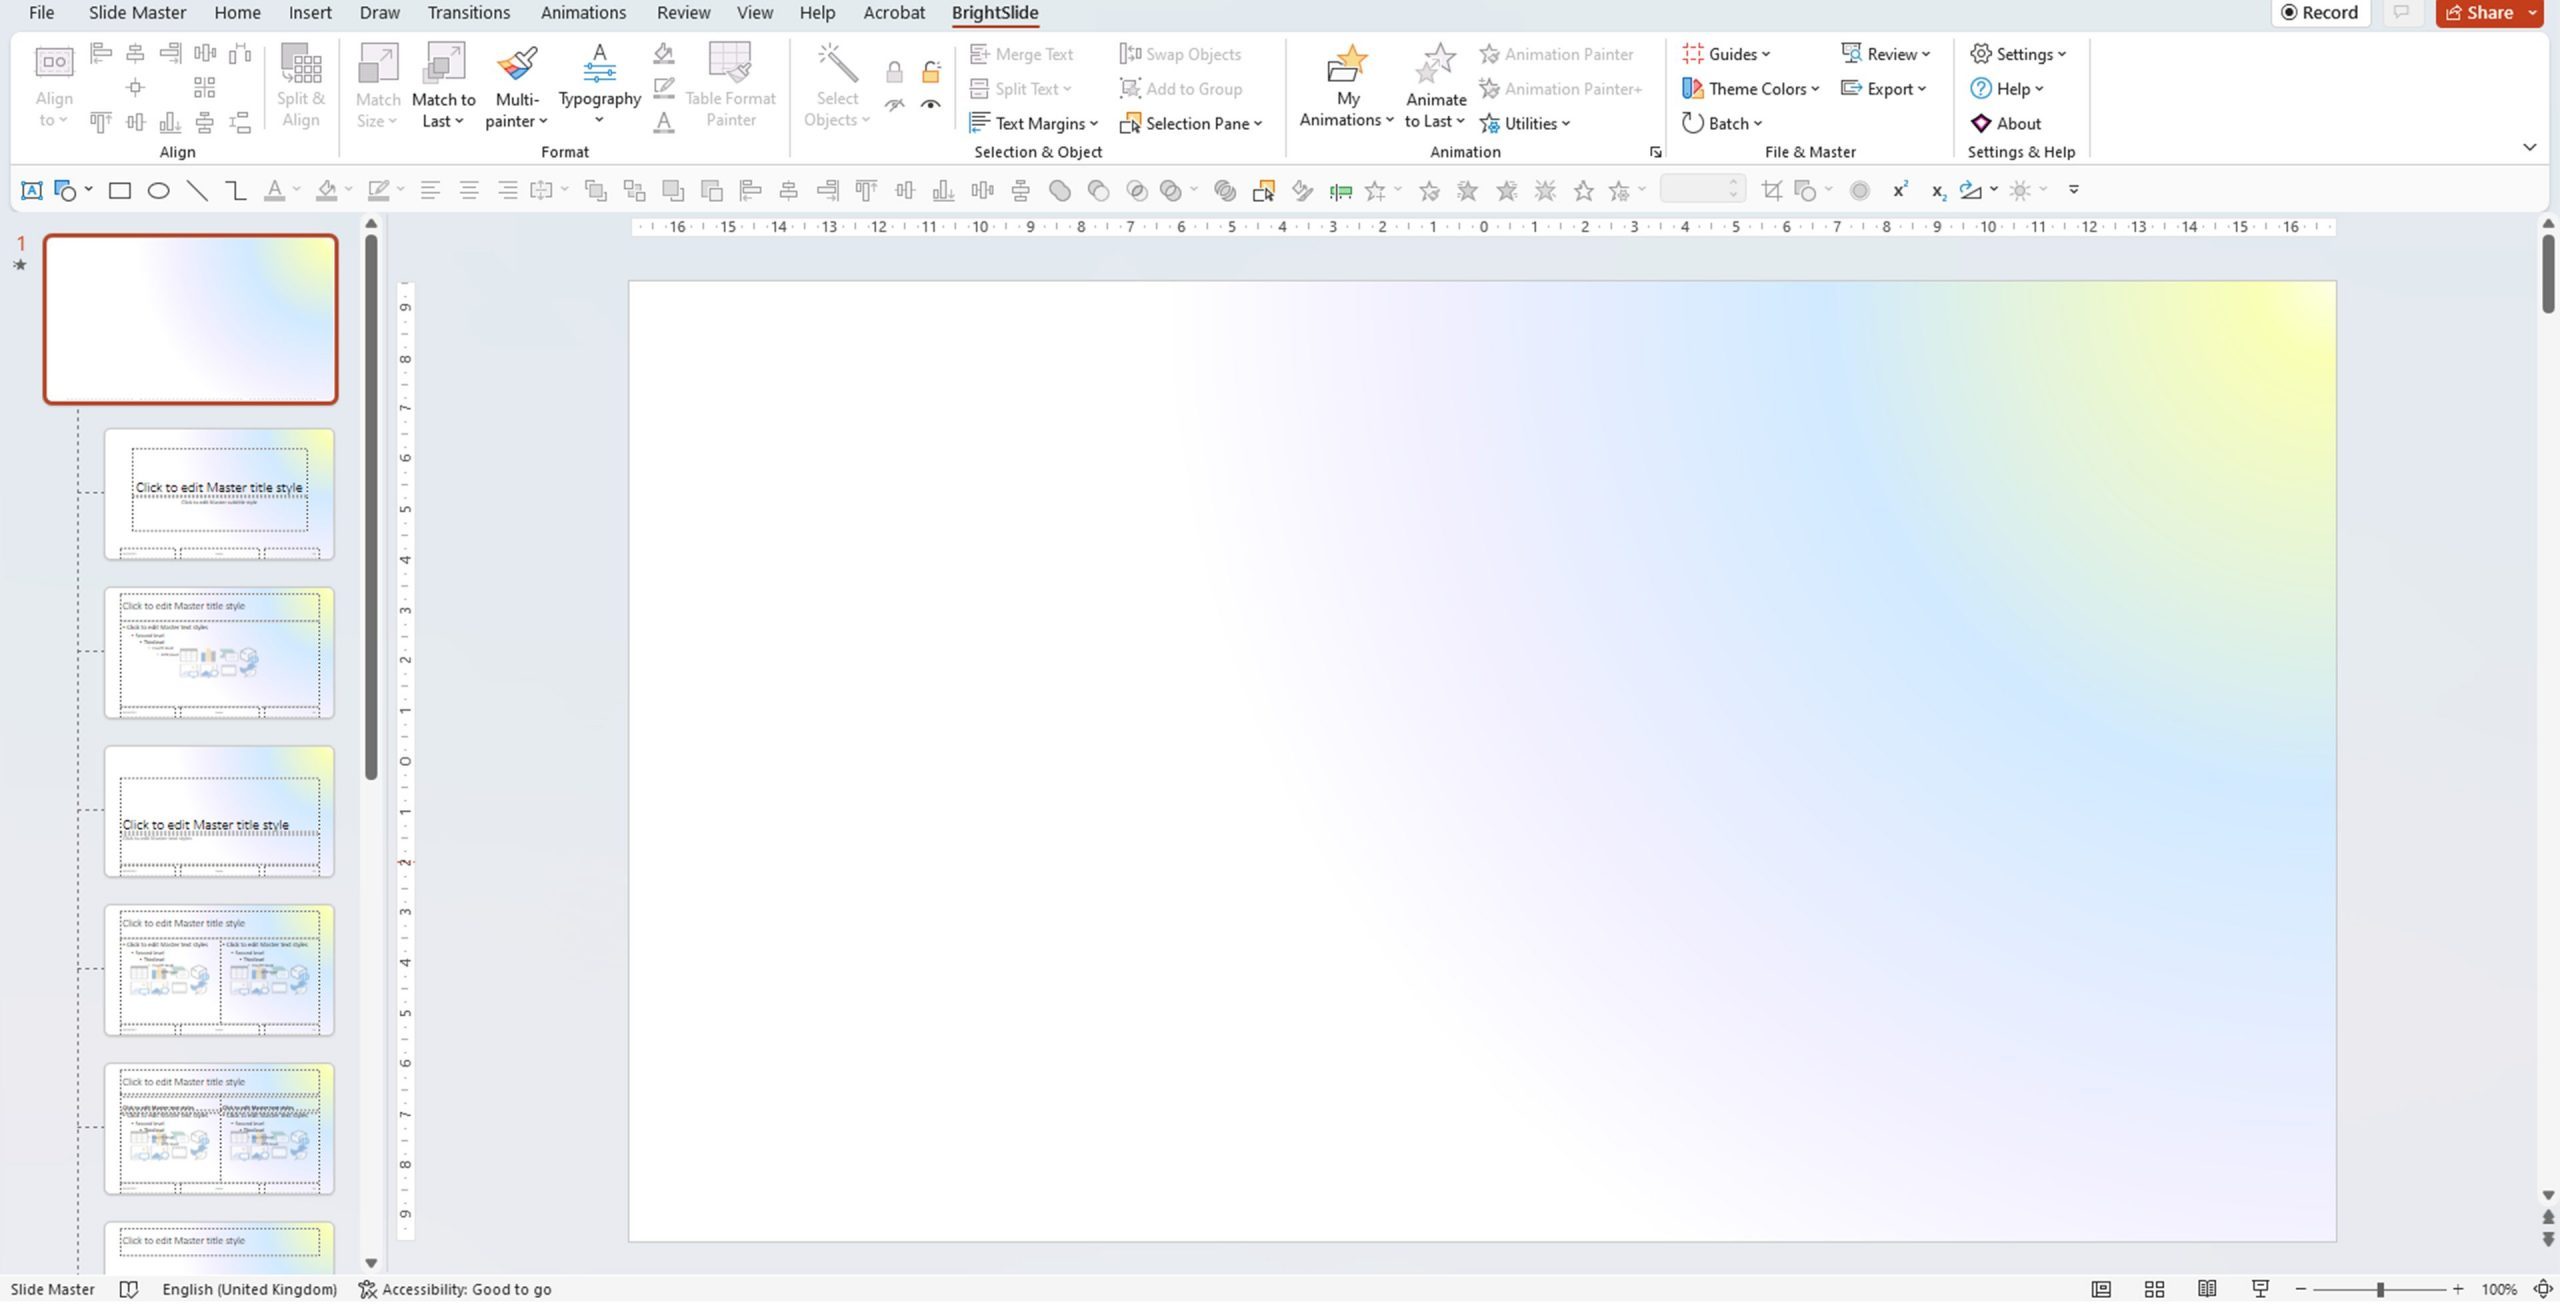
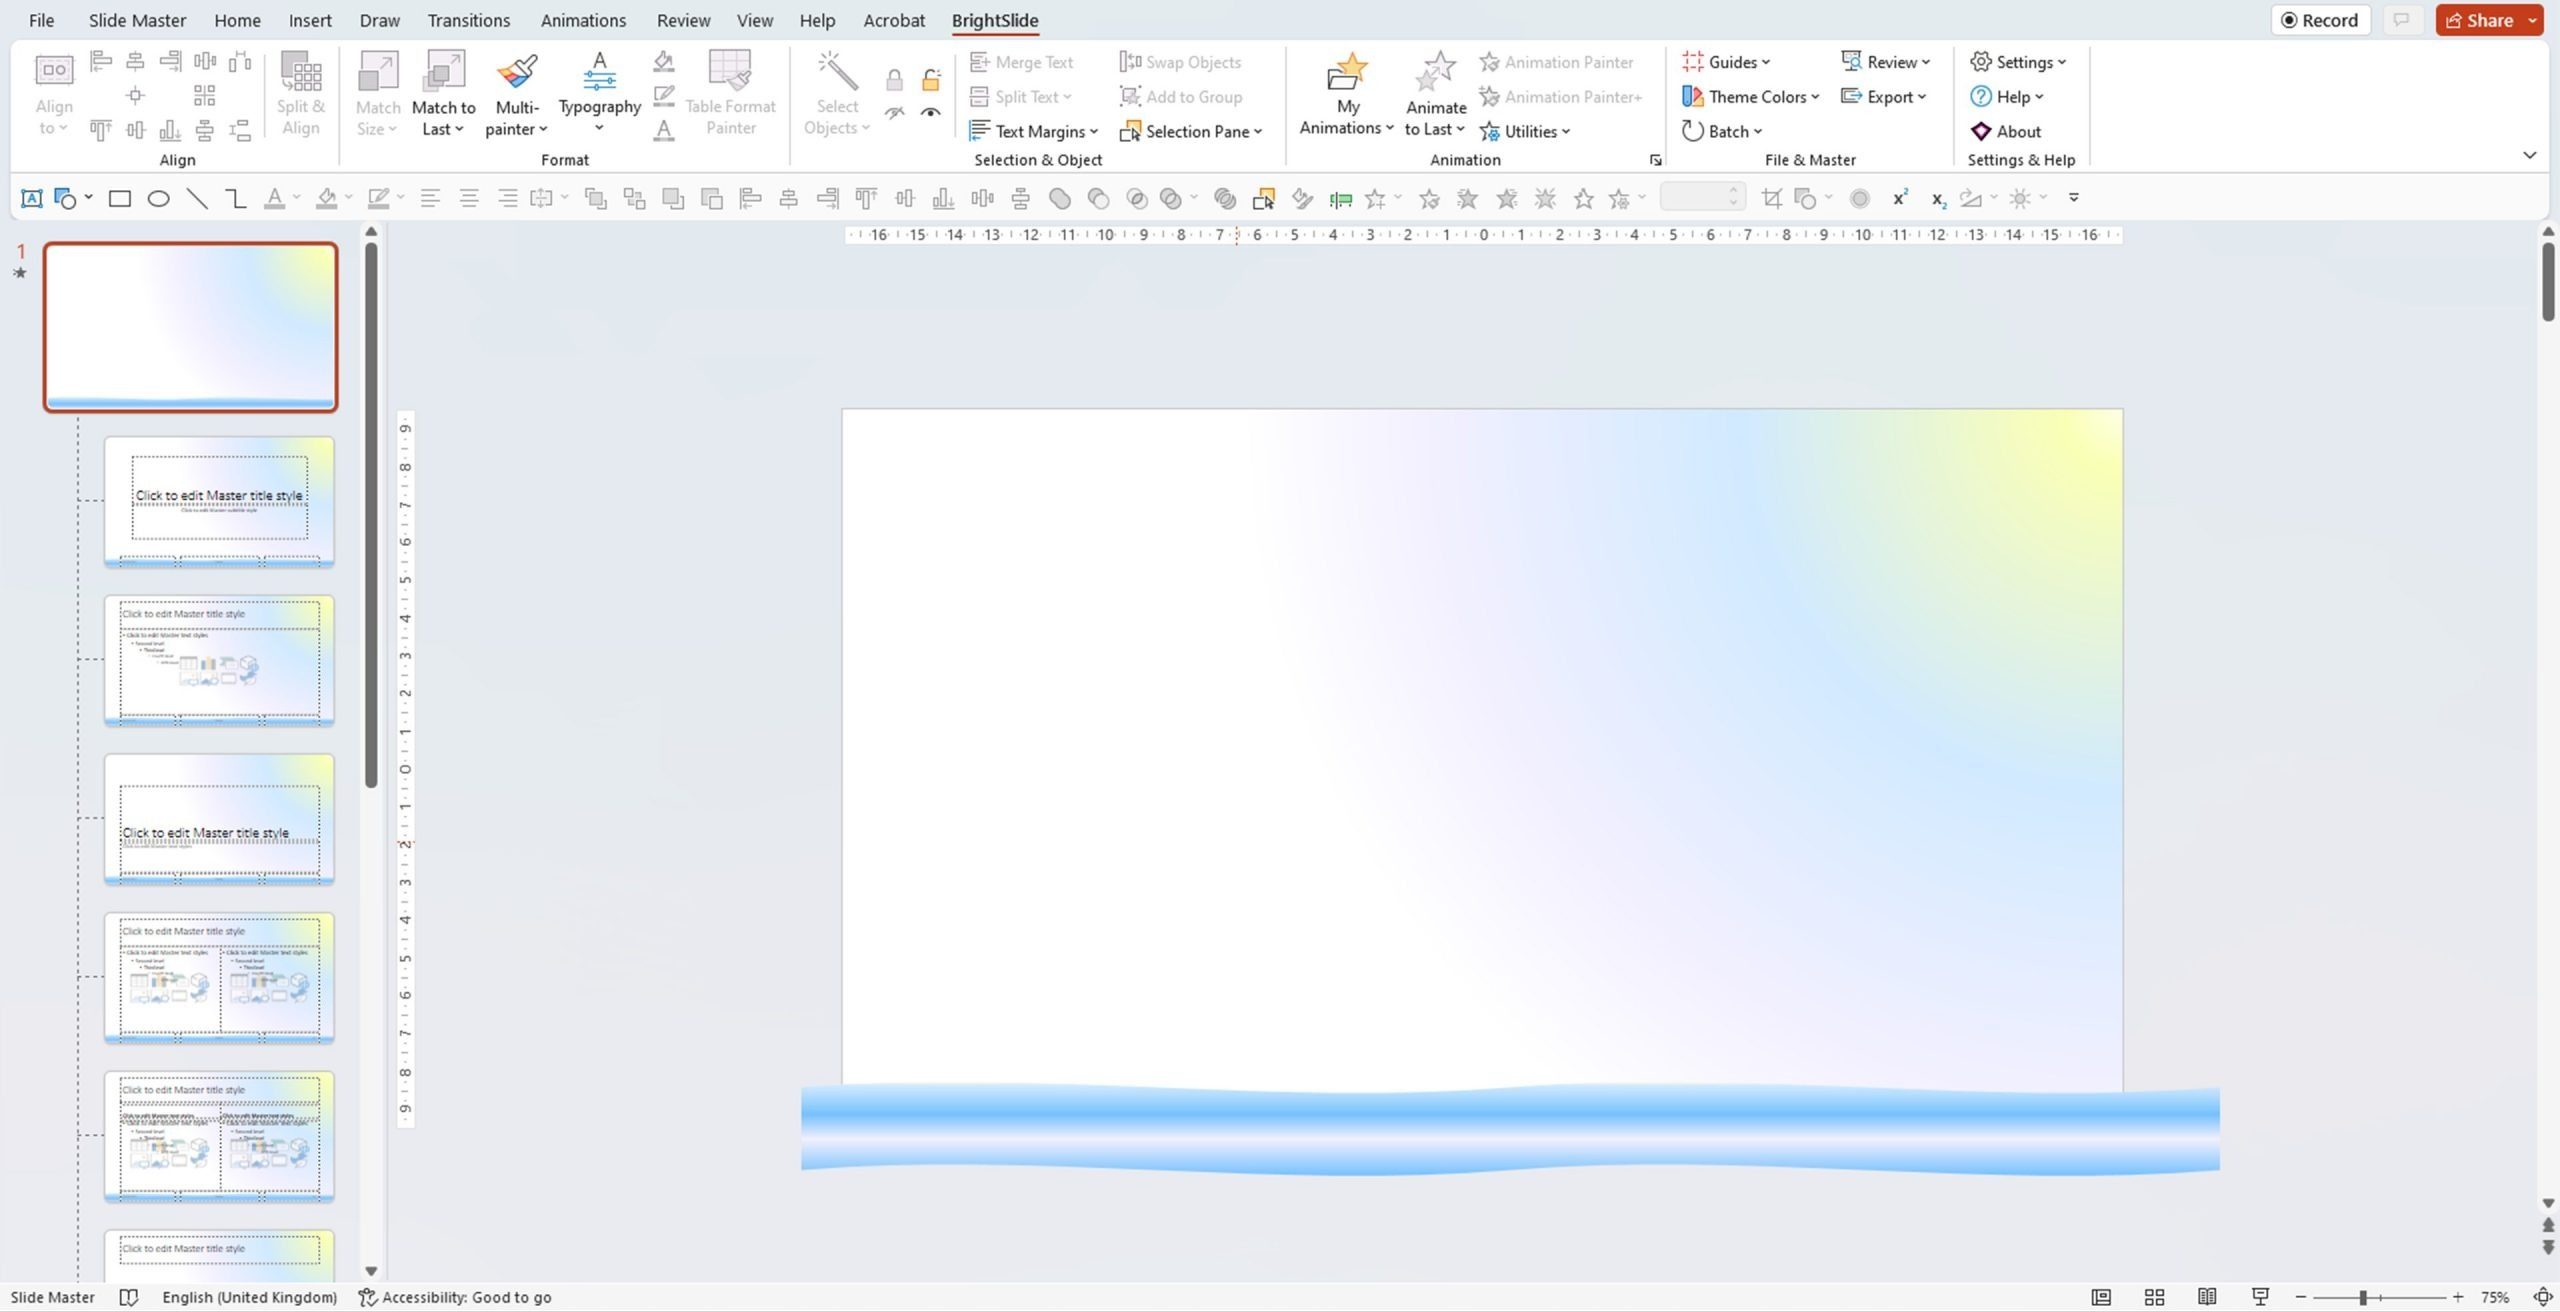
So, how about we make a slide look like a dreamy day on the sea, complete with wobbly waves and a bobbing boat? First, we need to create a backdrop. I added a rectangle to fill the entire slide and edited its appearance using a gradient. You’ll notice all the slide layouts now have this backdrop – this is the easy part.
Next, we need to add the waves. Go to the Shape tab and select your banner of choice to give this wave effect. I went for the option with the most ripples, but you may have your own ripple preferences. I’ve styled mine using – yep, you guessed it – another gradient.
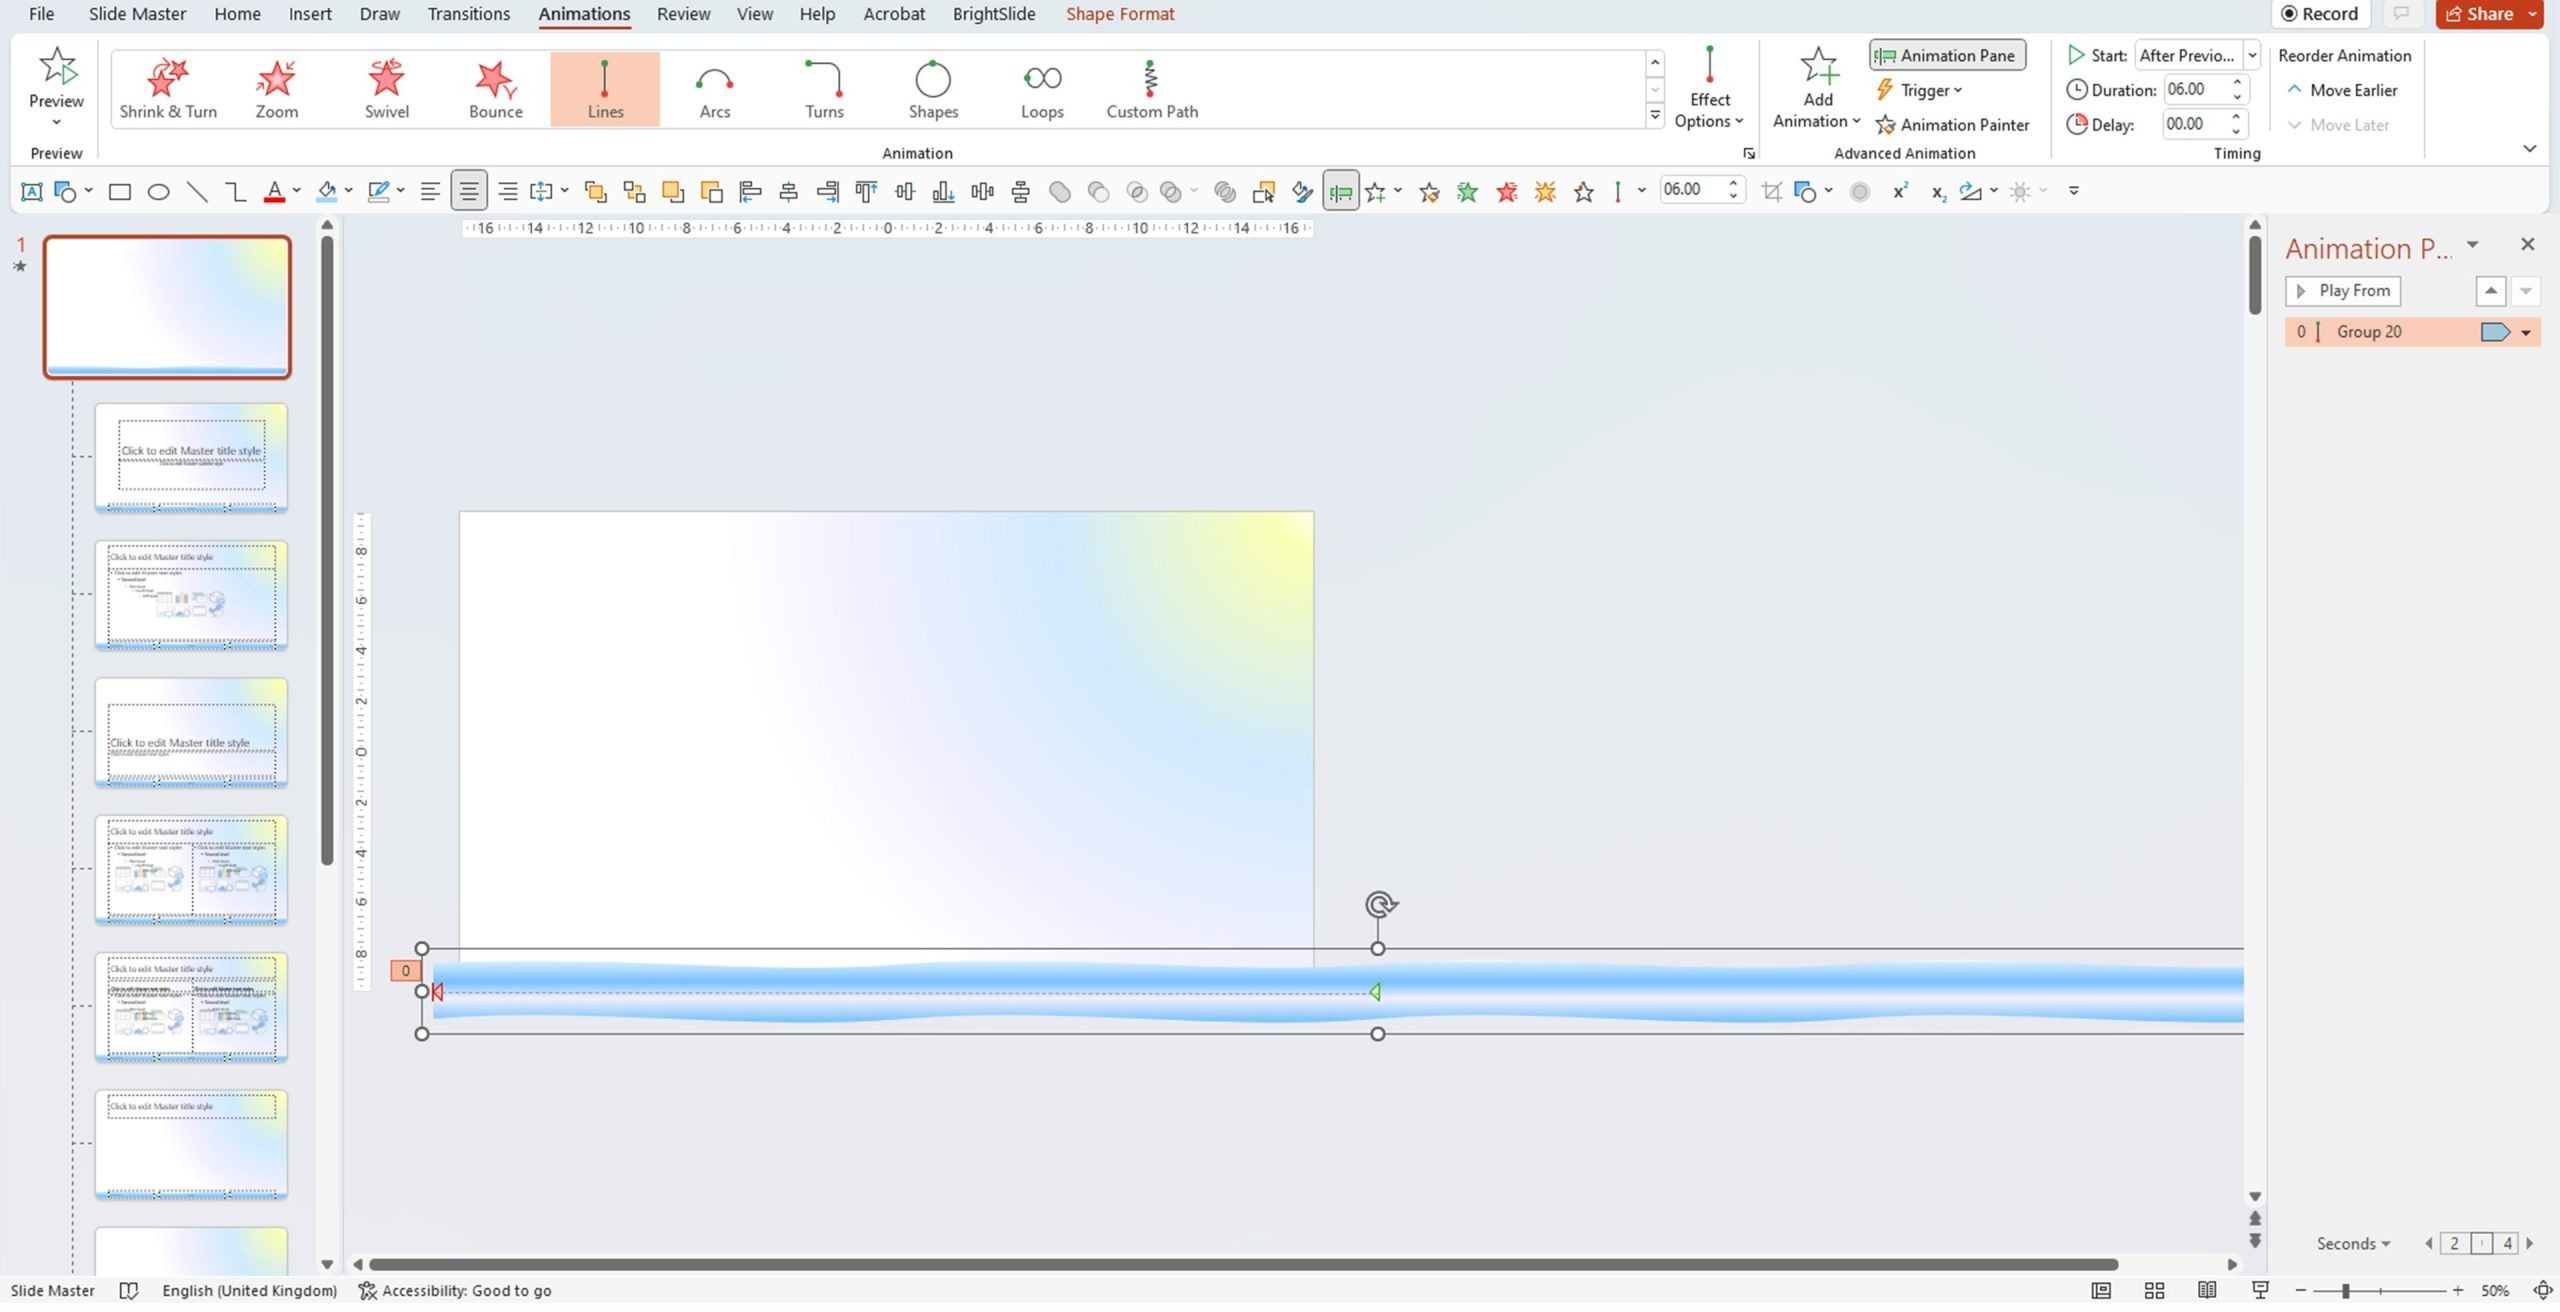
Then, copy this shape and line up the copy next to the first. Select both and group them with Ctrl + G (or by right clicking and selecting Group). You can just make the shape twice as long if you want fewer ripples. To get the waves moving, I’ve added a motion path and lined up the end of the motion path with the left side of the shape.
The motion path will run smoothly right to left. Now the complicated bit – the animation is now built in to every slide, but it’s not going to keep moving. This single animation will play on each slide and then stop. To get the animation to repeat smoothly, go to the Animation Pane and open the animation effect options.
In the pop up under Timings, change the Start to After Previous – this will make the animation start as soon as the slide appears. Then extended the Duration, I went for 6 seconds. Select Until End of Slide in the Repeat drop down so the animation will loop for as long as you’re on a slide.
Then select the Effect tab for the final step. Here, move the Smooth start and Smooth end sliders down keep the animation at a consistent speed. Then click OK, and we’re good to go!
Go to the Slide Master view, and click Close Master View. Then view your slide show and all being well, your animation should run in the slide background!
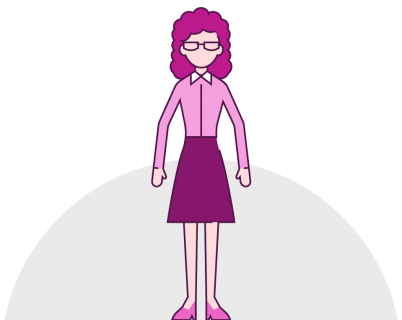
If you’re feeling extra fancy – and indeed I am – you could add a little extra seafaring pizazz.
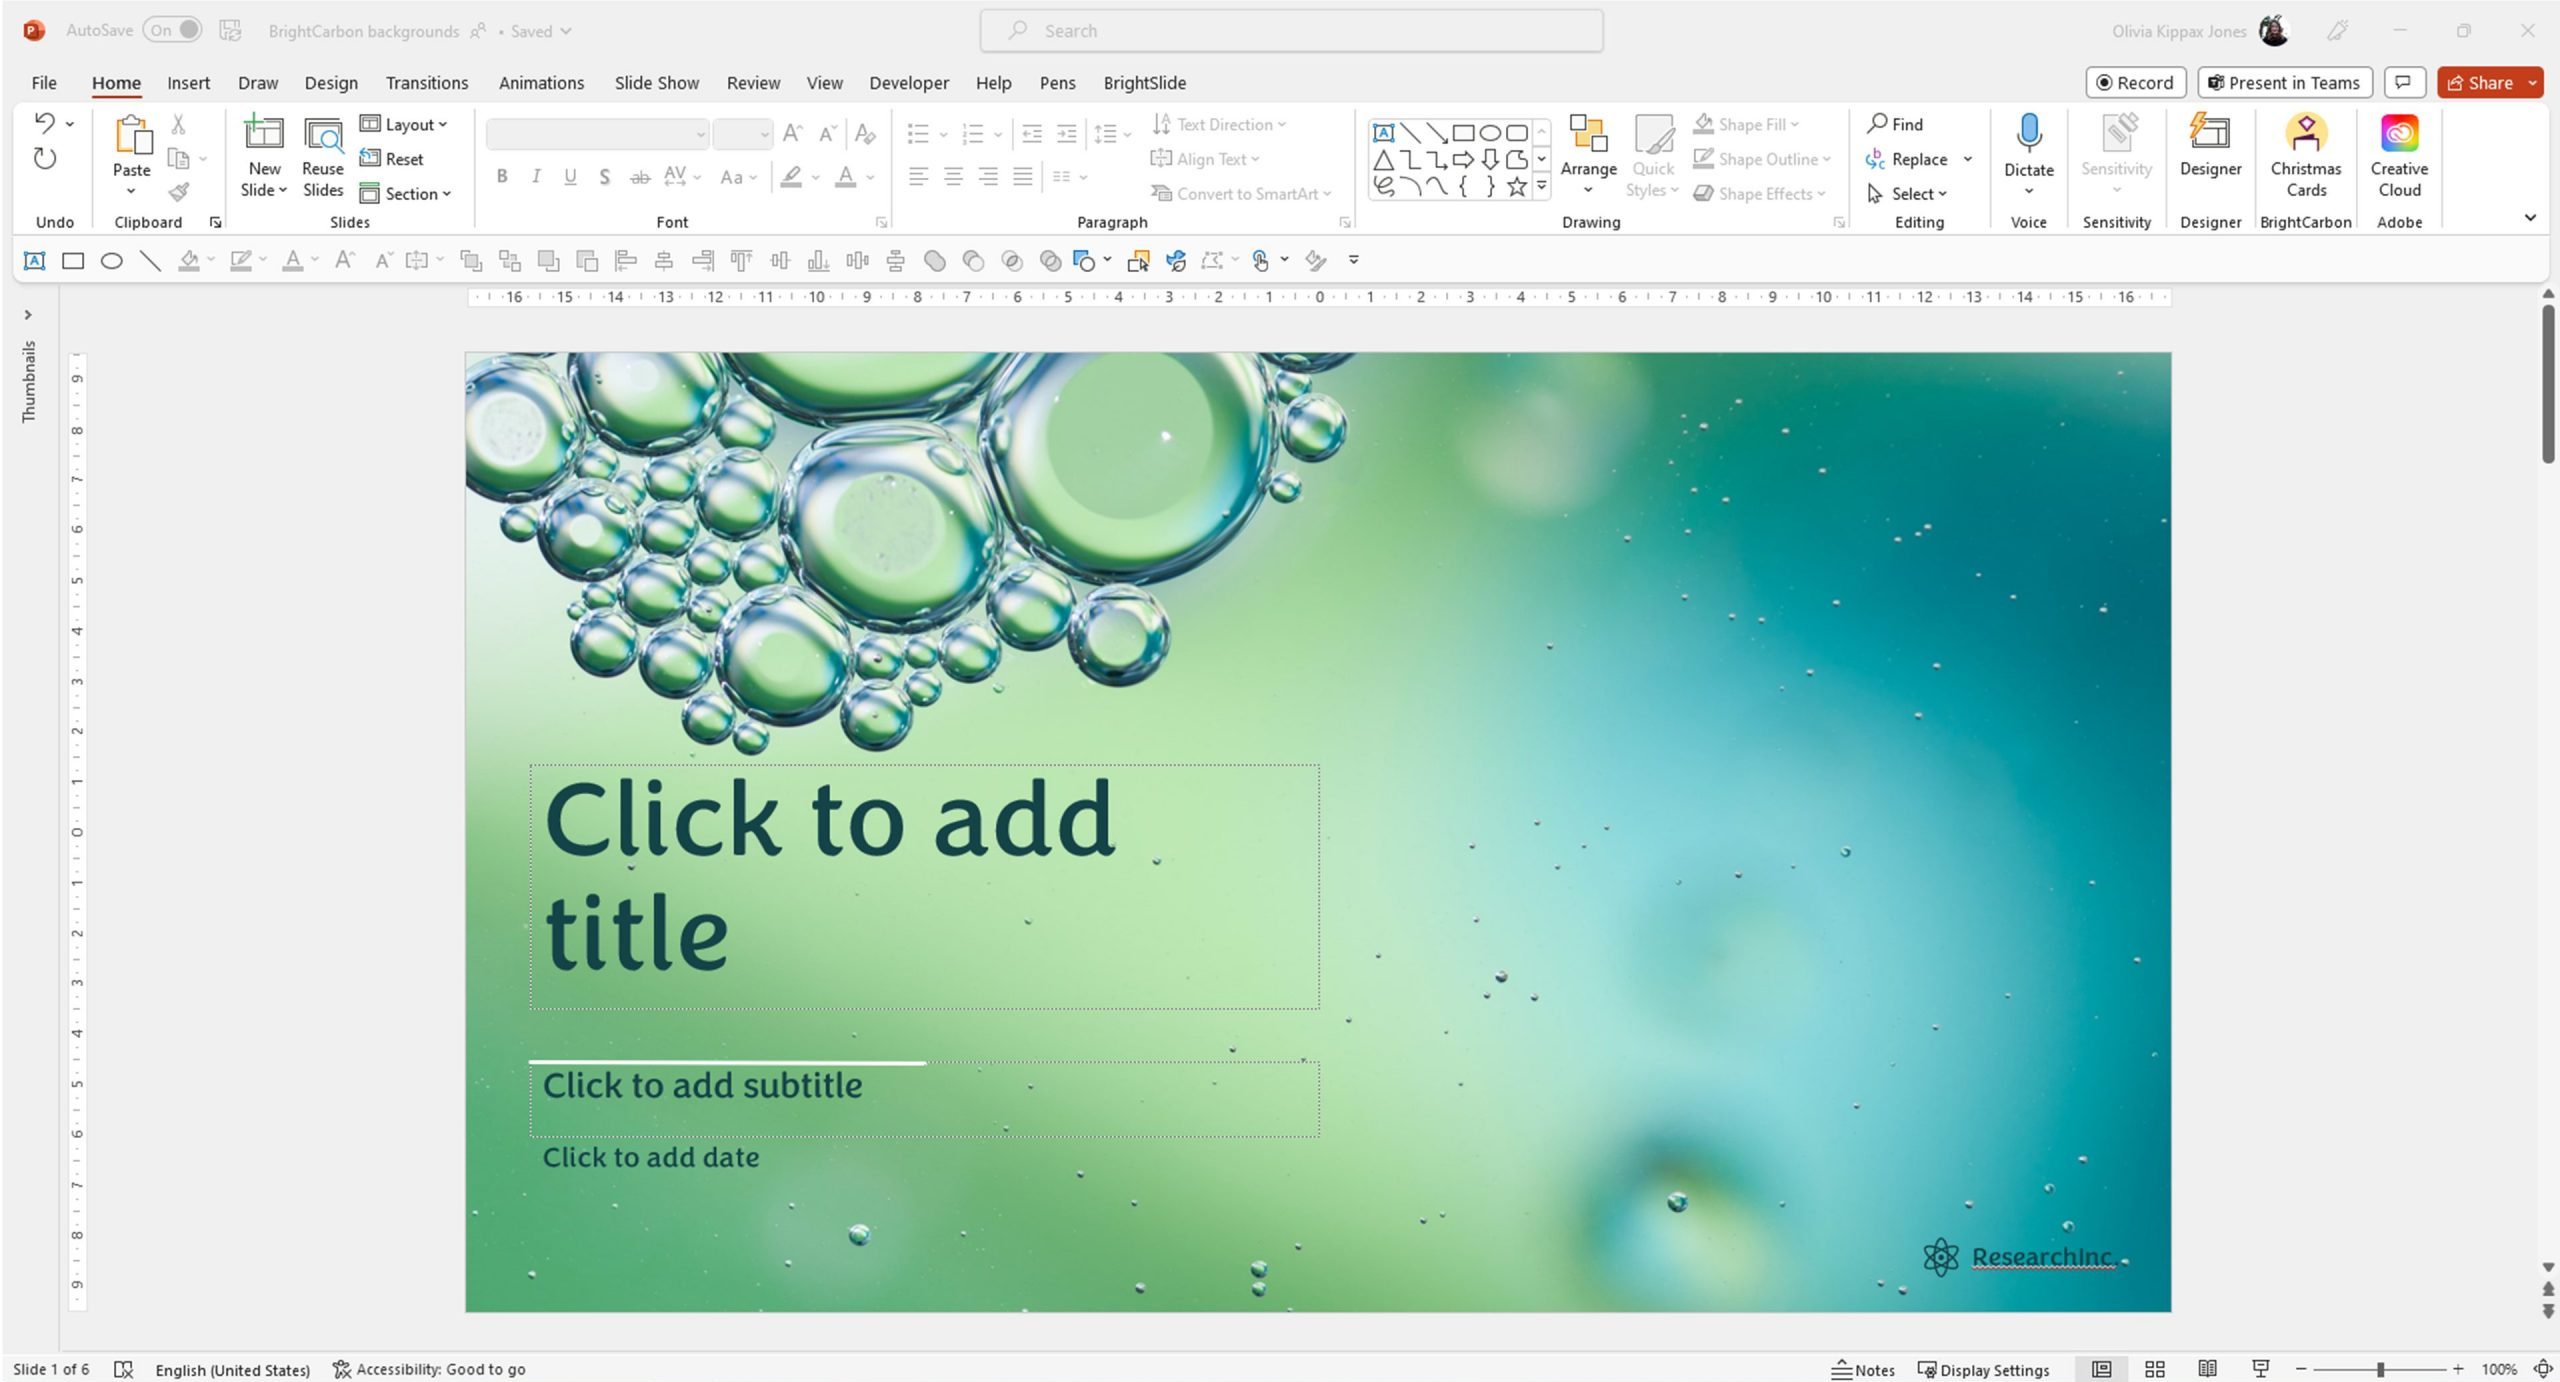
Maybe you’re not ready to set sail quite yet, but these animation techniques can also be used to create something like this sleek, subtle, polished title slide.
Though our example was a little whimsical – who doesn’t need a little more whimsy in their life? – it is also a fairly subtle, gentle animation. This is what you want to replicate if you’re creating an animated slide background in PowerPoint. The animation is the cherry on top of your slides, and not the main course. Your background can add a lot of visual flair and enhance your content, but you need to straddle the line between this and it distracting from the focus of the presentation.
Space: Vast – Unknowable – Useful? Not everyone’s a graphic designer, but everyone can borrow graphic design best practices to make slides really pop. In this blog post, we’re going to explore how you can manipulate whitespace to create beautifully balanced slides.
A PowerPoint template is the only brand element you put in the hands of the whole organisation – regardless of computer literacy, or design skill: it has to be robust enough so that it can’t be broken, but strong enough to carry your brand voice into every meeting, or leave-behind, or proposal it gets used for. Read on for a list of the essential elements every PowerPoint template needs to have.
Designing content to be accessible doesn't have to mean you compromise on vibrant design, or your brand guidelines. In this article you'll learn more about colour contrast and how you can preserve colour vibrancy without having to sidestep WCAG accessibility guidelines.
BrightCarbon has created several animations for us. The result was always the same: a very clear “wow” effect. I highly recommend BrightCarbon for making complex topics come to life on screen!


ok
Hello. Let’s get ready-made Powerpoint lesson materials. Thank you.
free