
18th Jun 2021
How to make a timeline in PowerPoint
A step-by-step guide to creating polished, professional timelines in PowerPoint from one of our PowerPoint design experts!
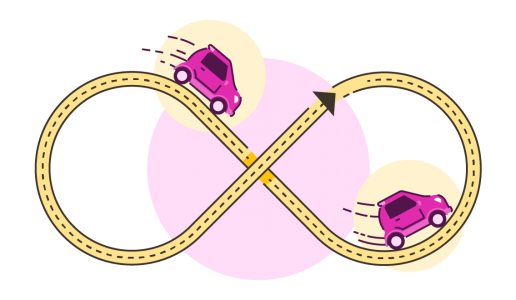
All the best things in life do loop-the-loops. Rollercoasters, fancy planes, and… PowerPoint! Learn how to make a loop-the-loop-ing infinite Motion Path in PowerPoint for silky smooth repeating image carousels, never-ending animations, and more!
Lots of us turn to PowerPoint when we’ve got a sales pitch or an educational deck that we need to present but only a few people know how to properly unlock the ‘power’ in PowerPoint. Well, it’s your lucky day because we’re going to let you in on the secret! Not only can you use PowerPoint to create Christmas Cards and fun games but in this post we’re going to show you how to make a snazzy endlessly looping motion path in PowerPoint to make the most of beautiful imagery or slick graphics. This relatively easy trick will make you look like a professional motion designer when you use it in your next deck.
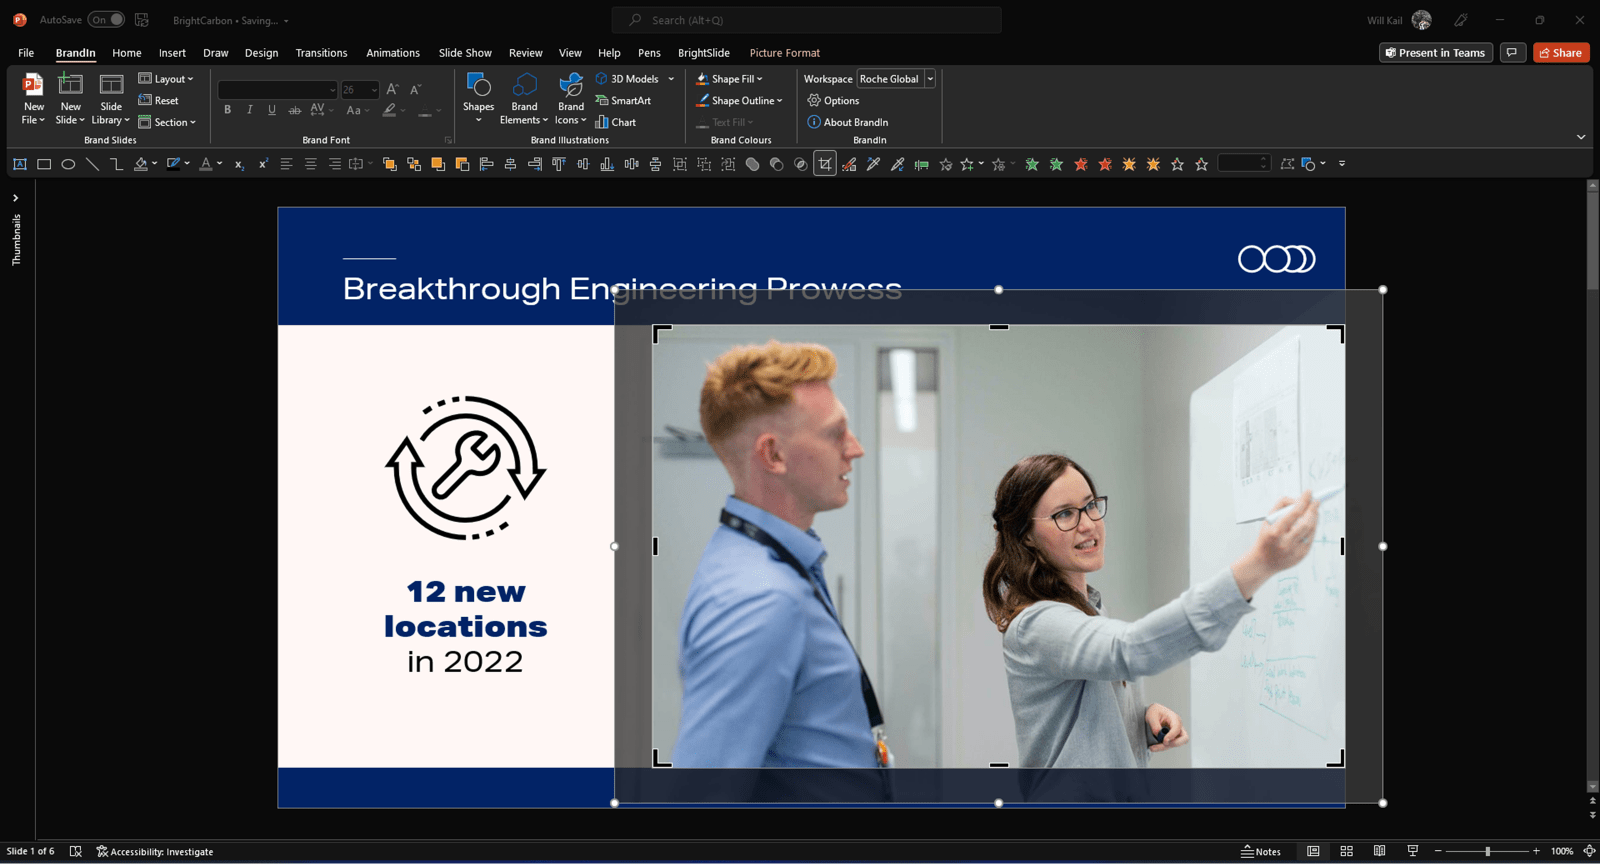
Place your first image on the slide. Use Insert –> Image to select an image from your computer, a stock image or other online images. Need help finding high quality images? You can find a range of great recommendations here.
Now you have your image, let’s get it in the right place. Select the image, navigate to Picture Format on the ribbon, and select Crop. You can use the black crop handles to make sure it fits perfectly on the slide.
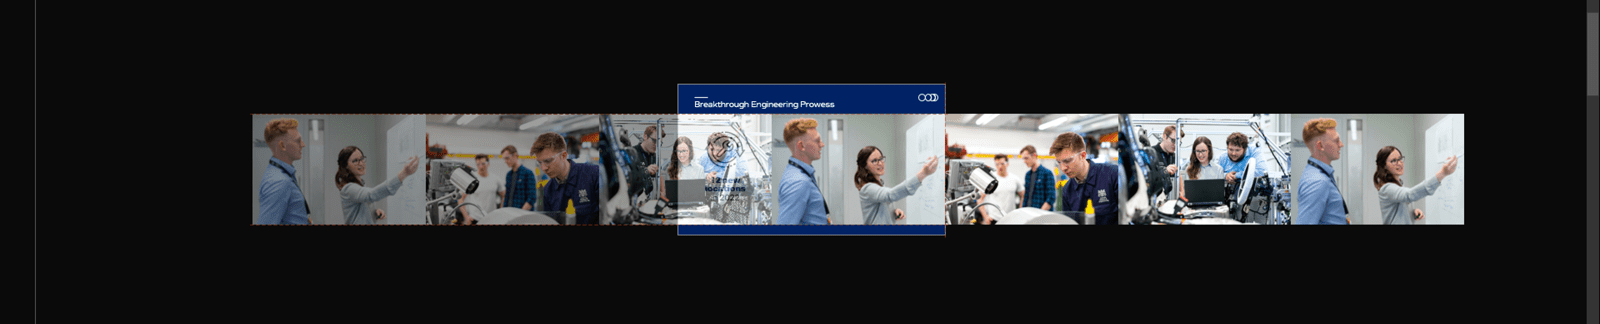
Next up, duplicate image and line it up to the right of the original, off the edge of the slide. To duplicate the image, select it, hold down CTRL and Shift on your keyboard, and drag the image across to the right of your slide. Holding CTRL duplicates, and Shift locks the dragged object so you can only move it either horizontally or vertically, ensuring things are kept neatly in line

It’s important that this duplicate lines up perfectly with the original. Luckily, PowerPoint makes this easy with its Smart Guides feature. (You can double check Smart Guides is enabled by right clicking outside of your slide area, hovering over Guides, and checking Smart Guides is ticked).

PowerPoint’s Smart Guides feature will indicate that the two images are perfectly aligned with a red dotted line.
Repeat the previous step as many times as you need for the number of images you want to loop. For a PowerPoint motion path to loop seamlessly, the first and last images need to remain exactly the same, so if you want a carousel of 3 images, you need a total of 4.
You can then swap out duplicate images for the ones you want to use. Right click on an image, select Change Image, then select your media. Using this method means you don’t need to spend time cropping down multiple images one by one and ensures that each image is exactly the same size. The technique will work if the images in the carousel are different sizes (so long as the first and last images are identical) but from a design perspective it probably makes more sense to keep the images the same size/aspect ratio to make everything a bit neater.
Once your images are finalised, it’s time to group them. Select them one by one, holding CTRL or Shift to select multiple objects, then right click and select Group, or use the keyboard shortcut CTRL + G. Then right click the group and use the Send to Back/Send Backwards tools to move the group behind other content on your slide, if necessary.

The next step is to duplicate the entire group to the left of the slide. You can do this using the same method as before, drag the group whilst holding down CTRL and Shift to keep the two groups in line. Alignment here is important – the last image of the duplicate group needs to be perfectly laid over the first image of the original group. This will create a left-running carousel, if you want your carousel to run to the right, drag the duplicate group to the right of the original one.
Select both of the groups you’ve created and navigate to the Animation tab on the ribbon. Select Add Animation, and add a Line Motion Path. Motion Path start and stop handles will appeared on both groups.
The green triangle designates the start point, and the red the end point. Click on the red end point of your first group and drag it over to the start green point of your second group. PowerPoint Motion Path start and end points snap to each other, so this is just an easy way of ensuring the end point of the path is perfectly aligned to the ‘reset point’ of the looping path. Now you can delete the second group of images.

In the Animation Pane, (Animation tab -> Animation Pane), right click the Motion Path and select Effect Options. Make sure that Smooth Start and Smooth End are both set to 0 seconds. This ensures that the speed of the Motion Path is constant, so when the Motion Path loops round there are no jarring starts and stops.
Lastly in the Effect Options navigate to the Timing tab and set Repeat to Until End of Slide. Tweak the Animation Duration as required (this option will change how fast your motion loop goes).

And voila! Is it a rollercoaster? Is it a plane? No! It’s a.. looping motion path in PowerPoint!
Ow, my brain! Bit confused? Check out the GIF below which will help explain what we’ve done here. The green image is the first image in the carousel, and the red is the duplicate at the end of the carousel. The motion path moves the grouped images until the last image in the carousel (red) is perfectly positioned above the first (green), at which point the motion path resets, snapping the first image (green) to its initial position and repeating the move.

This PowerPoint Motion Path technique can be used in lots of creative ways – check out the video below for a few ideas from the BrightCarbon team!
Leave a commentA step-by-step guide to creating polished, professional timelines in PowerPoint from one of our PowerPoint design experts!
A PowerPoint template is the only brand element you put in the hands of the whole organisation – regardless of computer literacy, or design skill: it has to be robust enough so that it can’t be broken, but strong enough to carry your brand voice into every meeting, or leave-behind, or proposal it gets used for. Read on for a list of the essential elements every PowerPoint template needs to have.
Designing content to be accessible doesn't have to mean you compromise on vibrant design, or your brand guidelines. In this article you'll learn more about colour contrast and how you can preserve colour vibrancy without having to sidestep WCAG accessibility guidelines.
Join the BrightCarbon mailing list for monthly invites and resources
Tell me more!It is, quite simply, the best deck we have. I did a nice presentation with it yesterday and would like to do the same next week... I am sure it will get a lot of use. The visual impact and flow are compelling!
Peter Francis Janssen


This blog is phenomenal for creating some amazing effects with PowerPoint! Kudos and thanks.
Thanks a lot! I couldn’t do it without you! <3