Presentation handouts and leave-behinds are a great resource, giving your audience a tangible reminder of you and the company you represent. The problem is that they’re oft-neglected and oft-ignored. So how can you create presentation handouts that not only accurately represent your content, but look great and don’t take a fortnight to make?
How to make presentation handouts in PowerPoint: Basic method
If all you want to know is how to print your slides and speaker notes together, you came to the right place!
Save a new copy of your presentation.
Delete any overlapping visuals or anything that won’t print well.
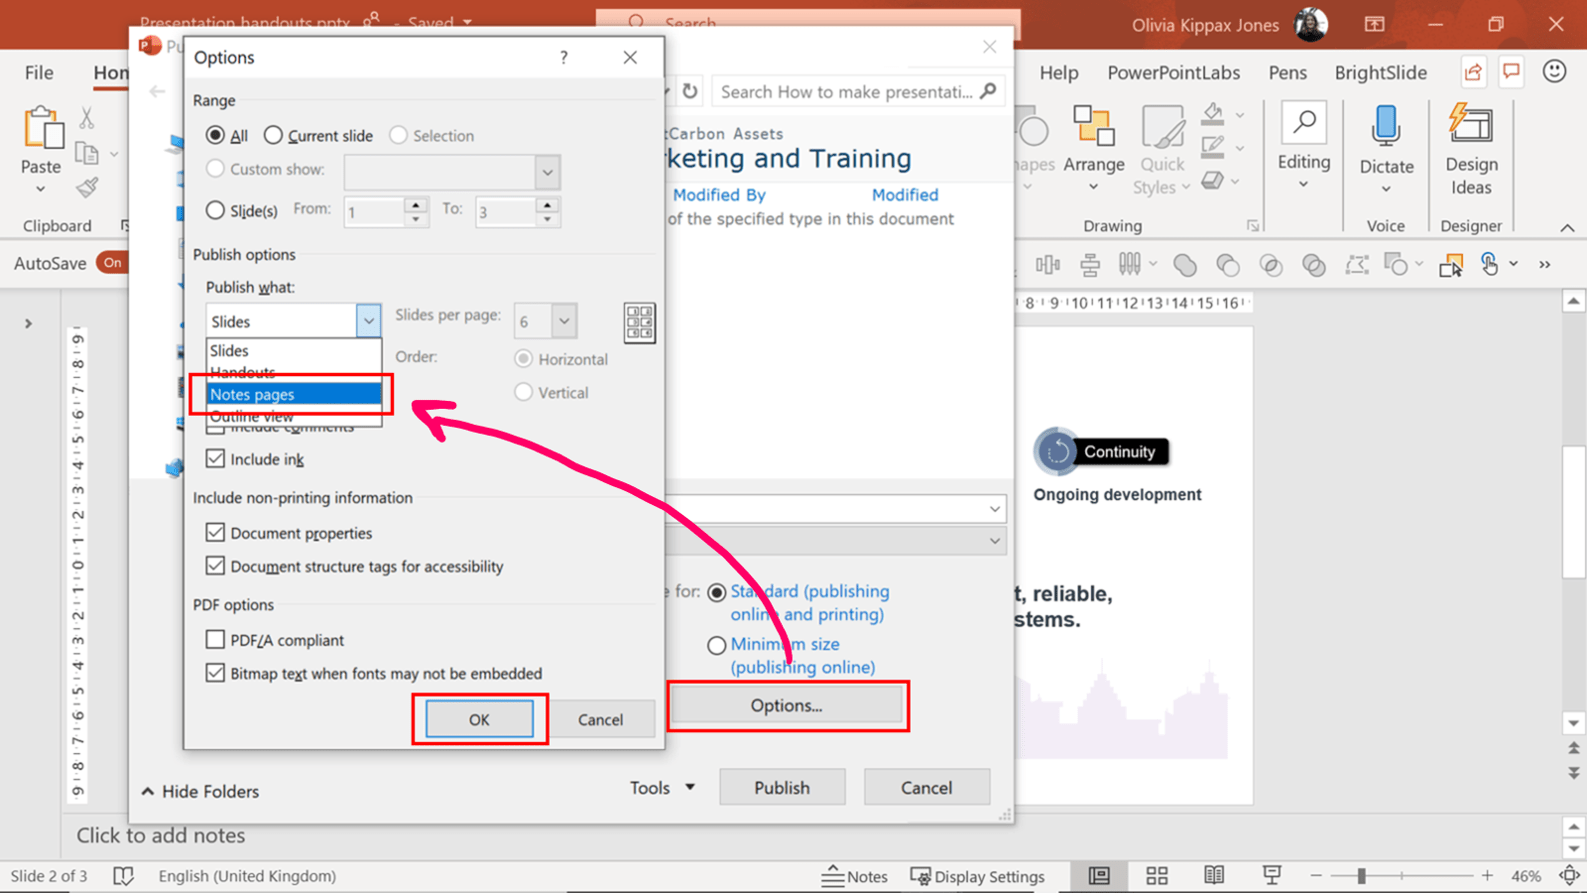
Go to File then Export and select PDF.
In the window that opens there is an Options button – click it.
Under Publishwhat, choose Notespages from the drop-down.
Click OK then Save.
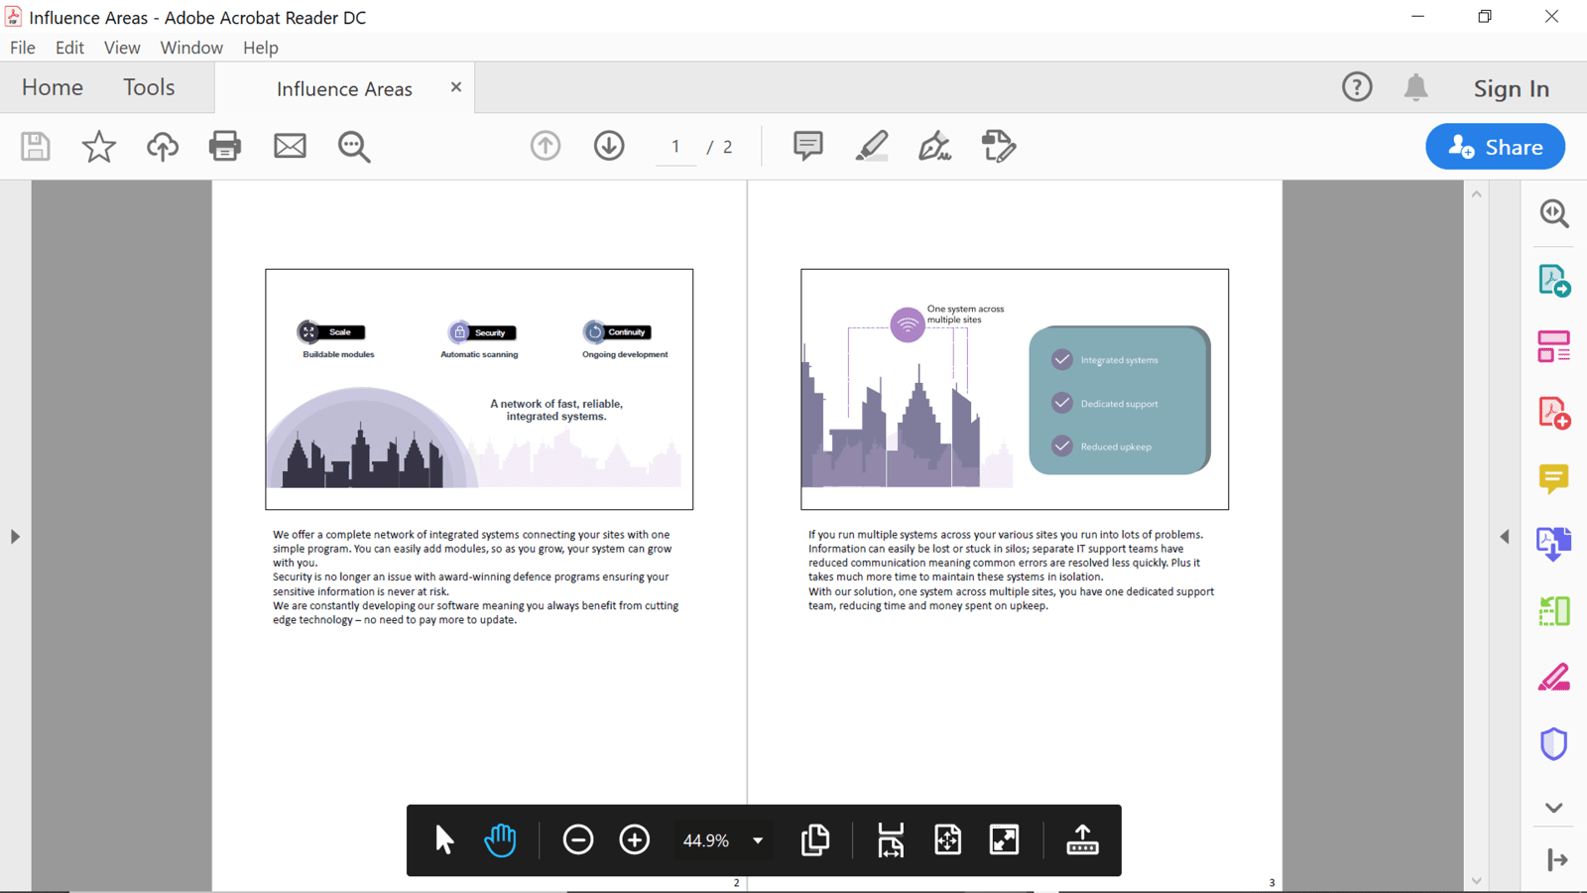
Your PDF will feature an image of each slide with the accompanying speaker notes underneath. Needless to say, make sure your presenter notes are ‘audience safe’ first. You can send the PDF file as an email or print it. The finished result is cheap ‘n’ cheerful – a great option if you’re in a rush.
The problem with simply using your slides and notes is that presenter notes often aren’t written with the audience in mind – they’re there to jog the presenter’s memory, not inform the audience. Any materials you leave with your audience should be just as thought-through and polished as your presentation. So, let’s go back to square one and think about what should be in a presentation handout.
What should a presentation handout include?
Begin by pinning down what you want your presentation handout to achieve. Do you want your audience to remember the benefits of choosing you as a supplier? Do you want them to understand a specific process? Do you want to remind them of your pricing options? Or do you want to provide a place for them to make notes whilst you present?
Only the last aim actually calls for a presentation handout. Anything you give to your audience during or before your presentation will inevitably be a distraction; they will read the information, rustle the paper and generally pay less attention to you. Any presentation handout – that is, any material you give out before or during your presentation – should include a simplified version of your slides and plenty of blank space for notes. And that’s it.
However, if you want to provide your audience with a tool to refer back to, to remind them of what makes you unique or how they should carry out a certain process, what you need is a leave-behind.
What is a presentation leave-behind?
A presentation leave-behind can pack a punch, covering less material than the presentation, or more. It’s a piece of content you can either leave behind you when you’ve finished your presentation, or send to your audience a couple of days later to jog their memories. A good way to get started is to think about how you want the piece to be used. Here are a few less traditional leave-behind options to get you thinking:
A 1- or 2-page summary of the most critical points
A one-slide-per-page recap of the content you covered
A process diagram
An in-depth exploration of all the content plus much more
A reference guide covering technical specifications, pricing etc.
Once you free yourself from the idea that a presentation handout or leave-behind has to be an exact replica of your slides and notes, the sky is the limit. When you’ve decided on the format for your leave-behind you can start to create it. A cut-and-paste job might not be the best solution; you may well have to rework some of your material to make it accessible for an audience revisiting it a week or two down the line.
How to create effective presentation leave-behinds
If you don’t want to create something from scratch, then a good approach is to use what you can from your slides, and write new notes to accompany them. We all have a dire recall rate when it comes to new information (see Ebbinghaus’ 1885 research for just how bad), and audiences are no different. Don’t overestimate how much they’ll remember; make your hand-out self-explanatory, accessible and informative. Cut out all the extraneous data (e.g. the history of your company) and focus on your key points.
There are two main formats to choose from when you’re ready to share your leave-behind.
Method one: PDF
Save a copy of your presentation and create a simplified version of your slides
Be brutal and delete all the slides that don’t contain need-to-know information. Good content to include is your value proposition and main benefit points as these remind your audience of what differentiates you from the competition. You may also want to include any useful technical information or processes.
Copy your slides into a word document and add text
In your PowerPoint file, rightclick on the slide you want to copy and select Copy. Then, in your Word document go to Home, Paste, Paste as Picture.
To create appropriate text pull from your presentation notes but also make use of any other collateral you have, like brochures, your website, promotional videos etc. To avoid overwhelming your audience with too much information add hyperlinks to relevant sections of your website or other resources. If you publish the document as a PDF, your audience will be able to click these hyperlinks and access the information they need.
And finally, it’s a good idea to add a call to action to encourage on-going communication.
Save the document as a PDF
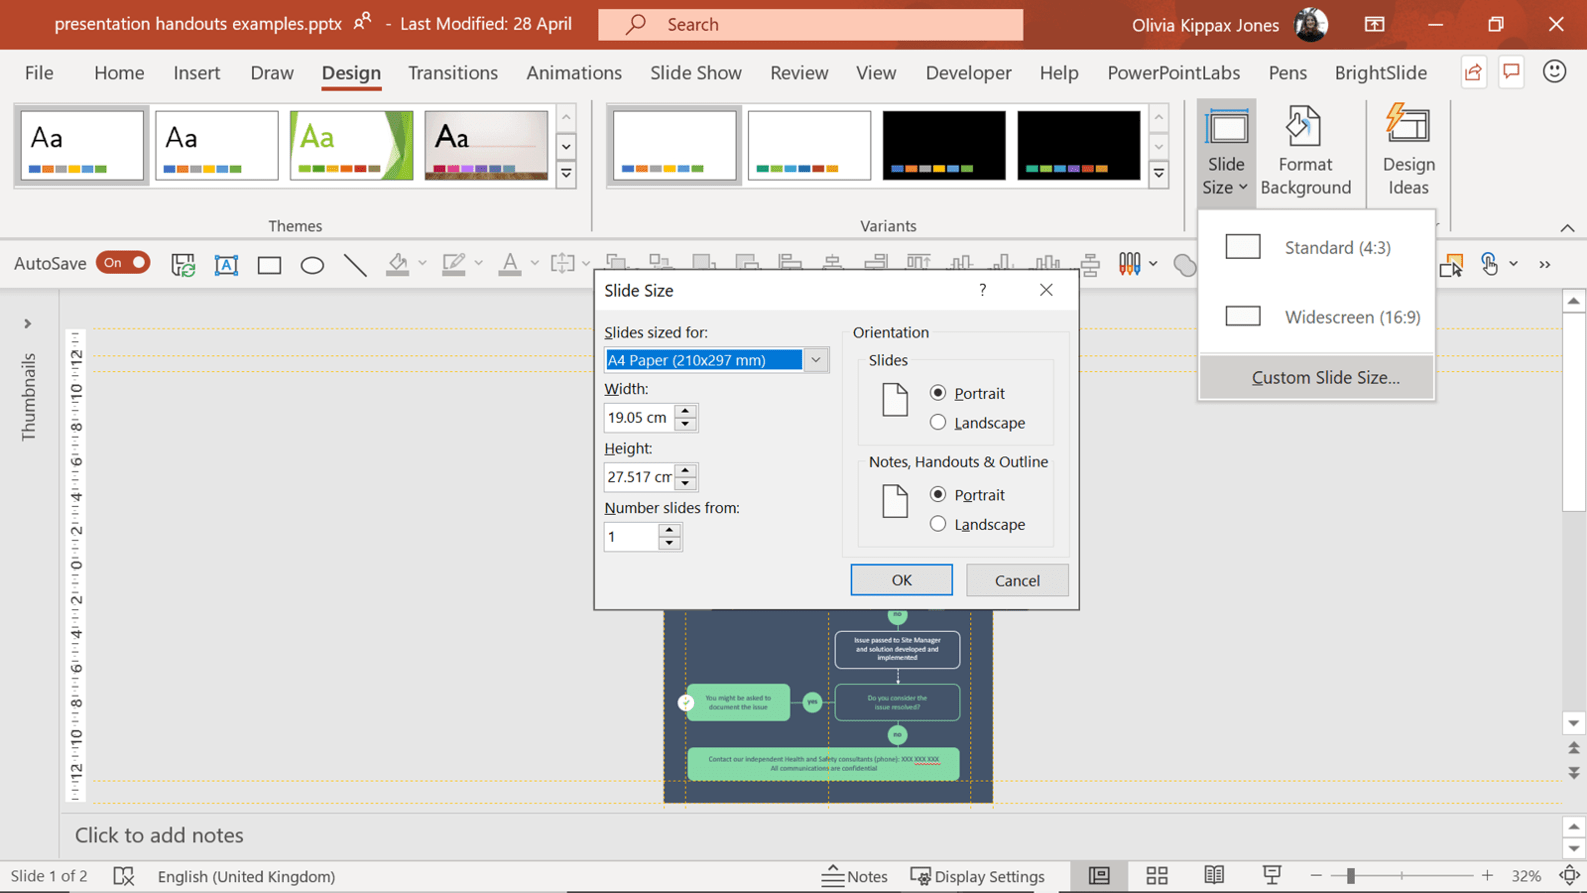
To save a Word document as a PDF go to File, click Export, then Create PDF. A benefit of doing this in word rather than exporting directly from PowerPoint, is that you have more control over the formatting so can keep it on-brand and looking good. If you want to add more design elements, you could also build the leave-behind in PowerPoint. Change the slide size by going to Design > SlideSize > CustomSlideSize.
Of course, you could print the document but, putting aside poor print quality and environmental concerns, with paper handouts you have no way to track how many people have looked at the document or whether it has been ignored. However, with a PDF you can…
Distribute using an email marketing service
Instead of printing and handing out your material, save the trees and save it as a PDF, then use an Email Marketing System like MailChimp to distribute it. You might not be able to see super detailed analytics, but you’ll still get useful data on who opened your message, and who showed interest in the material – all helpful stuff.
Method two: Video
There’s a sort of unwritten assumption that handouts have to be a document, particularly a document with slides. That’s not the case, and it’s often not the best method of delivery for follow-up content. Paper or a PDF has its advantages – it’s simple, easy to distribute and reasonably effective. However, it is limiting. It is less personal and might be ignored if it’s too dense. A powerful alternative to the conventional paper hand-out is to use PowerPoint to record narration and to output as narrated video. It’s a much more engaging, effective way of refreshing your audience’s memories.
Make a simplified version of your PowerPoint deck
Again, you don’t want to send your audience your full twenty-five-minute presentation. Go through your content and trim it down to the essentials. Keep the key visuals and key benefit points.
Write a script
A video with you um-ing and ah-ing over your slides isn’t particularly engaging or professional. You need to write a script so you can say precisely what you want to with no irrelevant detail or mistakes.
You audience won’t want to take much time out of their day, so aim for 3 – 5 minutes of content. We have some useful resources for script writing on our blog – start here.
Record yourself presenting the new version
Once you’re happy with your script, you need to record yourself presenting the deck. Again, we’ve got a few stellar recourses to help:
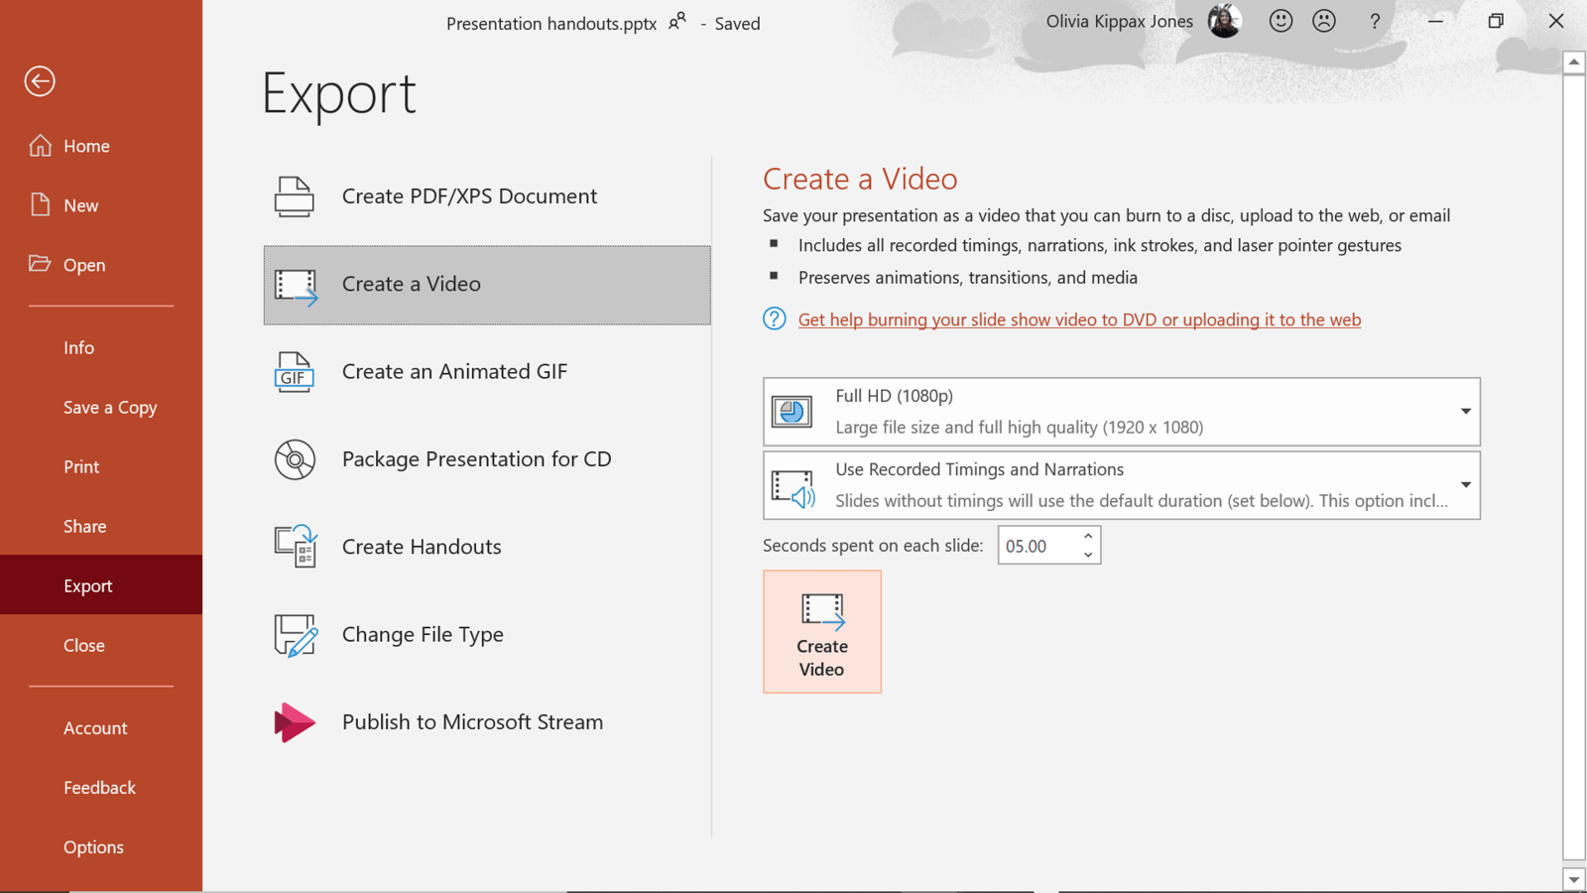
To save your video go to File > Export > Create a Video. Make sure Use timings and narrations is selected on the drop-down menu.
Host the video online
Finally, make your video accessible to your audience. The beauty of using a platform like Vimeo is that it sits in the cloud so can easily be updated with new material. Viewing figures can be tracked, there are integration possibilities with other platforms, and reminders can be sent out for those that haven’t yet watched it. Vimeo is one option – but any trackable multimedia platform is a good method for delivering your content.
To see some example of short, narrated videos, visit our YouTube page.
Conclusions
Digital, custom-made leave-behinds are a change. And you’ll want to address this change when your audience sits down, eager to take home a couple of sheets of A4. However, the benefits are great: they get a more engaging, helpful resource, and you can track its reach, easily refresh the content and measure its success.
If you decide to use the good old-fashioned paper method – there’s one thing I’d encourage you to avoid: don’t distribute your presentation hand-out before you start speaking. It’s one of the most common mistakes we see, and it can really negatively impact the audience’s attention level. If you give your audience something to read, they will naturally start to read it. And from that point on, it’s a struggle for even the best presenter to command the room’s full attention.
Hold off until the end of the session but let everyone know that a handout will be available, so they don’t spend the entire session making their own notes. You want them attentive and engaged throughout and a little reassurance at the start goes a long way to help ensure that.
However, choosing a less traditional route can help you stand out from the crowd, so consider ditching the standard presentation handout for something a bit more creative.
Ready to transform your sales presentation too? Read our ultimate guide!
Glisser is an online platform that allows you to create interactive presentations that can be used for marketing, training or any other type of events. The site has different functions available for presenters, attendees at events and event planners which all focus on allowing for increased presenter-audience interaction. Since creating engaging visual presentations is what we do, I decided to take a closer look at Glisser and see what it’s all about and how the various functionalities work.
Presentation skills is a daunting area for many, but being a good presenter isn't something you're just born with. Even the most nervous, or clueless of presenters can learn how to present like professionals just by following some key advice.
Kieran, surprise surprise, someone’s commenting on a three year old article! I agree with all of your comments in relation to a live presentation but do you think they apply equally to an eLearning presentation (not a webinar)? For instance, I have sometimes used an on-line workbook/journal to encourage audience reflection/journaling/note-taking which some individuals don’t like. It seems that an ‘off-line’ paper version would benefit those who prefer not to leave the current screen or who distrust digital privacy. Do you think this would be distracting or does the fact that the individual could pause (be advised) to pause on-line content whilst writing make the difference?
BrightCarbon are a great partner in our growth. They are great to work with, very consultative, and professional. I could not recommend working with them more highly.


Kieran, surprise surprise, someone’s commenting on a three year old article! I agree with all of your comments in relation to a live presentation but do you think they apply equally to an eLearning presentation (not a webinar)?
For instance, I have sometimes used an on-line workbook/journal to encourage audience reflection/journaling/note-taking which some individuals don’t like. It seems that an ‘off-line’ paper version would benefit those who prefer not to leave the current screen or who distrust digital privacy.
Do you think this would be distracting or does the fact that the individual could pause (be advised) to pause on-line content whilst writing make the difference?