Saying that images are key tools for visual communication may seem obvious, but it’s all too easy to fall into the trap of using pretty pictures in a presentation simply because they’re pretty. Images can be so much more than decoration!
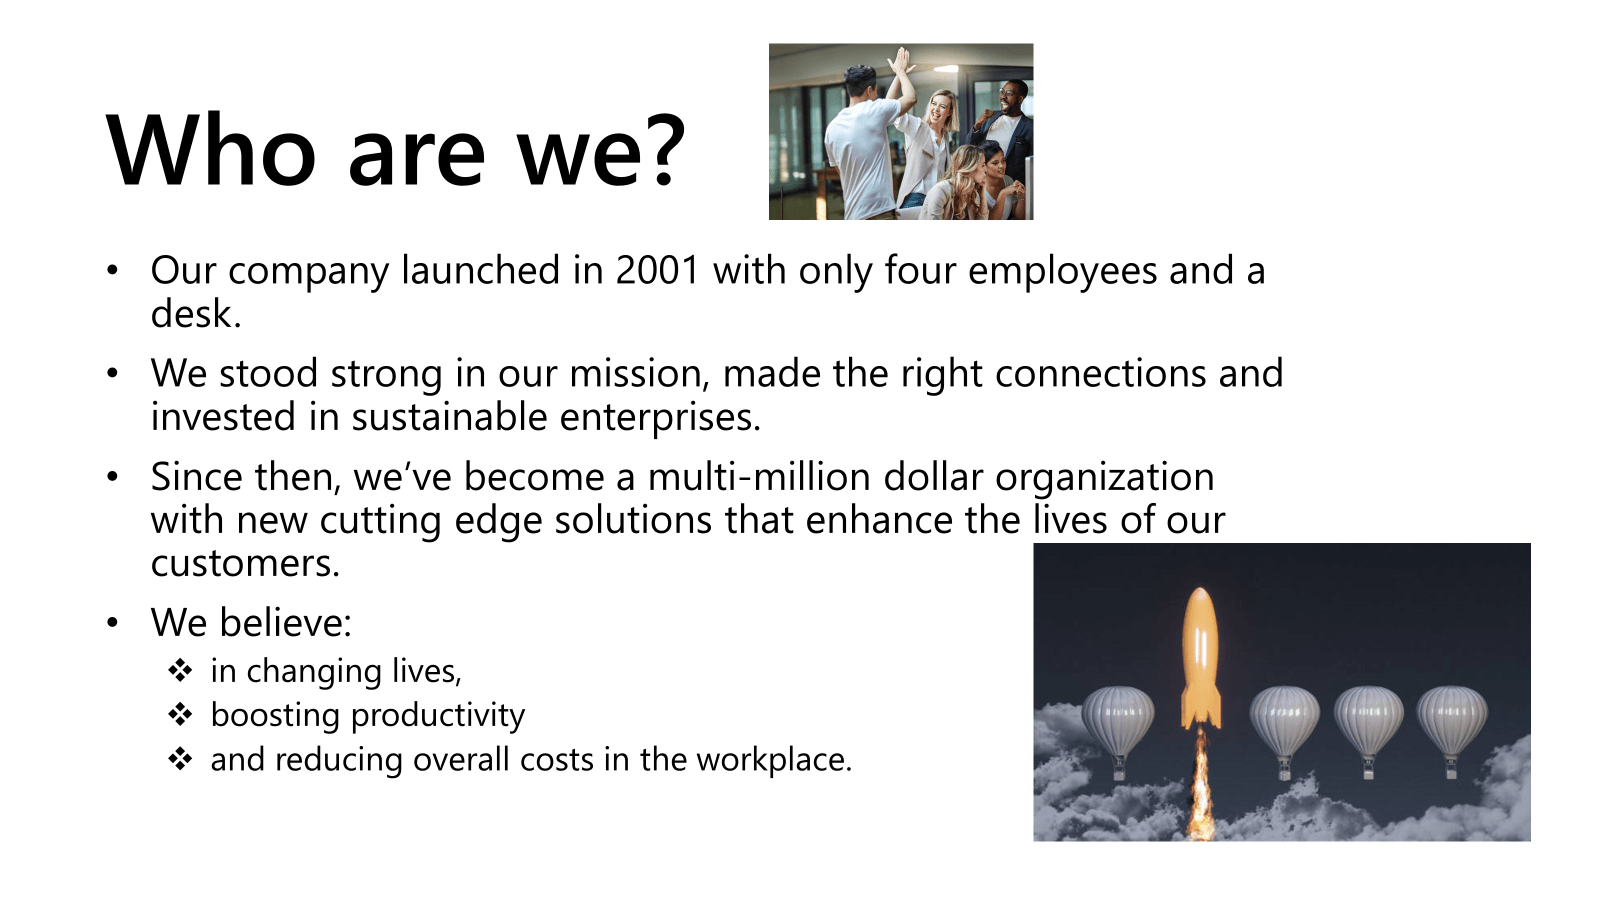
Think about it: if you’re presenting to a live audience, there’s no point having a slide like this one – a bunch of bullets with loosely connected images:
It doesn’t look professional, the visuals don’t mean anything, and your audience can’t read and listen at the same time, so they’ll probably tune you out as your read through the bullet points. (Not very compelling…) Instead, consider how visuals might add substance to your narrative in place of words – choose images that engage your audience and help to tell the story you want to communicate. Read on to discover some handy tips and tricks for choosing and using relevant images to create compelling visuals.
Tips for choosing presentation images
Keep your images diverse. Ask yourself whether you’re representing a range of ethnicities, disabilities, ages, and people in leadership roles. Avoid stereotypes.
Check the resolution of your images. No matter how well it tells your story, if a picture is grainy, it will distract your audience. Delve into our blog post on PowerPoint picture size and resolution for tips on how to perfect image quality.
Consider your brand guidelines. Does the tone of the images you’ve selected fit with your brand? Do you need to focus on people, technology, or natural imagery? Should images feel dark and dramatic, or light and fresh?
A fabulous presentation doesn’t have to cost the earth. If you’re looking for some free stock images, we’ve got you covered in this blog post: The best websites for free design resources.
Now let’s look at five ways you can take your imagery from pretty to pretty persuasive!
Technique 1: The faded effect
A simple technique to add structure to your deck is to repeat your agenda slide throughout the presentation as a section divider slide. This helps both you and your audience know where you are in the presentation and where you’re going next. In a sales presentation, it also gives you an opportunity to remind your audience of your key value points. Not using your value points to structure your sales decks? Let us change your mind!
An easy way to elevate a photography-based divider slide is by fading back the irrelevant content to draw your audience’s eyes to the focal point of the slide.
Here’s how:
Design your slide. (An image and a heading for each section of your presentation.)
Insert a shape over each irrelevant section of the slide.
Change the colour of the shapes to white and alter the transparency until you can just see the content underneath. 25% transparency generally works well.
Add a Fade in animation for each of the semi-transparent shapes so they build in together at the start of the slide.
For your next section divider, copy and paste the slide and move the shapes to reveal the next sections. And so on.
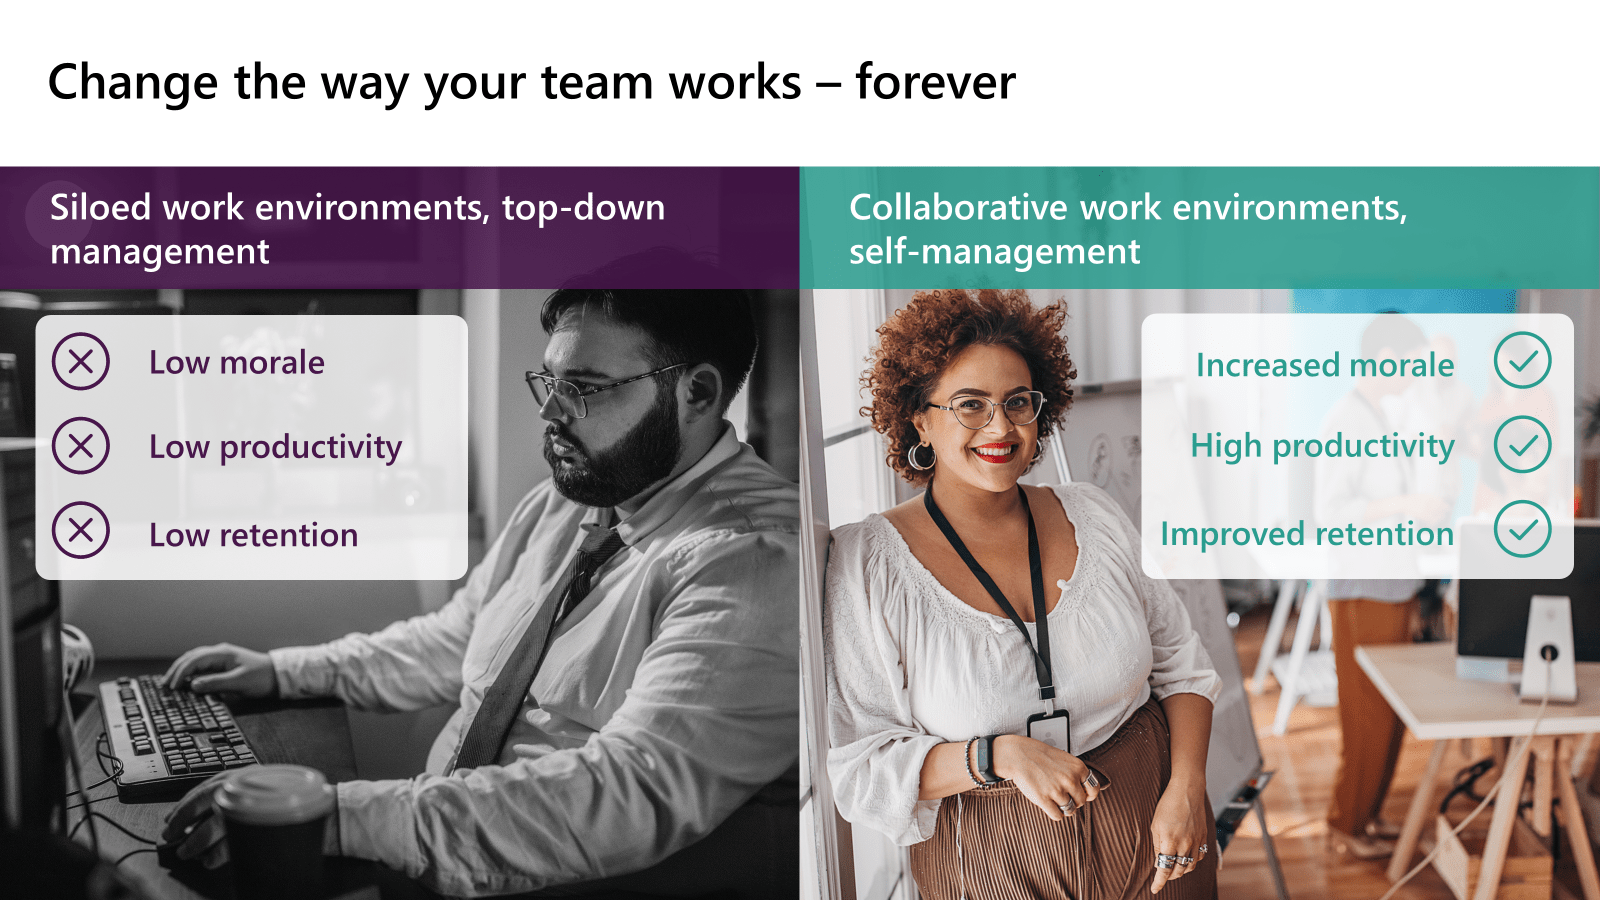
Technique 2: Black and white vs. colour
Once you’ve got a strong presentation structure, you can start to build out the rest of your deck. Back away from the bullet points and think about how you can tell a story with images by experimenting with colour. A super simple technique to show change is to have one image in black and white and one image in colour. Colour has many possible connotations when contrasted with a black and white image. It could signify life, futurism, vibrancy, positivity, discovery, youth, a new era… The good thing about this technique is that most presentation creation platforms have basic image-editing tools built in. You don’t have to be a whizz at photo editing!
Another effective use of black and white vs. colour is to home in on a specific detail in an image by turning the whole image (bar the detail) black and white. Reducing emphasis on everything in the image that might distract your audience makes it easier for them to focus on what’s important – perhaps your product, or a certain character in the picture.
This technique is similar to the first one, except that you can use circles to specify the parts of an image you wish to highlight. This helps declutter a busy image and guides your audience’s attention towards certain details. Perhaps you’d like to emphasise an emotion, product or figure in a crowd. In this new era where online presentations dominate, the ability to physically point to sections of your slide is pretty limited. So, a simple technique like this can really help your audience better understand your slides.
To create this effect:
Design your slide (insert the image(s) and/or text).
Insert a square shape, set the fill colour to white and increase the transparency.
Pull this shape across the entire image or slide to fade out your existing content.
Insert a circle the resize and reposition it so it covers the section of the image you want to highlight.
Select the larger shape, then the circle (the order is important), then use the Boolean tools to punch a hole is your transparent shape Shape format > Merge Shapes > Subtract.
In our blog post on the science of storytelling we discuss how character-driven stories can provoke an emotional response in an audience, particularly if that character is shown moving through a dramatic arc – a rise in tension, a climax, and a happy ending.
In your presentation, the main character should be your audience, or perhaps your audience’s customer/client. And you can track their journey through the dramatic arc using the problem, solution, benefit approach: first, you describe the challenge they’re facing, then you discuss how your solution resolves this problem, and finally you present the benefits your solution will offer your audience – the happy ending.
Introducing lots of different characters for every scene of a play or page of a book would be confusing, and the same applies to storytelling in presentations. It’s worth using consistent images in different scenarios to help shape a cohesive and engaging narrative – this way, your audience has a character to empathise with and can follow their journey from beginning to end.
Metaphors are a great way to break down big, difficult to understand ideas into digestible concepts.
Whether you’re trying to explain a tricky topic, or just want to make dry content more relevant and persuasive for your audience, engaging them with something that‘s universally familiar can help them get to grips with the content more quickly and remember the key takeaways.
One of the pitfalls of using a metaphor to get your message across is underestimating your audience – just because you’re talking about accountants, doesn’t mean you need an image of someone in a suit to tell the story. In fact, you might just end up with cheesy, dated images like this one…
Before adding in your visuals, think about how you’re using your chosen metaphor. Will it feature on a couple of slides to explain a specific concept? Or will it span the whole deck?
If it’s the latter, it’s best to stick to a broad theme, like a journey. Otherwise, you can find yourself complicating the metaphor further and further to keep up with the amount of content you have, leaving the audience to puzzle over the meaning of some of the images on your slides.
Hopefully, you can start to think about using images in presentations in new ways. If a picture says a thousand words, then why not let them do the talking? So, get creative with your images, have a go at our simple hacks, and let us know how you get on!
As the old saying goes, a picture is worth a thousand words, right? So, if you’re looking for new ways to enhance your presentations, why not start with the pictures? Read on to find out what Google Slides image editing can offer.
Online presenting can be challenging. With more work and home distractions than ever, all competing for attention, no real-time audience feedback, it basically feels like you're just speaking into the void. But fear not. We’ve pulled together our 5 top tips for keeping your virtual audience engaged, present, and tuned in, so buckle up and turn your presentation nightmare into your presentation dream.
The biggest source of event stress comes from this interesting conundrum: the success of the thing you poured your life and soul into for the last few months does not depend on you. It all comes down to your presenters conveying your messages in the right way, with the right amount of energy, and the audience – that you have absolutely no control over – engaging with those messages. Good news. There is a solution: and it’s just one solution to address both challenges. It's all about the science of audience engagement and presenter anxiety, and how the content you present can help both.
Throughout all stages of this project we have had a world class experience. The team was uber-responsive and open to feedback and collaboration to ensure we were getting the best presentation possible.


I’m already using this technique. I am new to graphic lines… You can teach very beautifully…..