PowerPoint morph is a magic little transition that’s been around for a while now. As the world gradually discovers just how useful it really is, it’s turning out to be the gift that keeps giving. We’ve compiled a trilogy of how-to tricks so that you can up your morph ante.
Before we get going, if you take a look at this and you start breaking out in a morph sweat, then you might want to take a look at this article first: it explains the basics of morph and how it works.
In this tutorial we create a lens, and then use morph to bring everything into sharp focus.
PowerPoint Morph Tutorial #3: The cut-away
In this tutorial find out how to use morph to create a cut-away effect that can be used in everything from blueprints and sketches, to interior and exterior photographs.
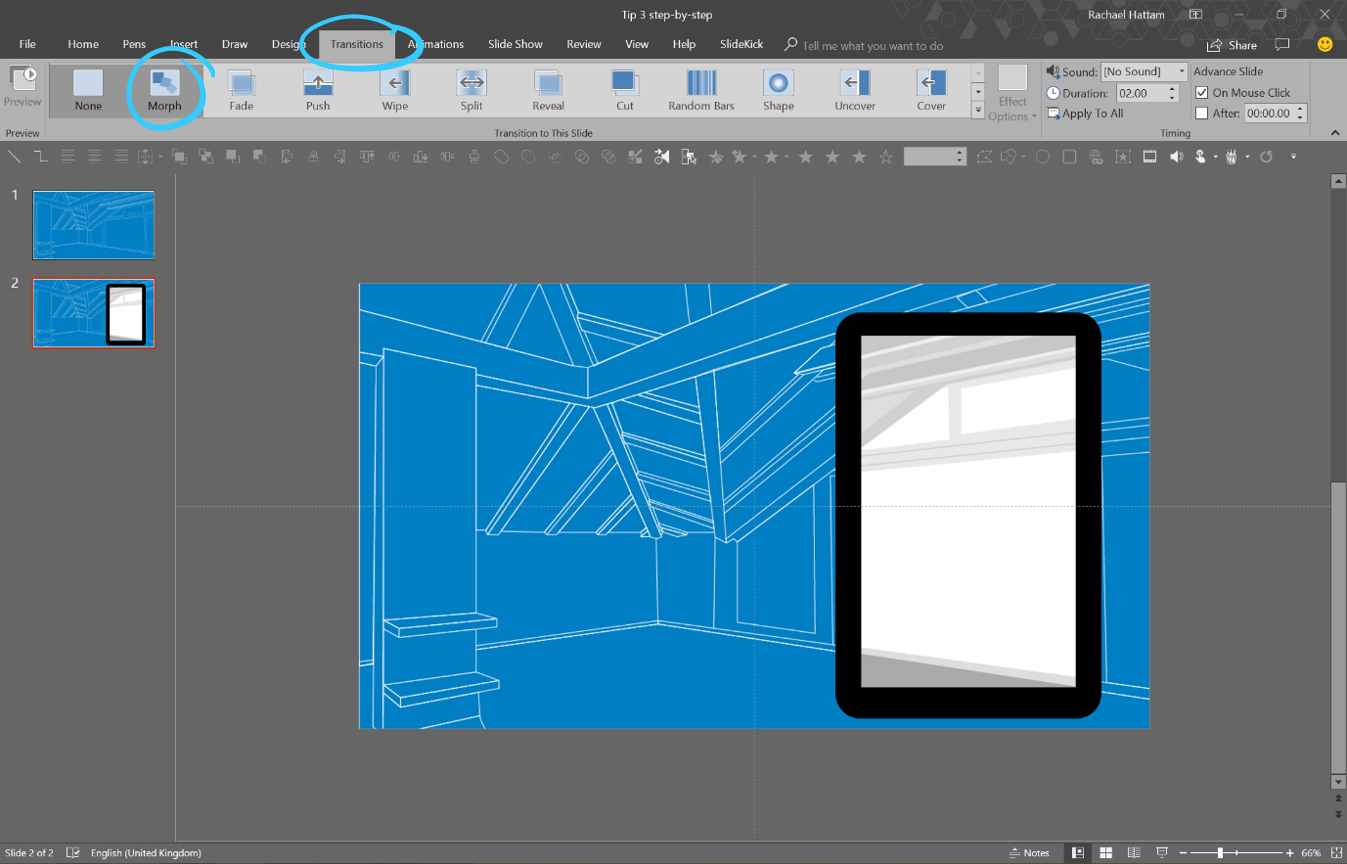
PowerPoint Morph Tutorial #3: Cut away
And for our third and final trick… a new take on the classic picture slideshow. This works best with a sequence of images of the same subject – we’ve chosen architectural blueprints – to show their development into a real life construction:
Use Cases
This is a really slick way to show before and after examples. The possibilities in your corporate presentations are endless – why not try a before and after of the environmental impact on the polar ice caps, the proposed regeneration of an inner-city area, or indeed like the example we have here, from sketch, to blueprint, to the real thing!
Step-by-step tutorial
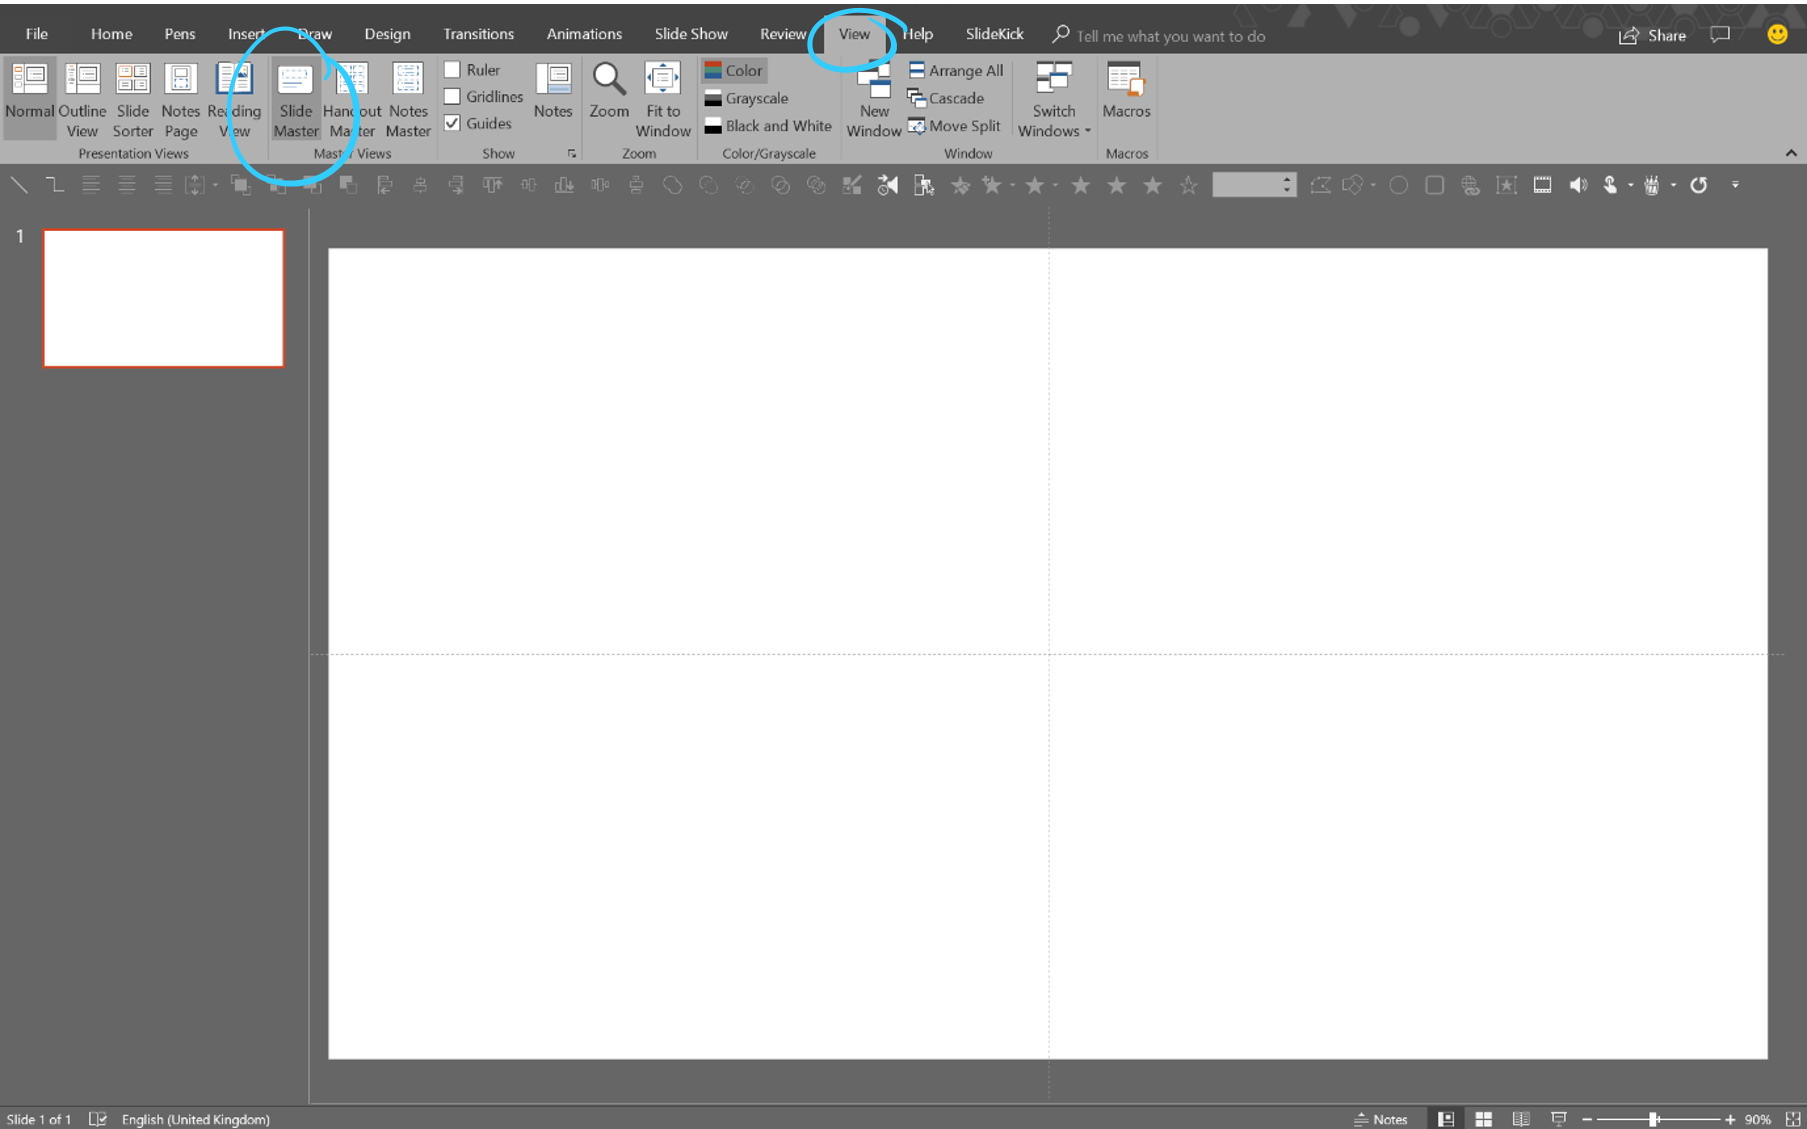
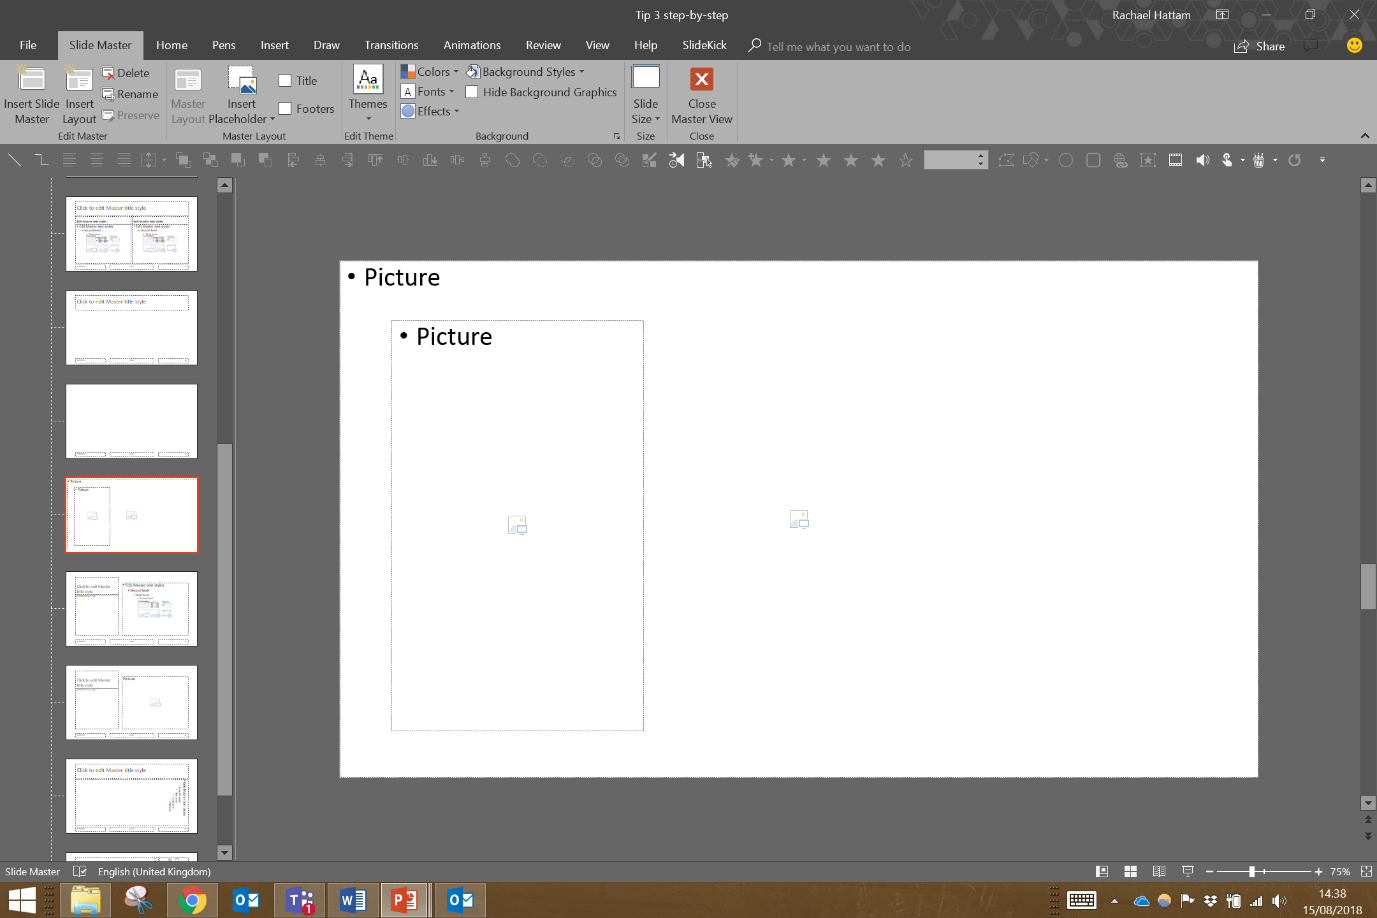
1. Go into “View” > “Slide Master” and create a new layout.
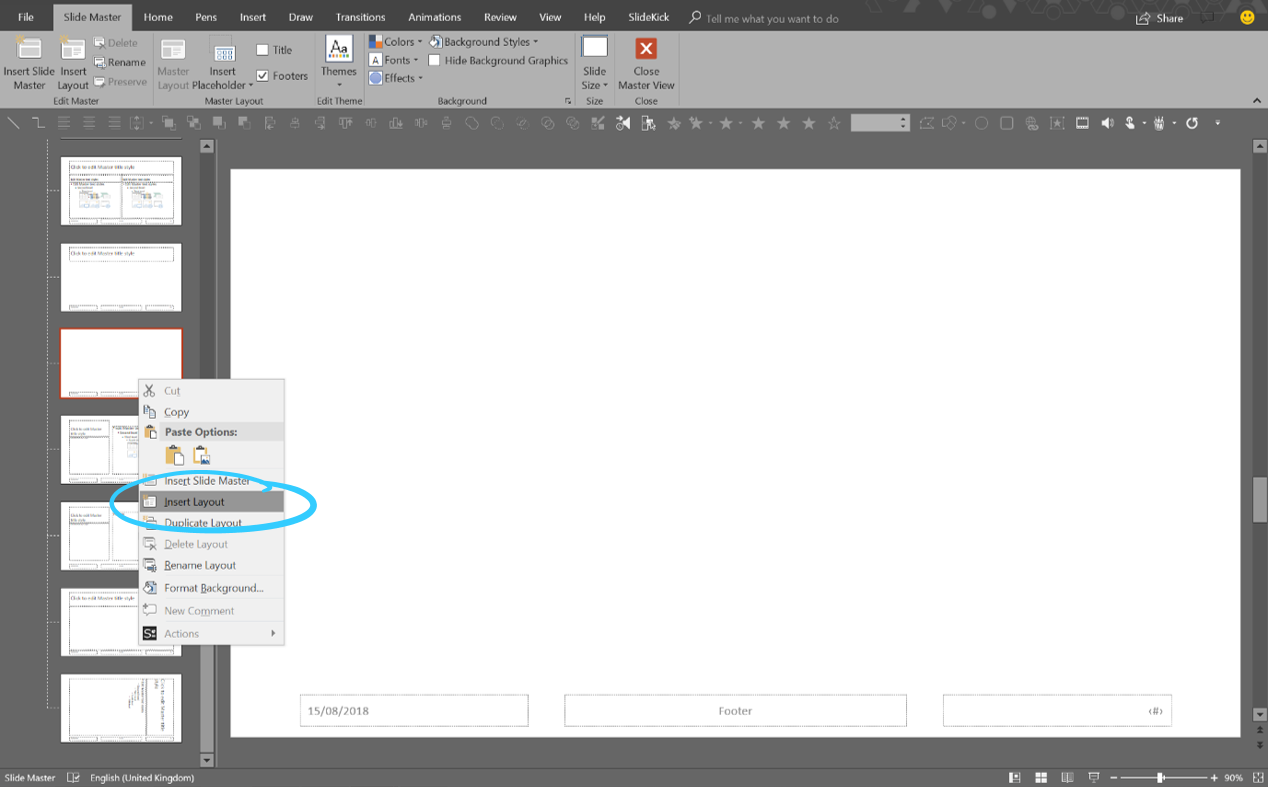
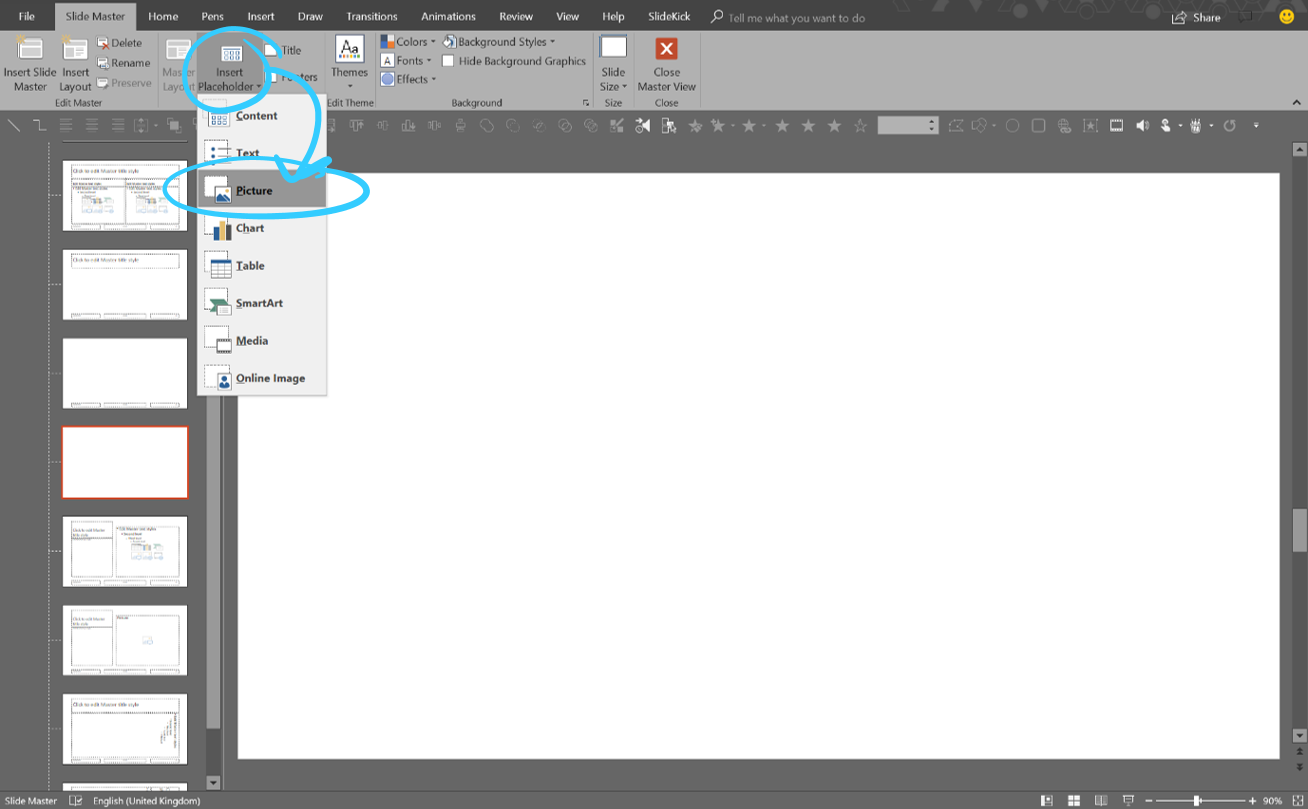
2. Delete all the text boxes so that you have a blank slide, then “Insert Placeholder” and insert a picture placeholder that fills the whole slide.
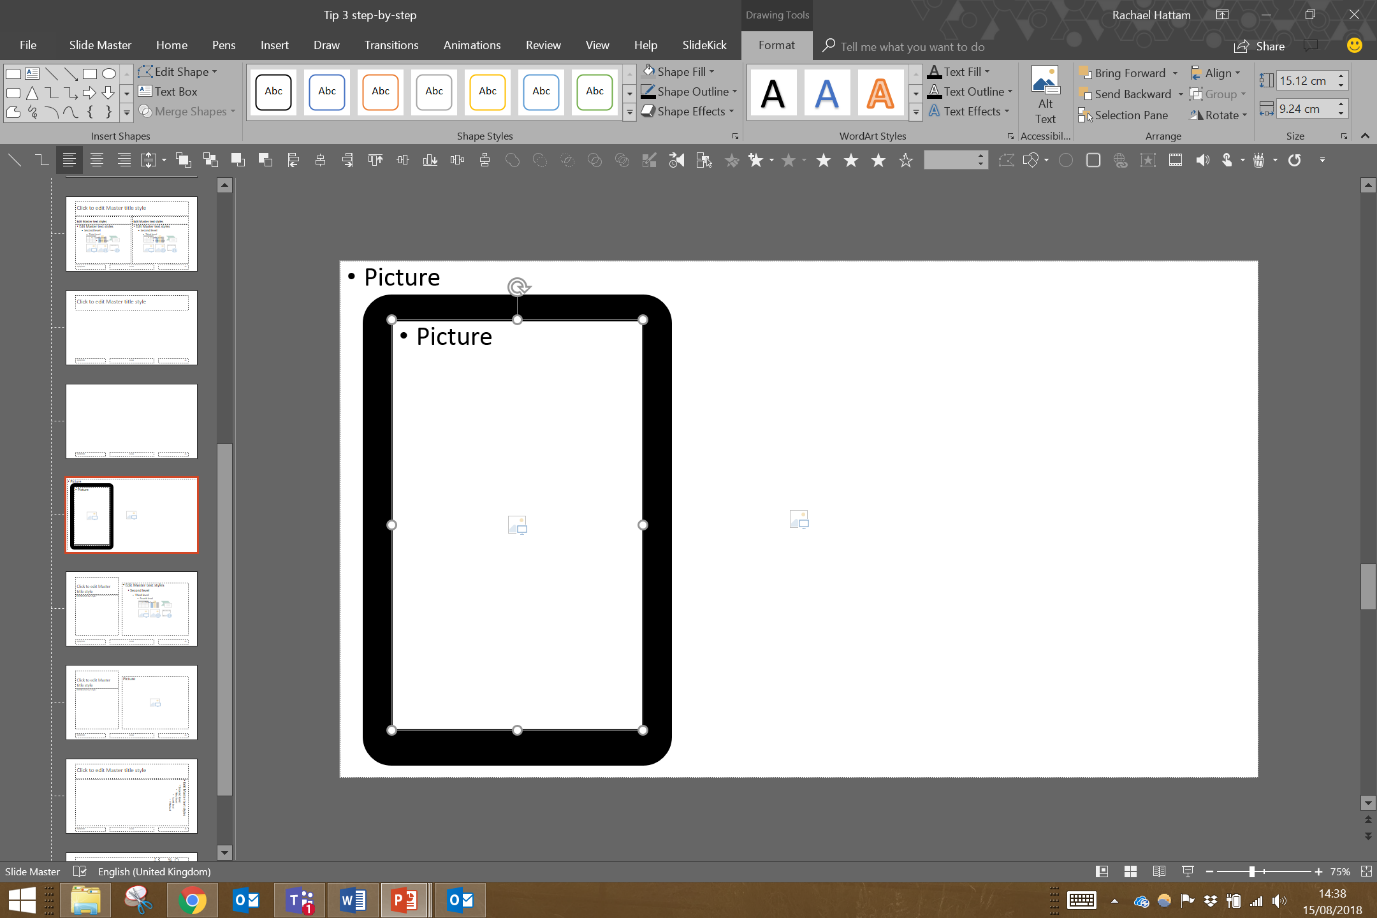
3. Copy and paste a tablet png (you can download icons for free from here [https://thenounproject.com/]) onto the slide, and then insert a second, smaller placeholder inside the screen. Delete the tablet image from the slide.
4. Exit the slide master (“Slide Master” > “Close Master View”), and change the layout of your slide to the custom layout you just created.
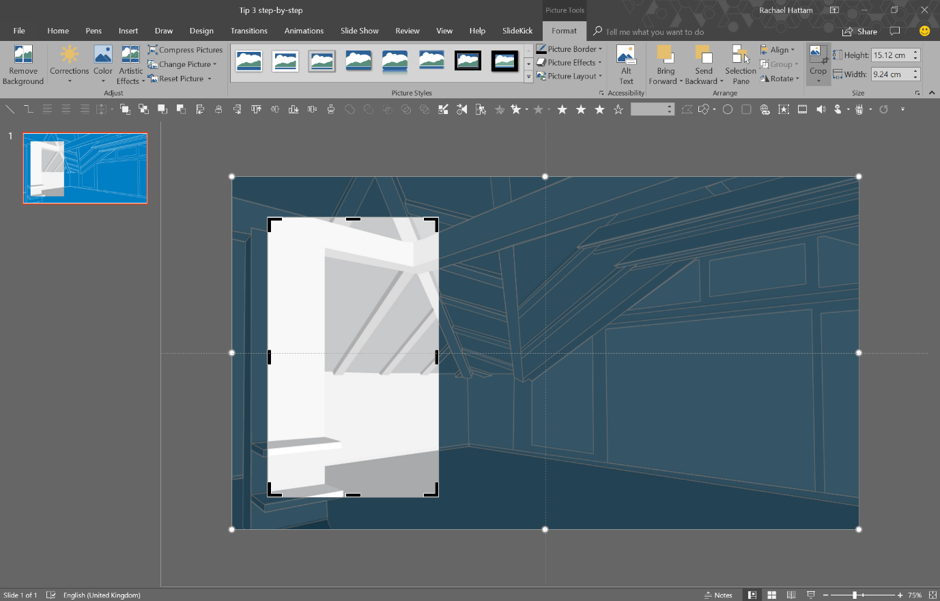
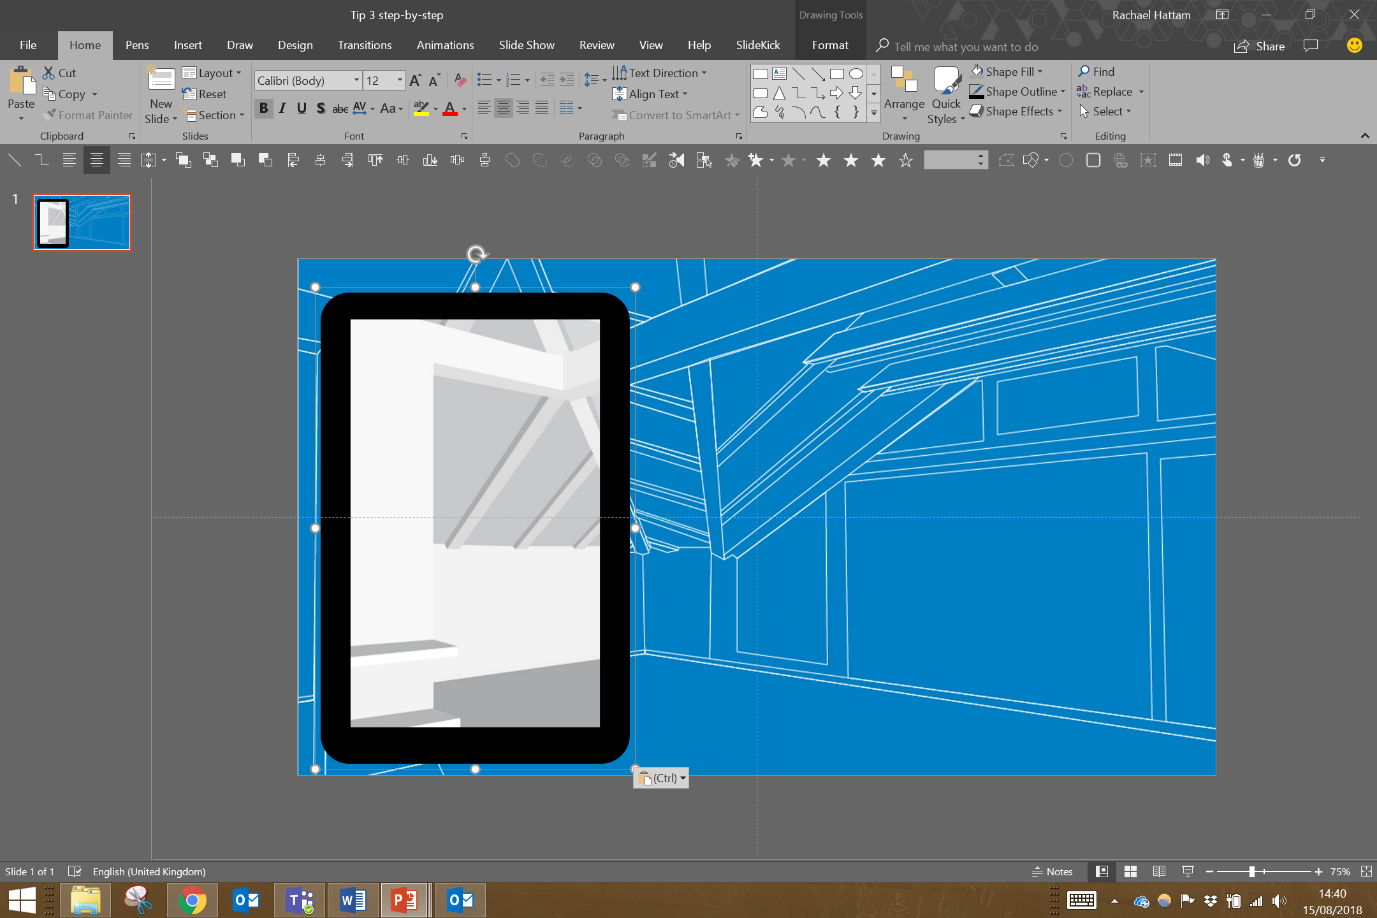
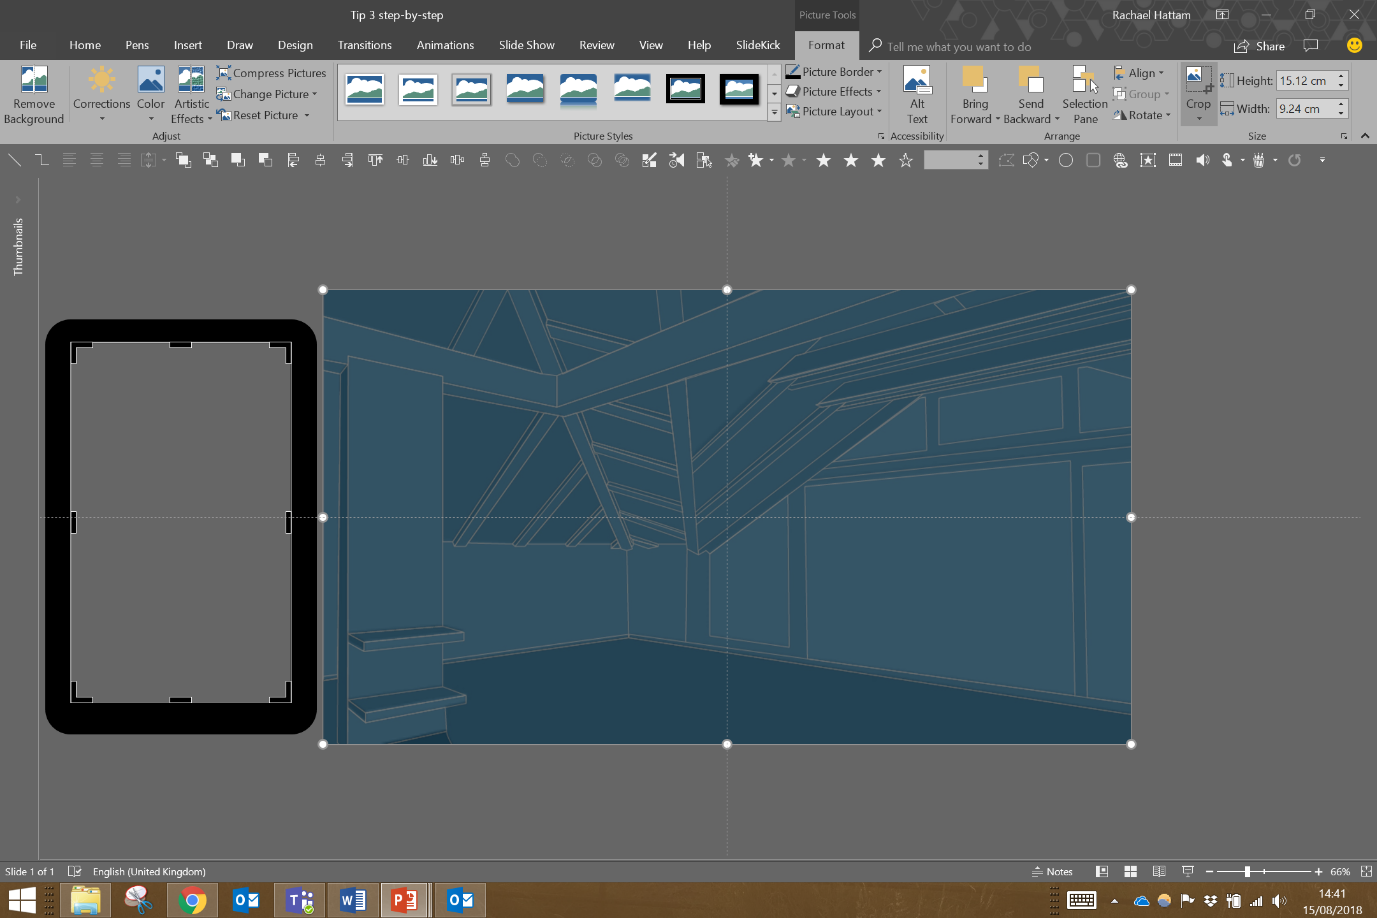
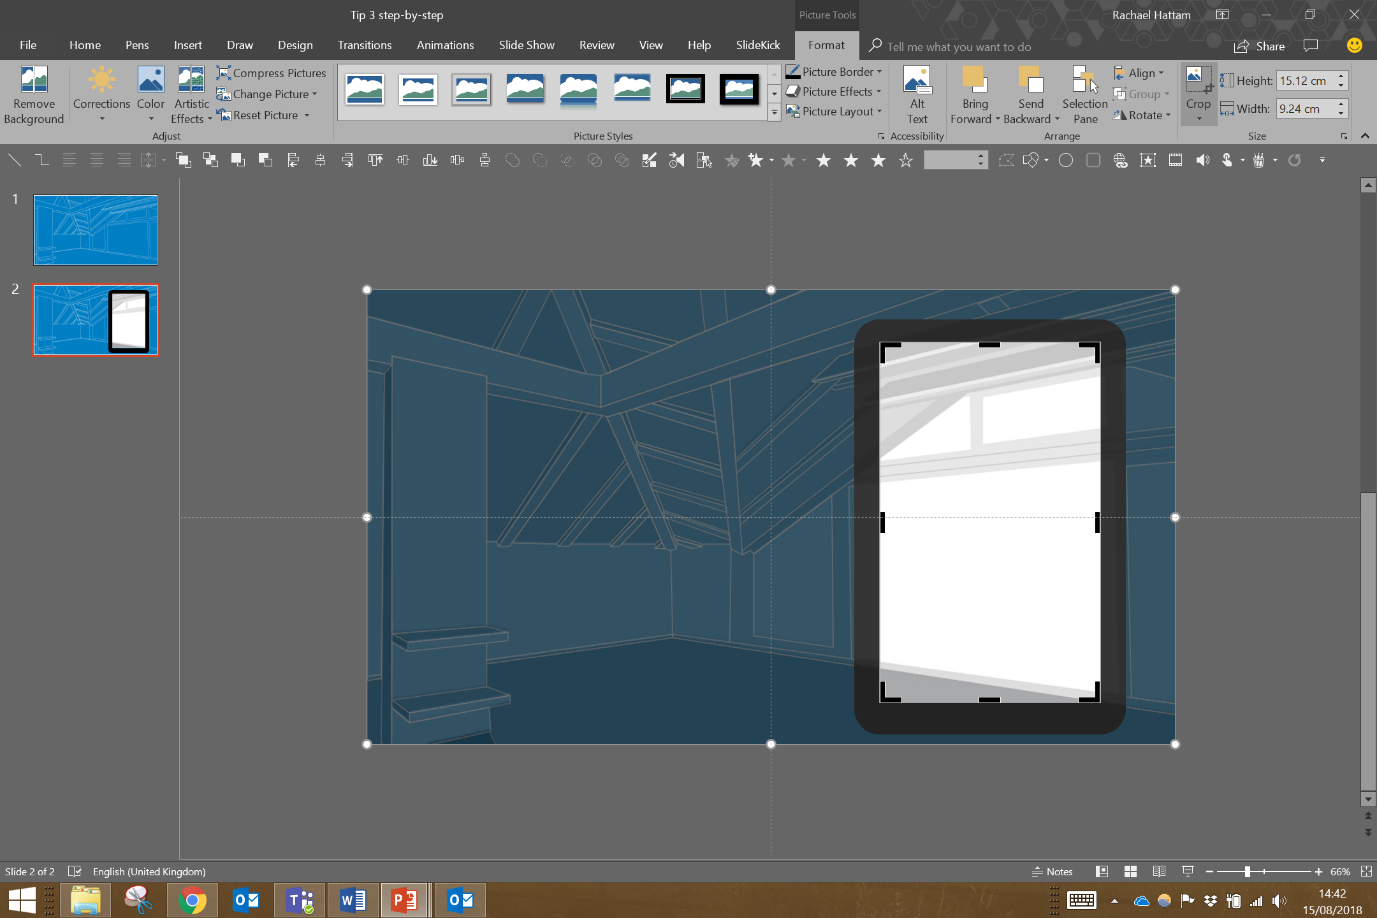
5. Insert the blueprint into the larger placeholder, and the designed image into the smaller one. Copy and paste the tablet onto the slide, adjusting its position to suit the smaller placeholder.
6. Move the tablet and small image just off the slide, and using the crop function (“Format” > “Crop”), enlarge the image and align with the blueprint on the slide. Be sure to use the white dots on each corner of the image to resize, not the black bars around the placeholder (these will alter the shape of your placeholder, rather than the image).
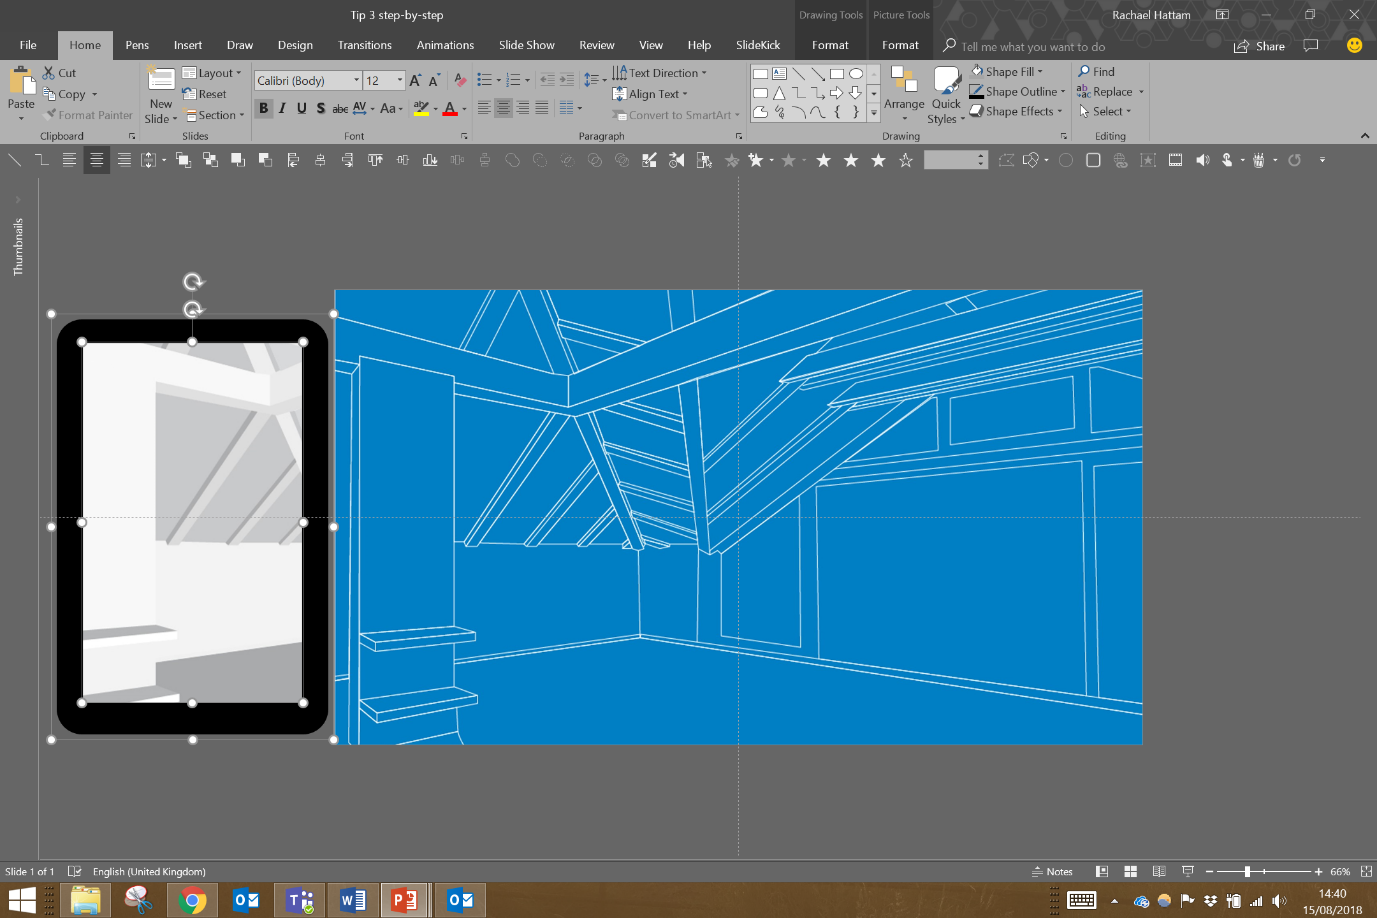
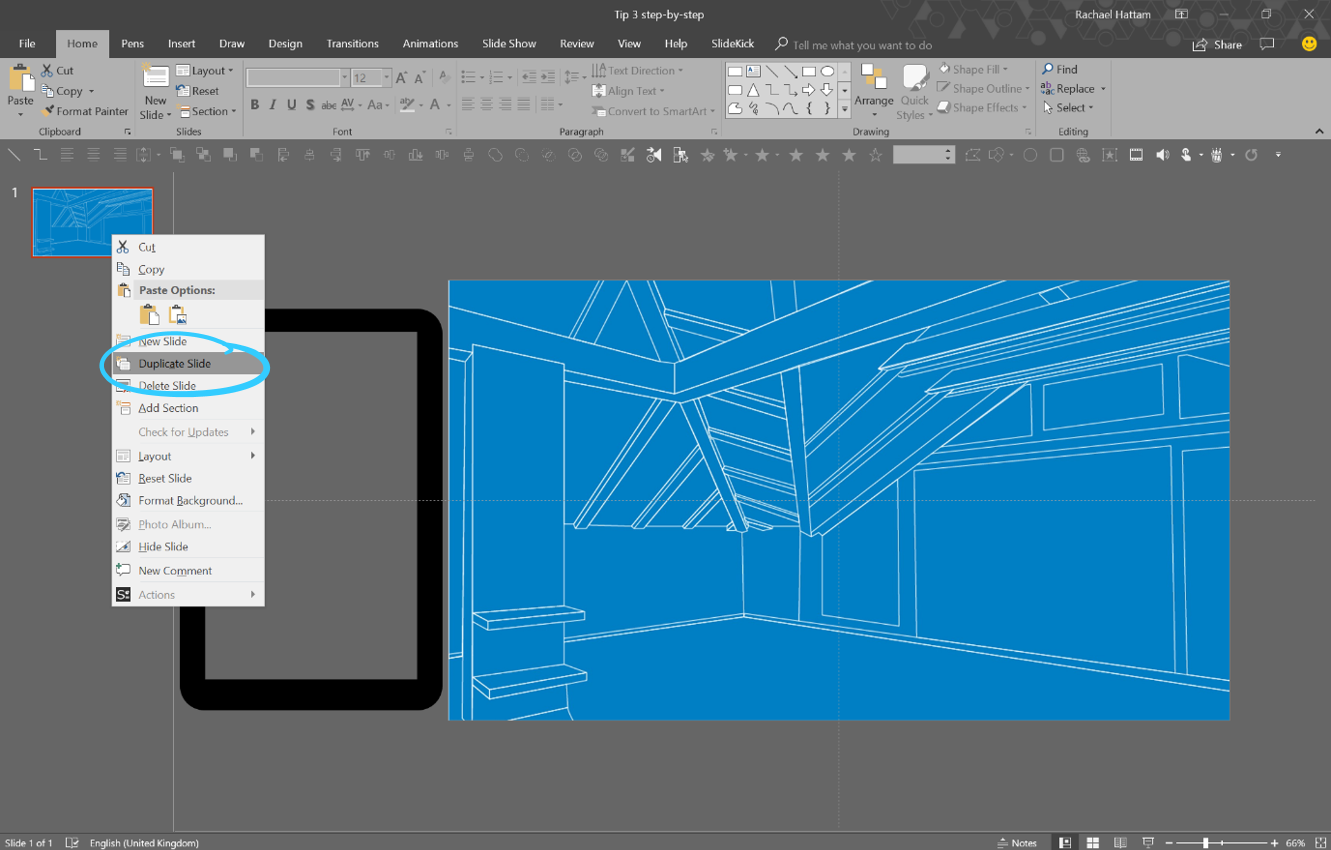
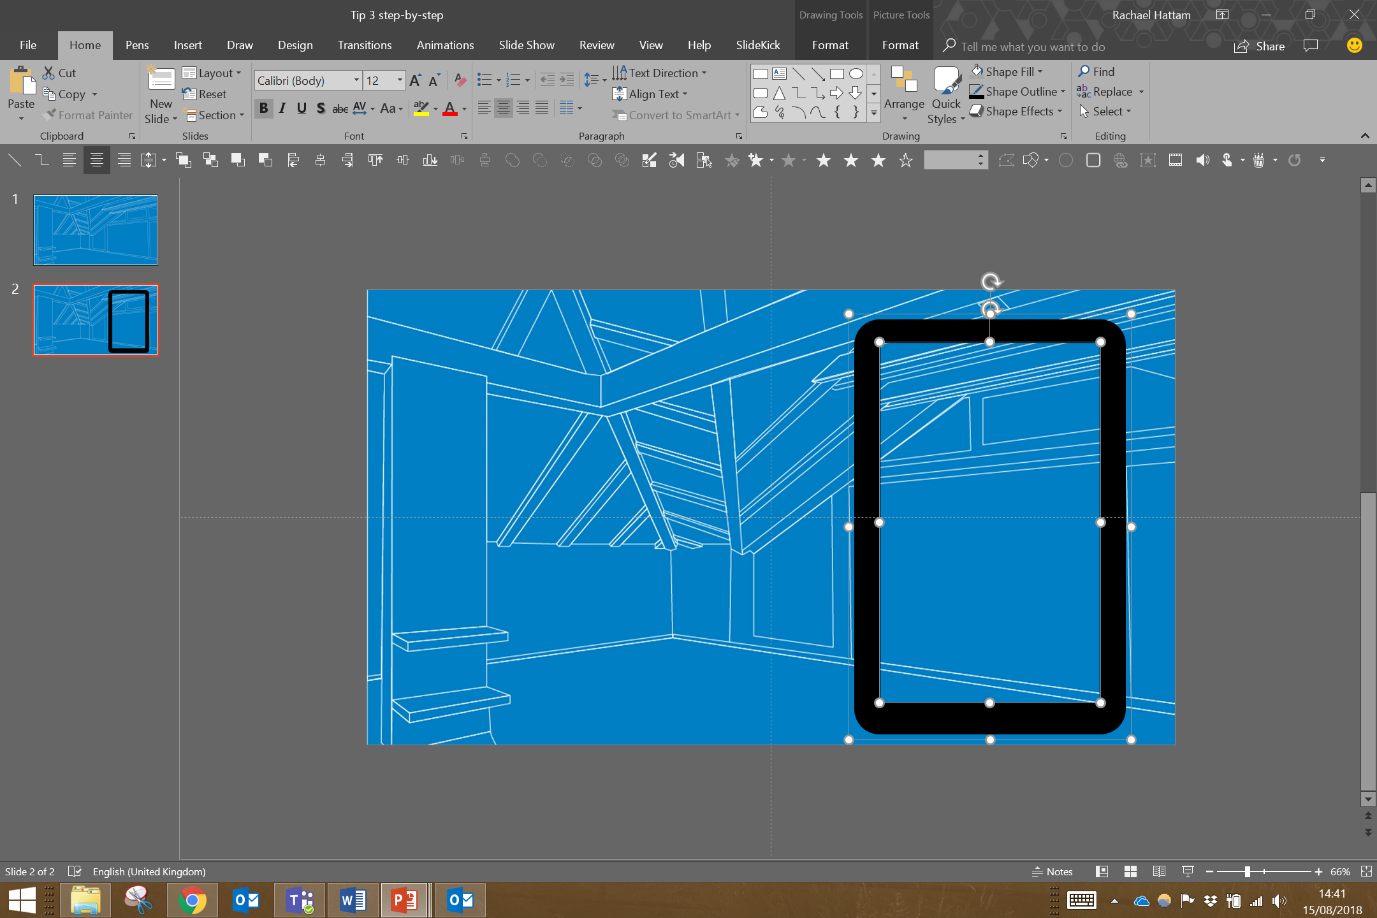
7. Duplicate your slide, and move the small placeholder over the section of the image that you would like to reveal. Use the crop function again to align the image to the slide (don’t alter the size of the image, just the position).
8. Add the morph transition onto your second slide.
9. Repeat steps 5-8 with each subsequent image in the sequence.
And there you have it, folks! Why settle for a simple slideshow when you can reveal a progression of photos with a nifty cutaway PowerPoint trick?
Logo slides are a regular fixture of presentations, but they're often ugly and messy and tend not to do too much to build the credibility they're supposed to. Follow along to learn how to make a logo slide look neat and tidy, and if you want a stretch task, get inspired by some competitor-trouncing alternatives
When it feels like the call is to make more and do it faster, design smart and build a presentation toolkit packed with effective layout slides. We show you how to start off by building five of your own.
This article is dedicated to the bit hitting combination of PowerPoint and PDFs, and three particular use cases that will have these two giants working together in perfect harmony: how to convert PowerPoint to PDF on Windows and macOS, how to convert PDF to PowerPoint, and how to insert a PDF into PowerPoint.