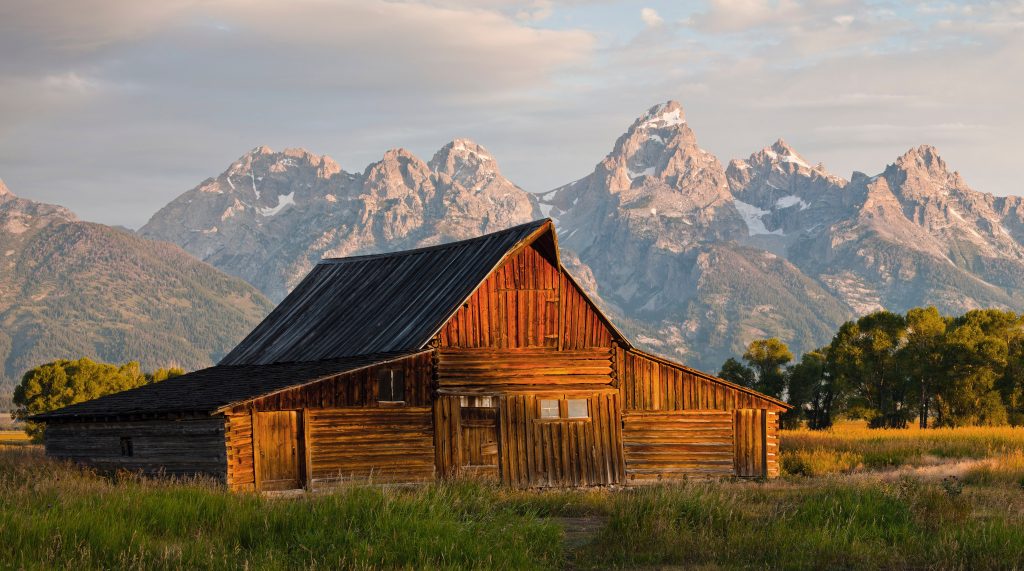
Have you ever noticed that when you’re travelling on a train, watching the world go by, the trees and plants close to you seem to rush past in a blur but the hills in the distance barely seem to change? This effect is known as motion parallax and is an important depth cue which helps us determine distance between objects. If we apply this parallax scrolling effect to our 2D digital imagery it can create an illusion of depth, bringing the visual to life.
But! Most people will tell you that you need some expensive video-creation software in order to make a parallax effect. Well, that’s not strictly true. We made the following example just using PowerPoint. And the best news is that you too can make a parallax scrolling animation in PowerPoint in just five easy steps.
Parallax scrolling use cases
Not only is this a cool effect for all sorts of animations (hey we make animations just using PowerPoint all the time, like this one on the BrightCarbon homepage), but you can use this effect to create some really slick, cinematic slides. Think about how this would take your next keynote presentation up a notch, and add some real design finesse to your next pitch presentation.
But without further ado – this is how you go about doing it.
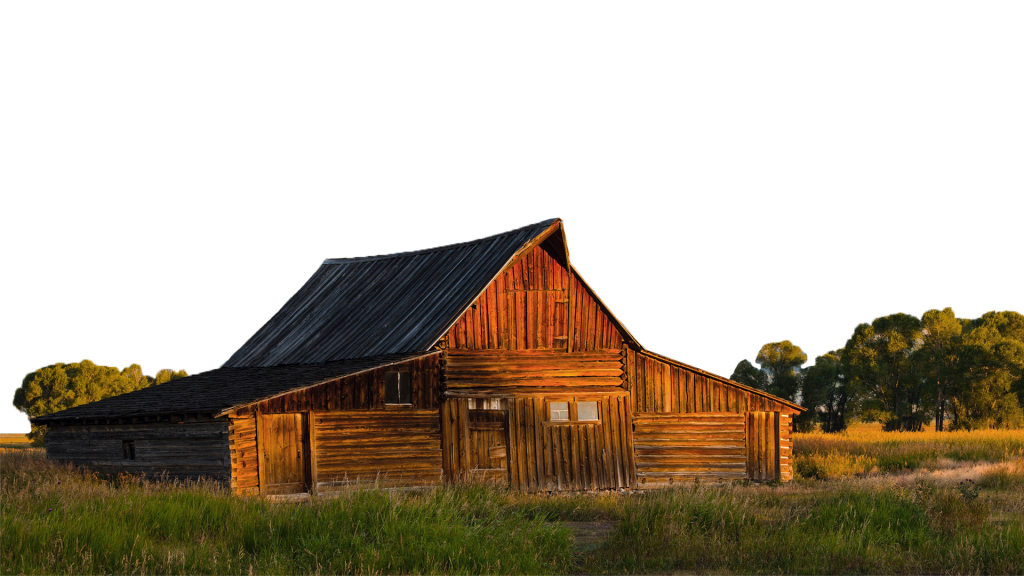
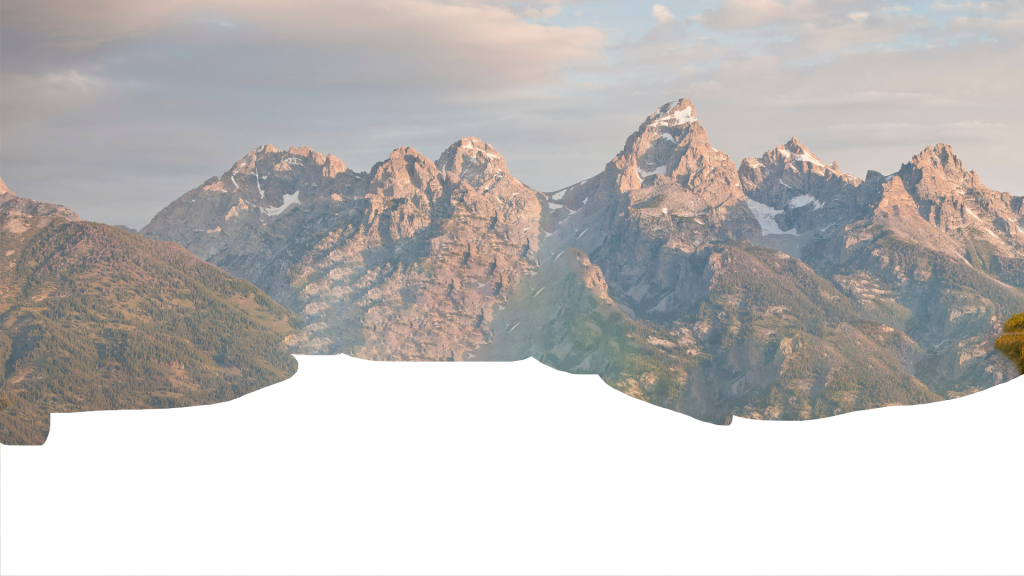
Step 1: Find your image and split it into layers
First things first, you’ll need to split your image out into different layers (alternatively you could collect/create a series of images which can be combined to create a scene). I started with this photo from Unsplash and used Adobe Photoshop to separate it into foreground and background layers.
You can also use PowerPoint to split out your layers. Draw a freeform shape and use the Intersect Shapes tool to cut out the piece of the image you need. We use this trick all the time when we make colour pop images, and there’s a handy tutorial showing you just how to do this on our Twitter feed.
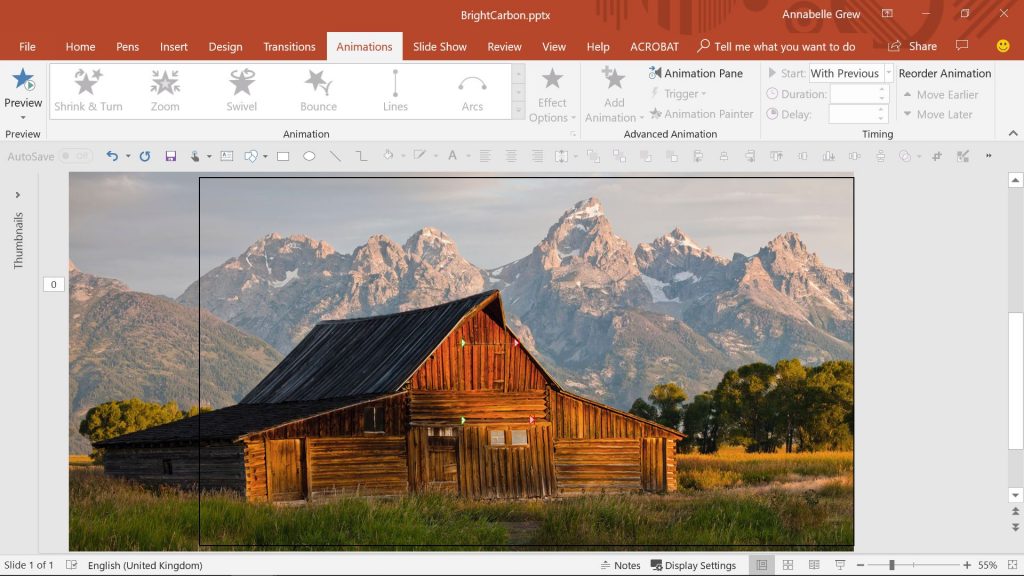
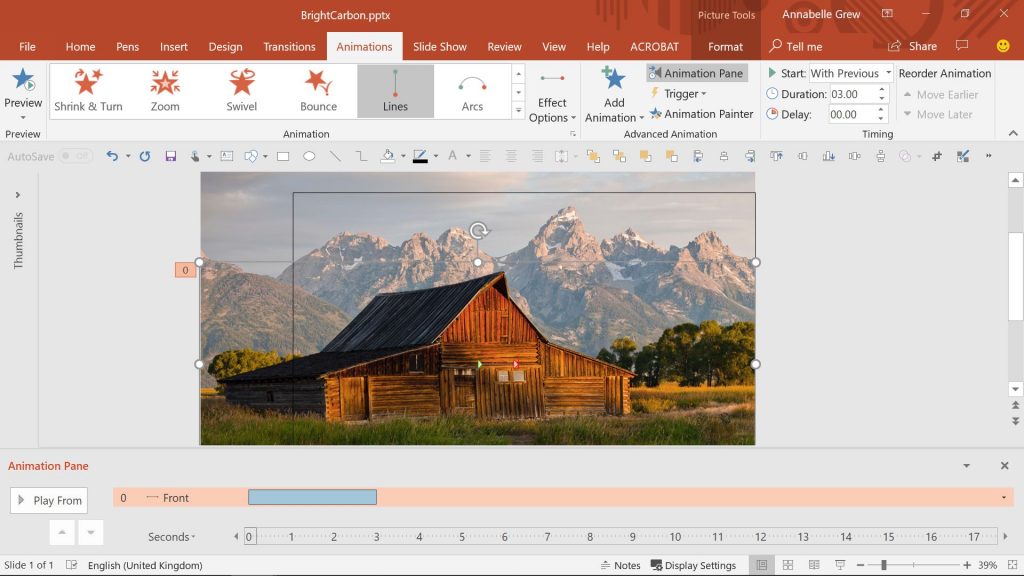
Step 2: Position the images in PowerPoint
Next, we need to import those images into our PowerPoint deck and position them to construct our scene. We’re going to create a horizontal pan so we need to make our images a bit larger than the slide so they have room to move across the screen.
Tip: to make it easier to see where the edge of the slide is, create a rectangle with just an outline, make it the same size as your slide and place it in front of your images as a guide.
Step 3: Create the scrolling effect in the foreground
Now it’s time to add some movement! Select your foreground image and add a motion path moving from left to right. (If you’re not confident with animations and motion paths you might find it helpful to check out this free video resource first.)
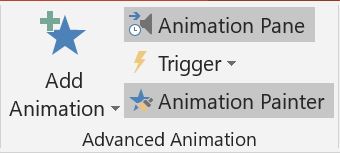
Step 4: Create the scrolling effect in the background
Then use the animation painter to copy that motion path onto the background image.
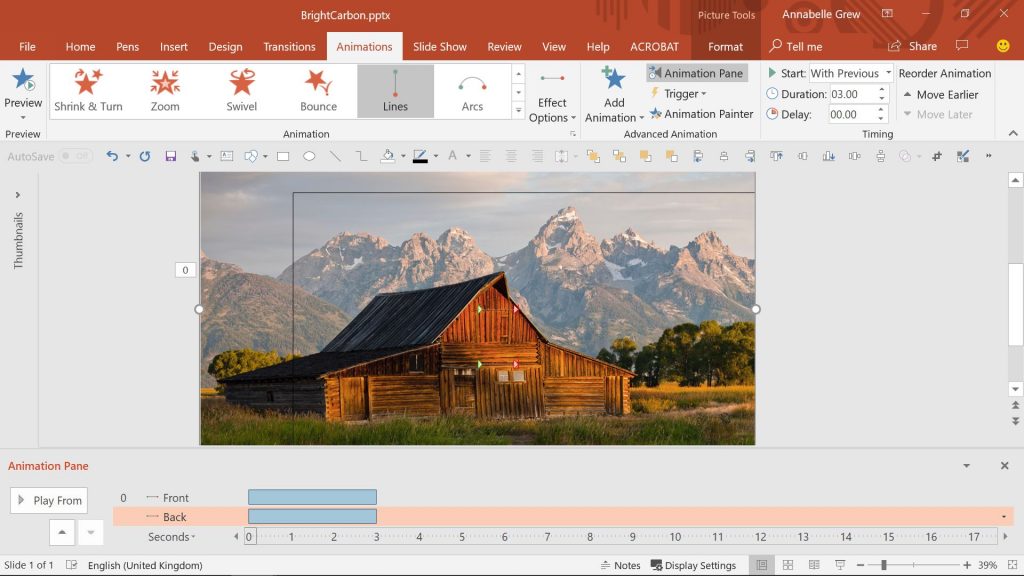
Step 5: Change the timings to create the parallax scrolling effect
We’ve got our scene to move now, but it’s all moving at the same pace which doesn’t give us the parallax scrolling effect we want. To change that, let’s adjust the speed at which the layers move. Remember our view from the window on a train journey: the objects closest to us seem to move very quickly whilst the ones furthest away appear to move more slowly. So, we’ll take our foreground layer and adjust the length of the motion path. We’ll leave the duration the same (3 secs) but because the layer now moves a greater distance in that 3 seconds, it’s moving faster than the layer behind.
To increase this effect further we’ll also adjust the length of the motion path on the background layer. This time we’ll make it shorter, again leaving the duration the same, so that it moves more slowly.
Tip: Hold down the shift key when you’re resizing your motion path to keep it moving on a completely horizontal plane. You don’t want your barn to start sliding down your mountain!
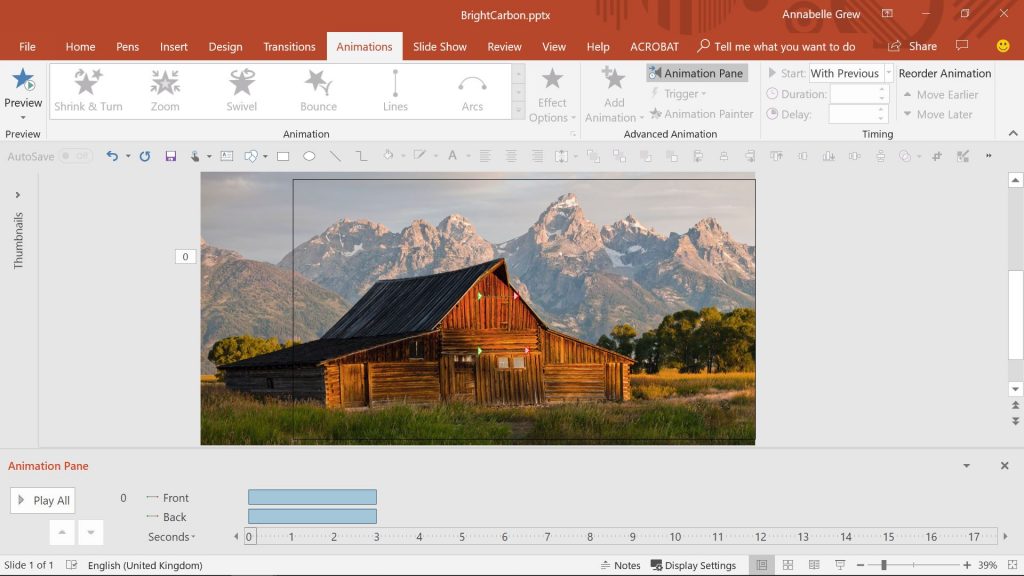
Parallax scrolling – unlocked!
Play back your animation and there you have it, a parallax scroll effect to add depth to your presentation! You can adjust the number of layers and the variation in speed between the layers to create something bold or something very subtle, just experiment.
Bonus! You can also use this technique to create a parallax zoom, just use a grow / shrink animation on each layer and have the foreground grow larger than the background.
And if you want to try your hand at creating other types of 3D illusions using PowerPoint, check out how to create 3D rotation in PowerPoint using morph here and here.
A PowerPoint template is the only brand element you put in the hands of the whole organisation – regardless of computer literacy, or design skill: it has to be robust enough so that it can’t be broken, but strong enough to carry your brand voice into every meeting, or leave-behind, or proposal it gets used for. Read on for a list of the essential elements every PowerPoint template needs to have.
Designing content to be accessible doesn't have to mean you compromise on vibrant design, or your brand guidelines. In this article you'll learn more about colour contrast and how you can preserve colour vibrancy without having to sidestep WCAG accessibility guidelines.
It's Christmas! After a late night with too much eggnog and brandy snaps we set ourselves a challenge to see who could come up with the wildest PowerPoint Christmas card! So it's the day after the night before, and through blurry eyes we can reveal our efforts...
I wanted to make sure I send you both a HUGE thank you for making this story come to life and creating amazing graphics to help. We really appreciate BrightCarbon for stepping up our presentation game massively!


Excelente publicación. Gracias.
Awesome Annabel….
…….I must try this out