It’s been over two years since we released our powerful, productivity-boosting PowerPoint add-in, BrightSlide, and we still get starry-eyed when we talk about it! If you haven’t heard of BrightSlide before – firstly, where have you been? And, secondly, you should download it (for free!) before reading any further.
When it first hit the virtual shelves we gave you a run-down of its best features, and two years on it has even more to offer. Here are the top 5 features we think you should know about:
Split & Align
What does it do?
It allows you to split one large shape into several smaller ones, whilst keeping them all perfectly aligned.
Why is this a useful tool?
If you do this manually, it can take a long time to figure out exactly how big each shape needs to be to fit on the slide, as well as work out the gaps that need to be left between shapes. With this tool, you simply draw out a shape that fills the whole space, and the rest is done for you!
Give me an example!
Here’s how you can use Split & Align to create four perfectly spaced circles to neatly lay out your value propositions on a slide.
Written Instructions: First select the shape you wish to split, then navigate to the Split & Align tool in your BrightSlide tab. Select the number of shapes you want per column and per row. You can also tweak the gutters between each of the new, smaller shapes. Select OK to finalise the changes
Reference shape
What does it do?
This new BrightSlide feature means that you can choose whether the first or last object that you select is used as a reference in special BrightSlide features like Align To, Match Size, Add To Group and Animate To. You can set your preference in the new Settings tab by selecting Set Reference Shape UI.
Why is this a useful tool?
This tool gives you the flexibility to customize your BrightSlide experience to whatever suits you best. If you’ve been using BrightSlide for a while, you might find it easiest to stick with First Selected as that’s the default setting. But our research shows that Last Selected is more intuitive, and can save you having to carefully select objects in order when dealing with a lot of shapes. You can change your preference in Settings on your BrightSlide tab.
Give me an example!
The Last Selected option comes in handy when you want to change the size of many shapes using the Match Size tool.
Written Instructions: Once you’ve confirmed Last Selected as your preference in Settings, you need to use your mouse to lasso all of the shapes you wish to change. Then hold down the Shift button and select the object you want to match twice, making it your reference shape. Then use the Match Size button in your BrightSlide tab to make each object the same.
Waterfall delay
What does it do?
Although this isn’t a new feature, it may be one that you haven’t tried before. You can find it under Animations > Utilities. This handy little tool allows you to animate a whole bunch of objects, so they move in a lovely flowing cascade.
Why is this a useful tool?
Before BrightSlide this would have taken an age to set up! Now you can achieve incredibly swish looking animations in just a few clicks.
Give me an example!
Here’s a taste of what you can achieve using the waterfall delay:
Written Instructions: Hold Shift and select the multiple objects that you want to include in your waterfall animation. It’s important that these objects already have animation attached to them. Navigate to Utilities on the BrightSlide tab, then select Waterfall delay. You also have the option to modify the timings and which effects are included. Click OK to finalise.
Swap objects
What does it do?
This feature does what it says on the tin, allowing you to swap the position of two objects on your slide. Thanks to some new coding wizardry, the swapped objects now also stay in the same layer, meaning swapping something out won’t affect your design at all.
Why is this a useful tool?
Do you know that feeling when you’ve spent ages designing a slide and making it look perfect, but right at the end you realise you’ve got a better image that you should have used? Rather than messing around with the selection pane and trying to deconstruct your slide, this tool lets you to swap it out with no fuss.
Give me an example!
Here’s how you can use Swap Objects to seamlessly change up your slide:
Written instructions: Simply select the objects that you want to swap (you may have to use the Selection Pane to get to your object if it’s hidden behind multiple layers). Then click the Swap Objects button on your BrightSlide tab.
Split text (Update)
What does it do?
We did talk about this feature on our last round-up, but it’s been given a new lease of life to make it even more useful! Now when you want to take a block of text and split it into sentences or paragraphs, the text will be distributed vertically across the screen, rather than horizontally. It also keeps the formatting and bullet point styles of your text consistent after splitting.
Why is this a useful tool?
It’s important that you use small chunks of information on your slide, rather than showing your audience everything all at once. This helps them retain the information since you control the pace, rather than them rushing ahead and reading the text on screen before you’re ready to talk about it. This feature allows you to quickly split up your text and animate each box to appear separately.
Give me an example!
Here’s a short video showing how this feature can give you more control over your slides:
Written instructions: Select the text box you wish to split, then click the Split text button on the BrightSlide tab. You can choose whether to split by paragraph or by sentence.
Bonus tip: Don’t forget to update BrightSlide to access the new features!
For those of you who have been using BrightSlide for a while, you might be wondering where all these snazzy new features are. Don’t worry, you haven’t been left behind, you just need to download the newest version of the plug-in!
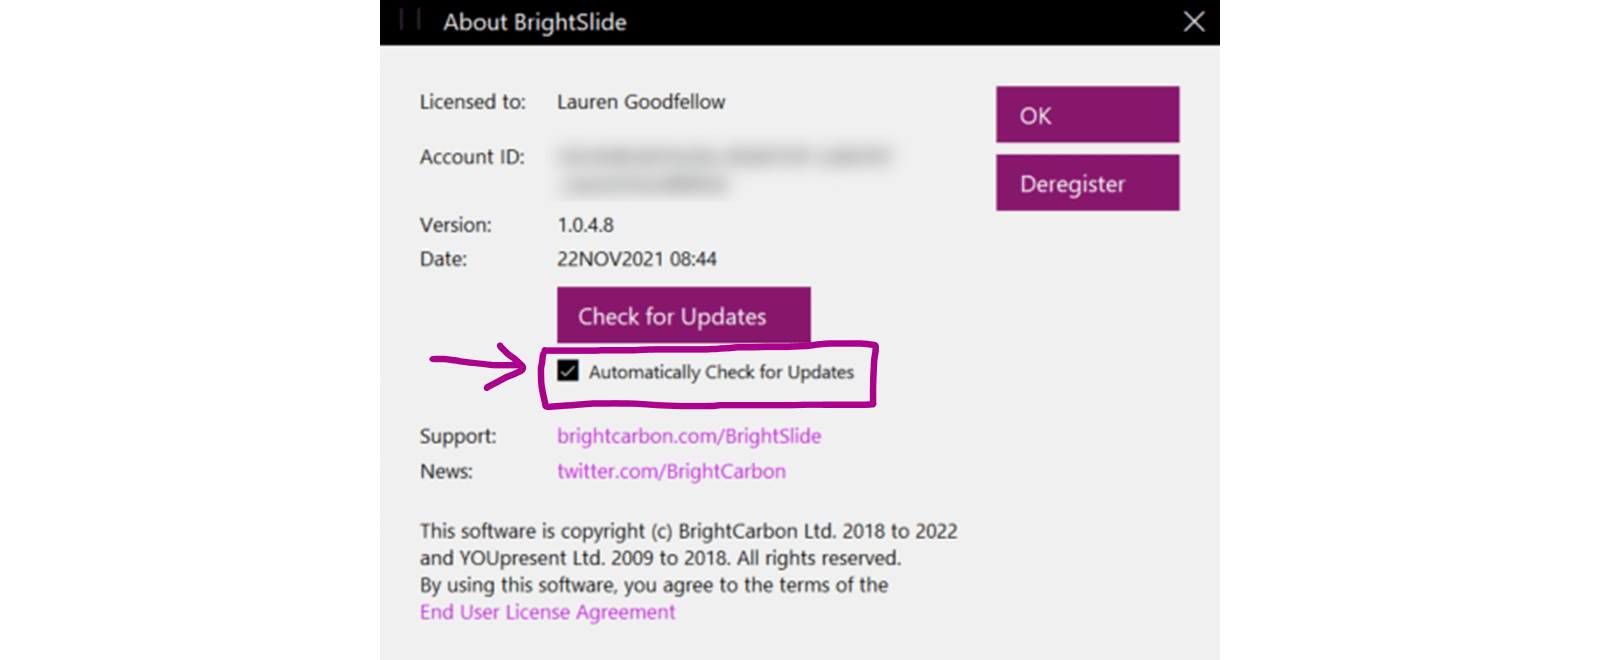
Make sure you turn on this option, so you don’t miss out on future updates. Here’s how to do it:
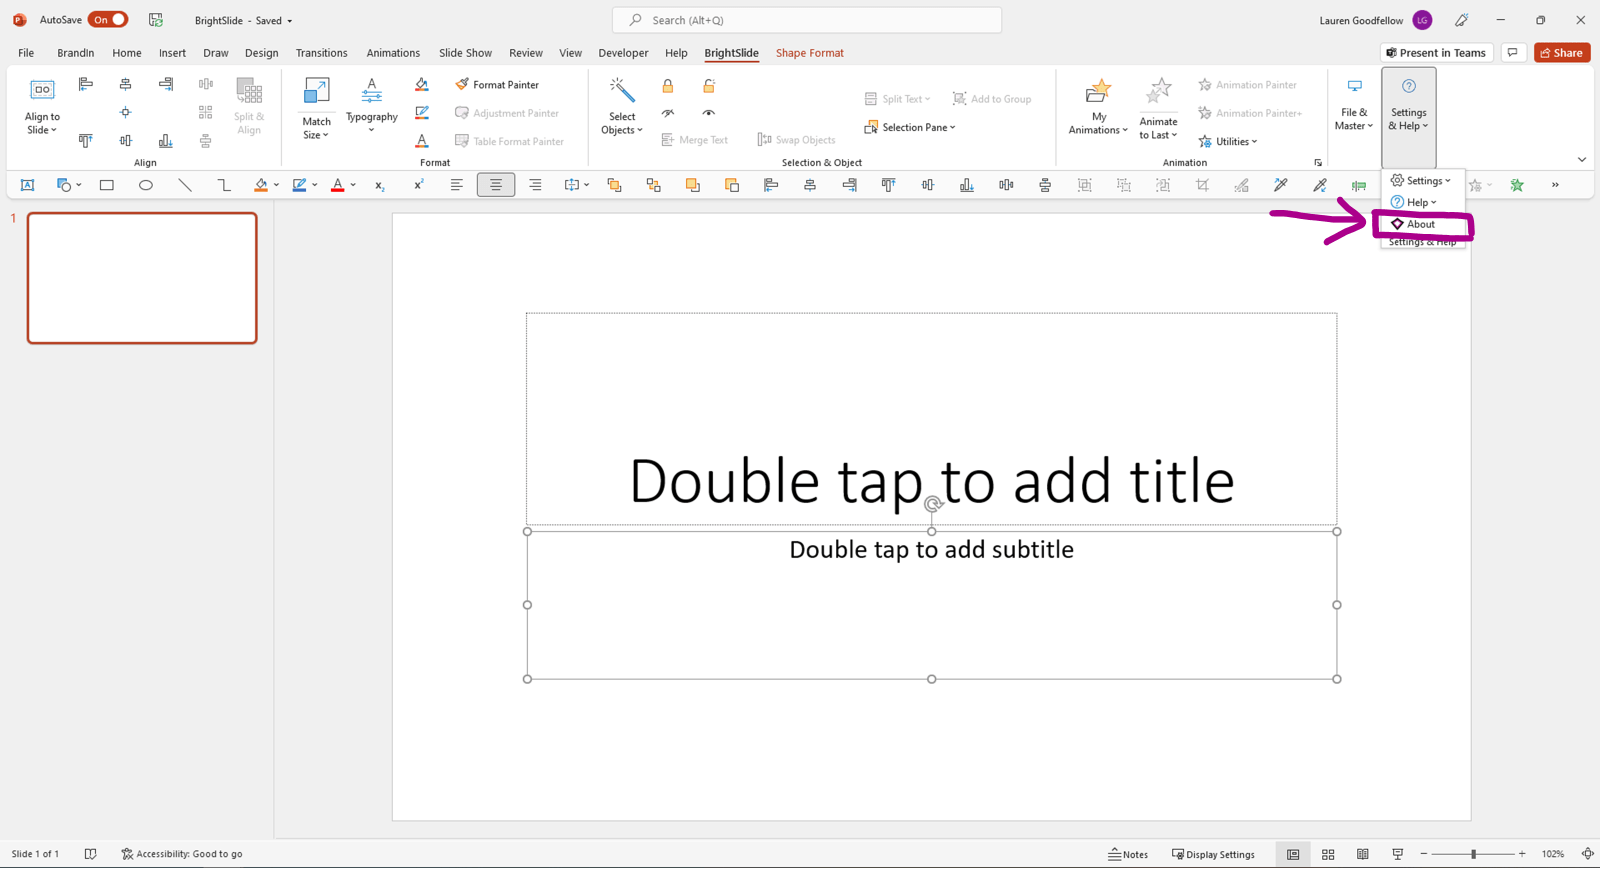
First click the Settings & Help option on your BrightSlide tab Then select About
Check for the latest updates, and make sure you select Automatically check for updates to avoid missing out on any new features in the future!
Which is your favourite BrightSlidefeature? Leave us a comment below!
Microsoft has now made sensitivity labels available throughout Microsoft 365. This feature allows you to visually mark and electronically protect your Microsoft 365 files to make sure that they don’t fall into the wrong screens!
How marvellous that the recent versions of Office automatically embed videos into PowerPoint instead of linking them. And how frustrating when you bundle up your multimedia presentation and someone else reports that the videos don’t play on their PC. This is an issue we’ve come across many times over the years, and it can be very tricky and time-consuming to troubleshoot, so we’ve developed a little tool to help.
Sometimes PowerPoint feels a bit finnicky, right? Lots of features and functions, but where is it all hiding? Surely there's a better way. You're right. There is a better way, and by applying three changes to your workflow you can shave hours off your slide creation time - no exaggeration.
The new features are fantastic! Your PowerPoint add-in helps me work so much more efficiently, & your webinars are great. I am grateful that you freely share your insights & techniques. Thank you!


The new features are fantastic! Your PowerPoint add-in helps me work so much more efficiently, & your webinars are great. I am grateful that you freely share your insights & techniques. Thank you!