You need a media holder graphic for your next big PowerPoint project, but you don’t want to pay to download vectors or graphics from a stock image site. That’s fine – you don’t have to compromise. With a dash of patience and a dollop of creativity you can create professional-looking assets using just the tools you can find in PowerPoint.
This blog post will walk you through how to create this media holder, but it’s just a guide; you can customise it at any stage to create your perfect media holder graphic in PowerPoint.
It’s just 3 rectangles, 2 circles and a line (and a semi-transparent box for the eagle-eyed amongst you!). Media holders are often useful in presentations, whether for displaying screenshots, website or app mock-ups, or as a neat way to show videos.
Step 1
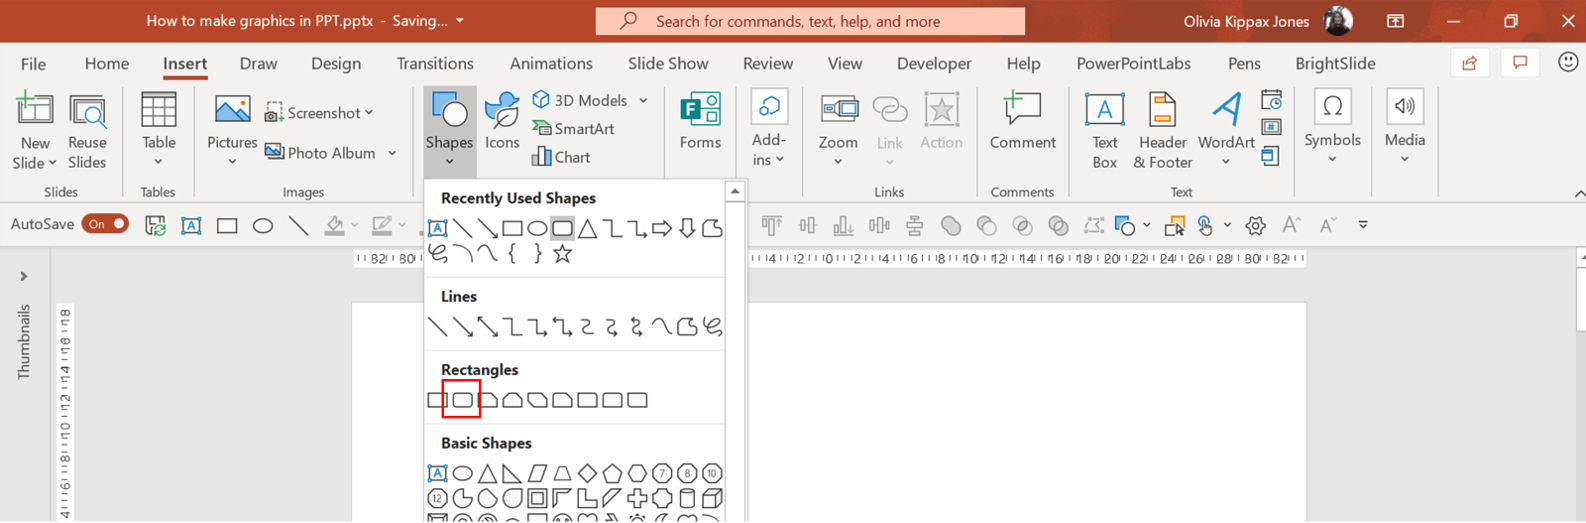
Let’s get started. First, you’ll need a rounded rectangle, you can find this by going to Insert > Shapes > Rectangle: RoundedCorner. This will become the edge of the phone.
Change the colour to light grey (Shape Format > Shape Fill), or, if you’re working from an existing image of a mobile phone, grab the exact colour from the image using the eyedropper tool.
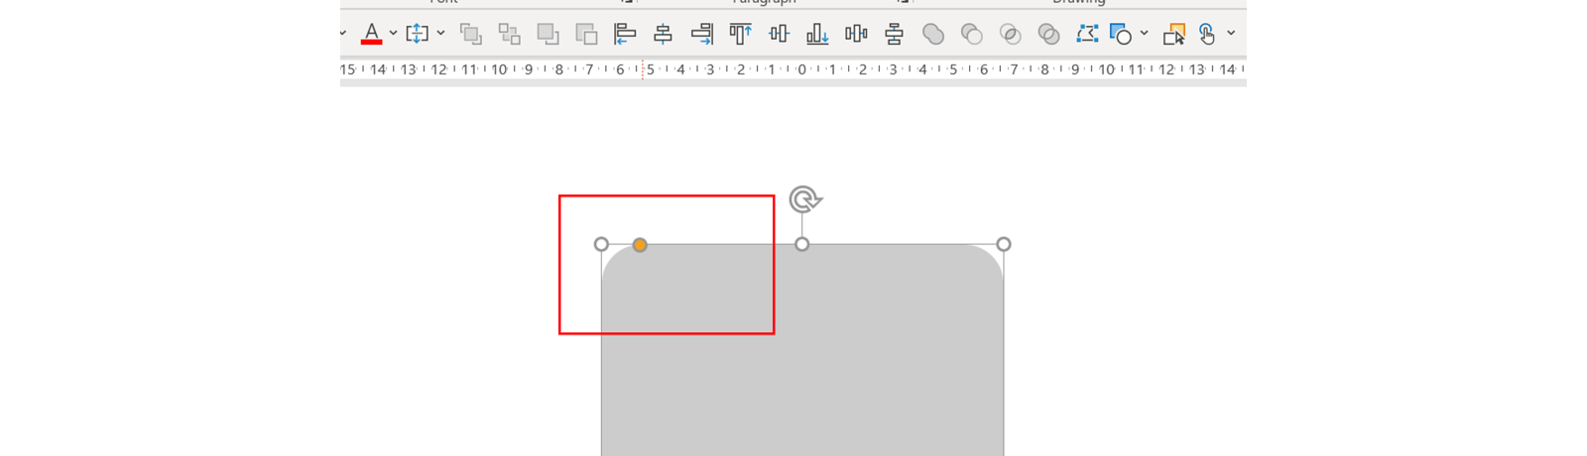
You can adjust how rounded the corners are by using the little orange nodules.
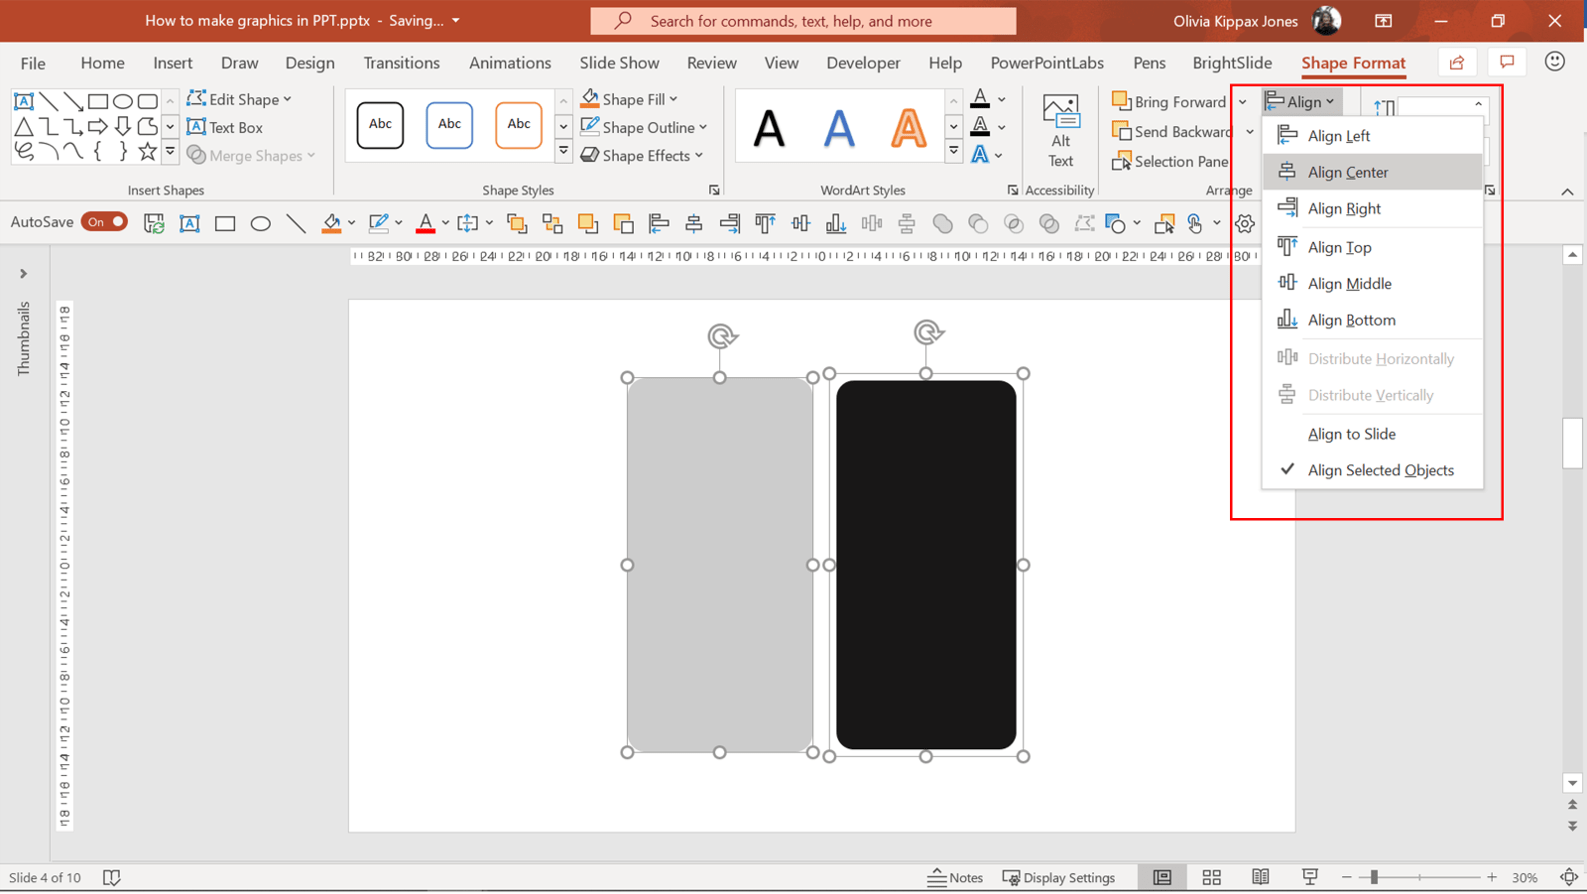
Once you’re happy with the shape, Copy then Paste it (Ctrl + C, Ctrl + V). Then change the colour of this second shape to black. You need to shrink the second shape down – just a tiny bit – so that when it’s placed on top of the grey rectangle you’re left with a thin grey edge around the outside.
Step 2
Next, align these shapes so that the smaller black rectangle is centred on top of the grey rectangle. To do this, select both shapes, go to ShapeFormat and under Arrange select Align, AlignCentre then AlignMiddle.
Step 3
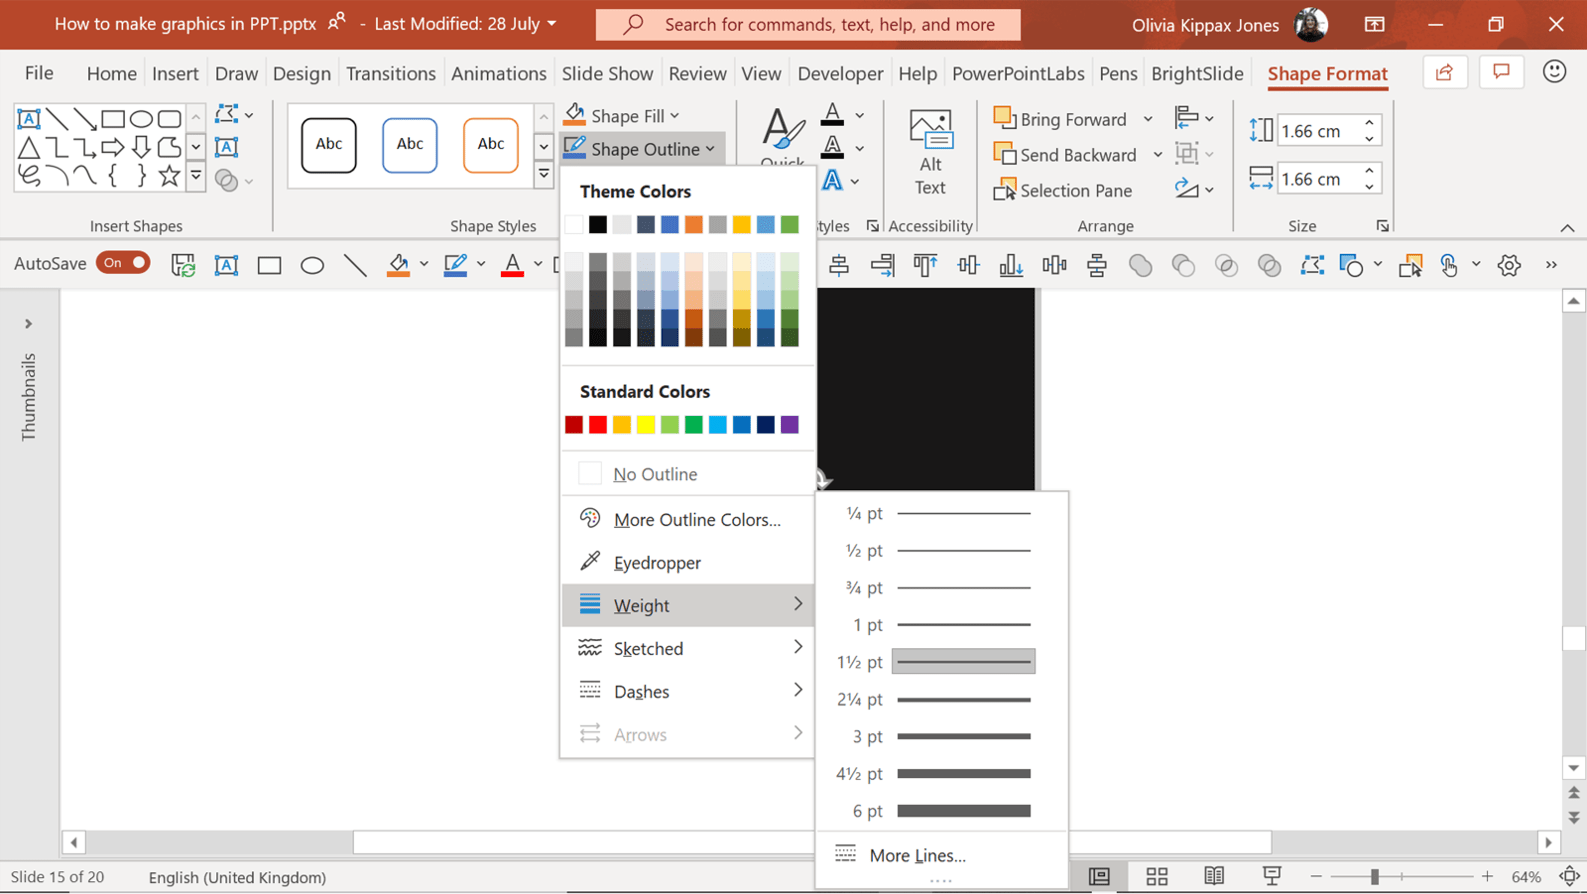
Now you can make the button at the bottom of the phone. Start by making a small circle using Insert > Shapes. To make a perfect circle, hold down the Shift key when you’re creating the shape.
Now add a grey outline and remove the fill. You might need to change the outline weight to get a button that looks right. You can do all of this by selecting the circle and going to the ShapeFormat tab.
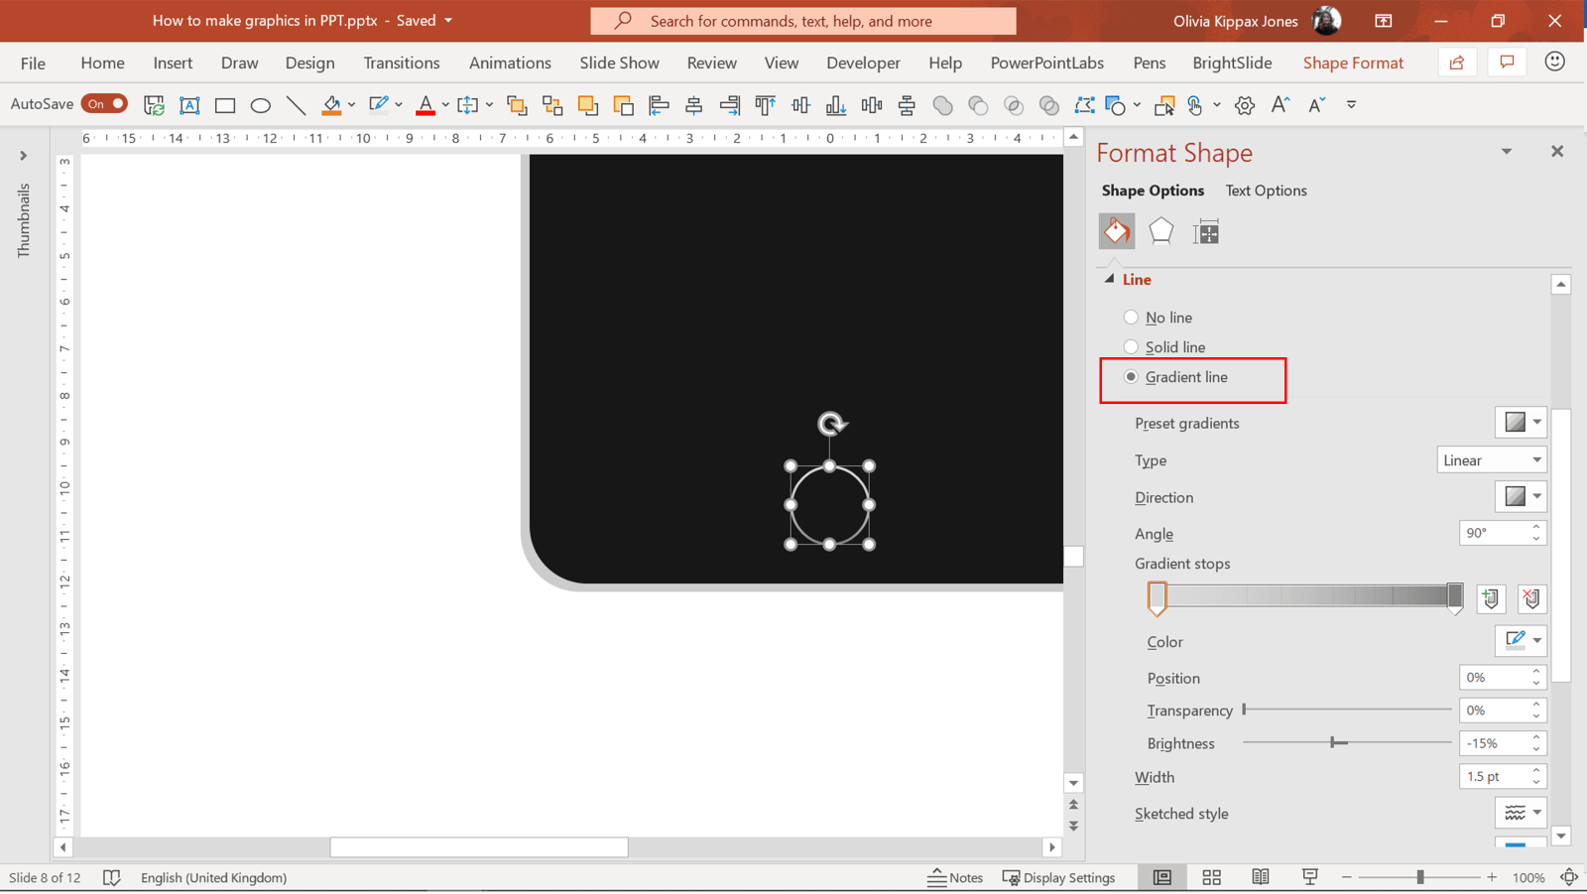
You could leave the button here, but to make the circle look more realistic, add a gradient to the outline. Rightclick on the circle and select FormatShape > ShapeOptions > Line > GradientLine.
Now have a play around with the gradient colours. You want something that is a lighter grey on one side than other to give a metallic appearance.
Step 4
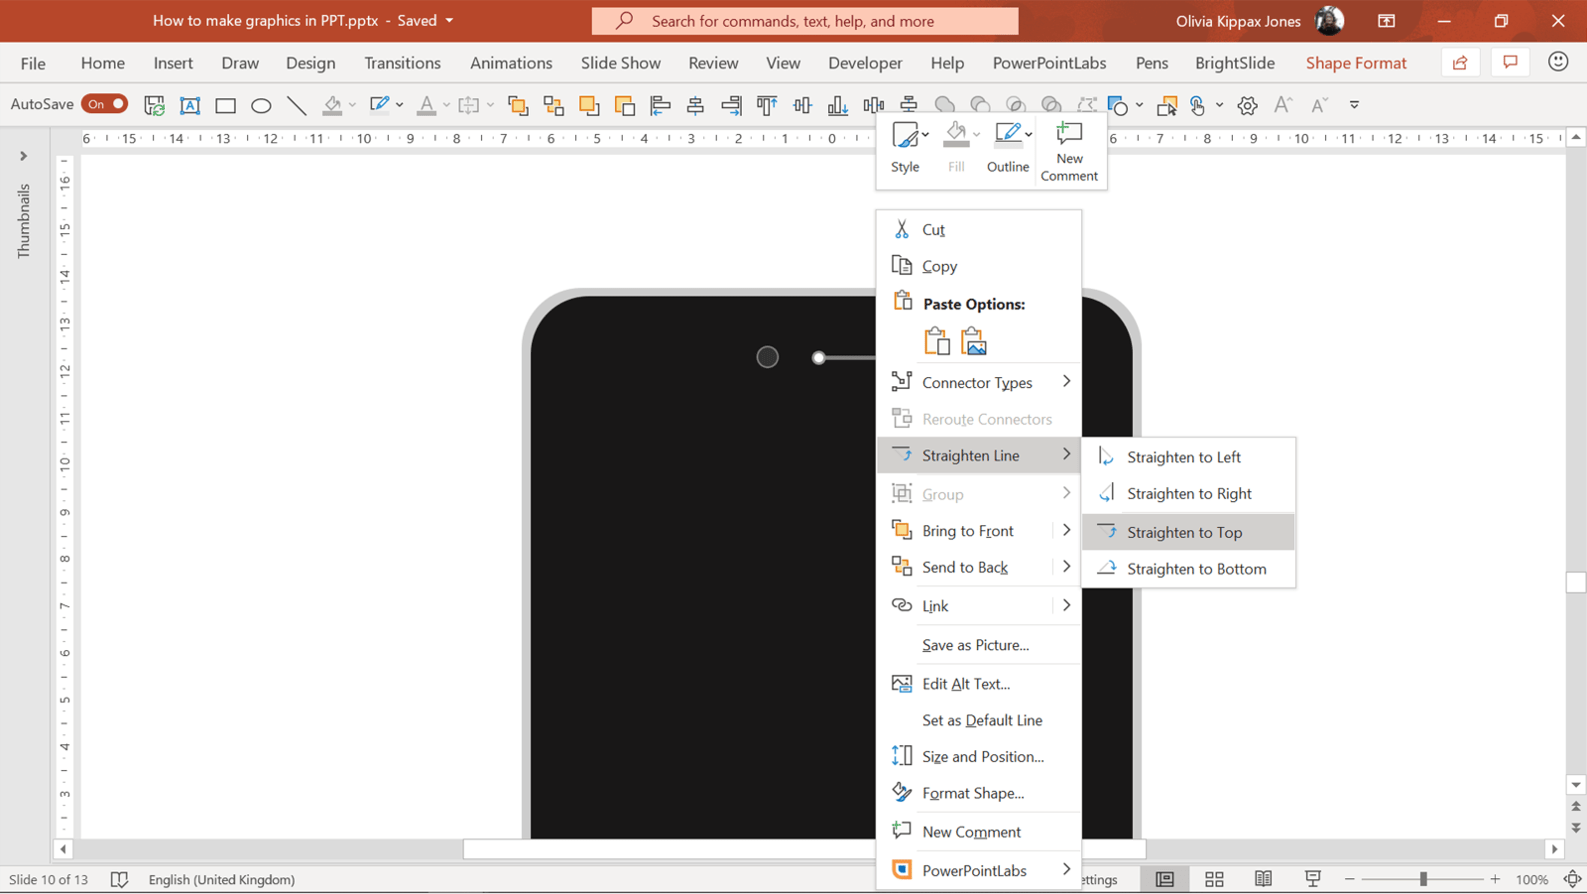
Next, add some more details using the same method as the previous step – we chose a front camera and speaker. They are quite small so don’t need a gradient. To make sure your line is perfectly horizontal, hold down the shift key when drawing it. You can also download our free PowerPoint design and productivity add-in BrightSlide and use its StraightenLine tools. You won’t find these in native PowerPoint and they can really help polish up a graphic.
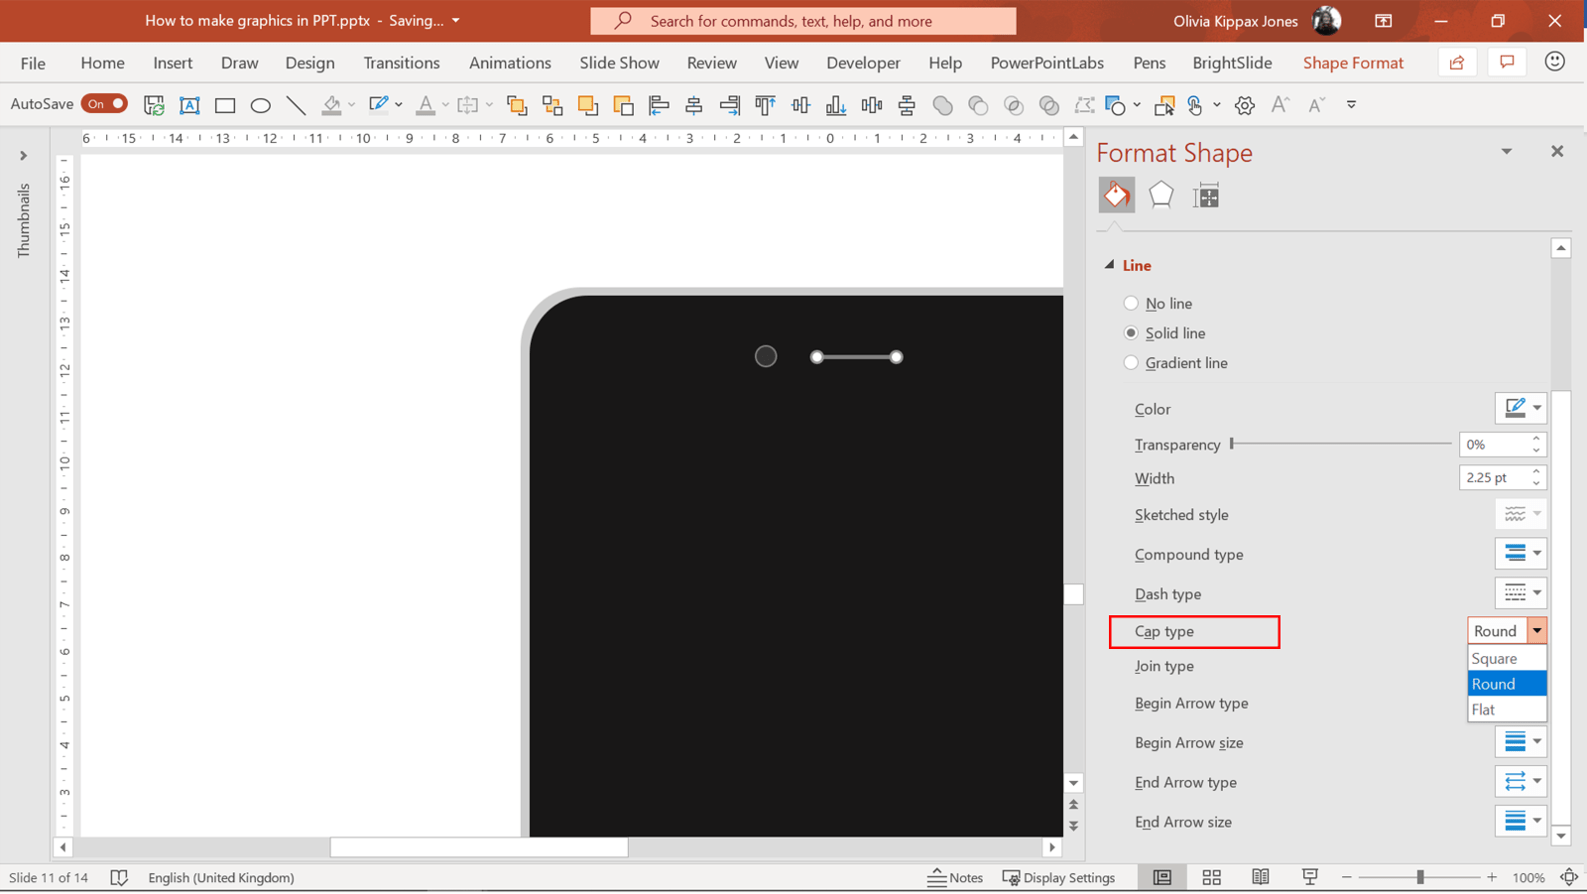
The line needs a rounded edge. Select it, then RightClick > Formatshape > Captype > Round. You might need to change the weight of the line to make it look right.
Step 5
Now to make your PowerPoint graphic look like an actual phone! Create a rectangle shape – this will be the screen. Align it to the centre of your black rectangle.
Next, use the MergeShapes tool. These are some of the most useful tools for creating custom graphics in PowerPoint as they allow you to make complex, unique shapes by combining, intersecting or merging shapes together.
To make the Merge Shapes options available, select two or more shapes. It matters what order you select the shapes in, so select the black rectangle first then the screen shape. Go to ShapeFormat > MergeShapes > Subtract.
It should ‘subtract’ the blue box from the black rectangle, cutting a hole through to the grey shape. Don’t panic if this didn’t work, you might have selected the shapes in the wrong order. Simply Undo your actions (Ctrl + Z) and try again.
You’re doing great! You could stop right here, but if you persevere through the next few steps you’ll end up with a PowerPoint graphic so realistic it will be worthy of printing out to pin on the fridge.
Step 6
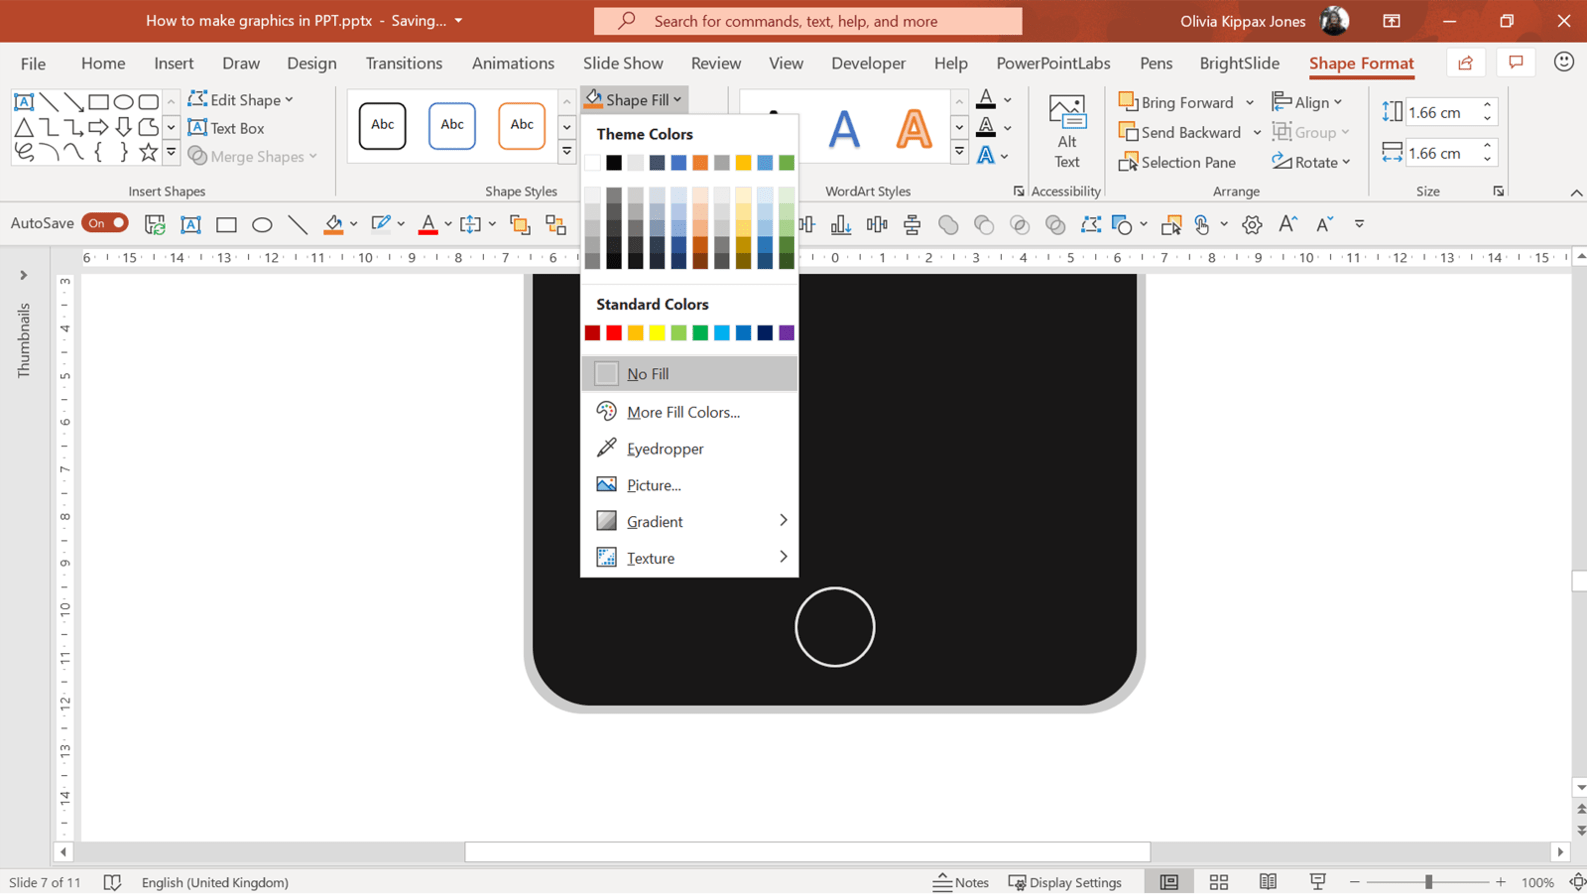
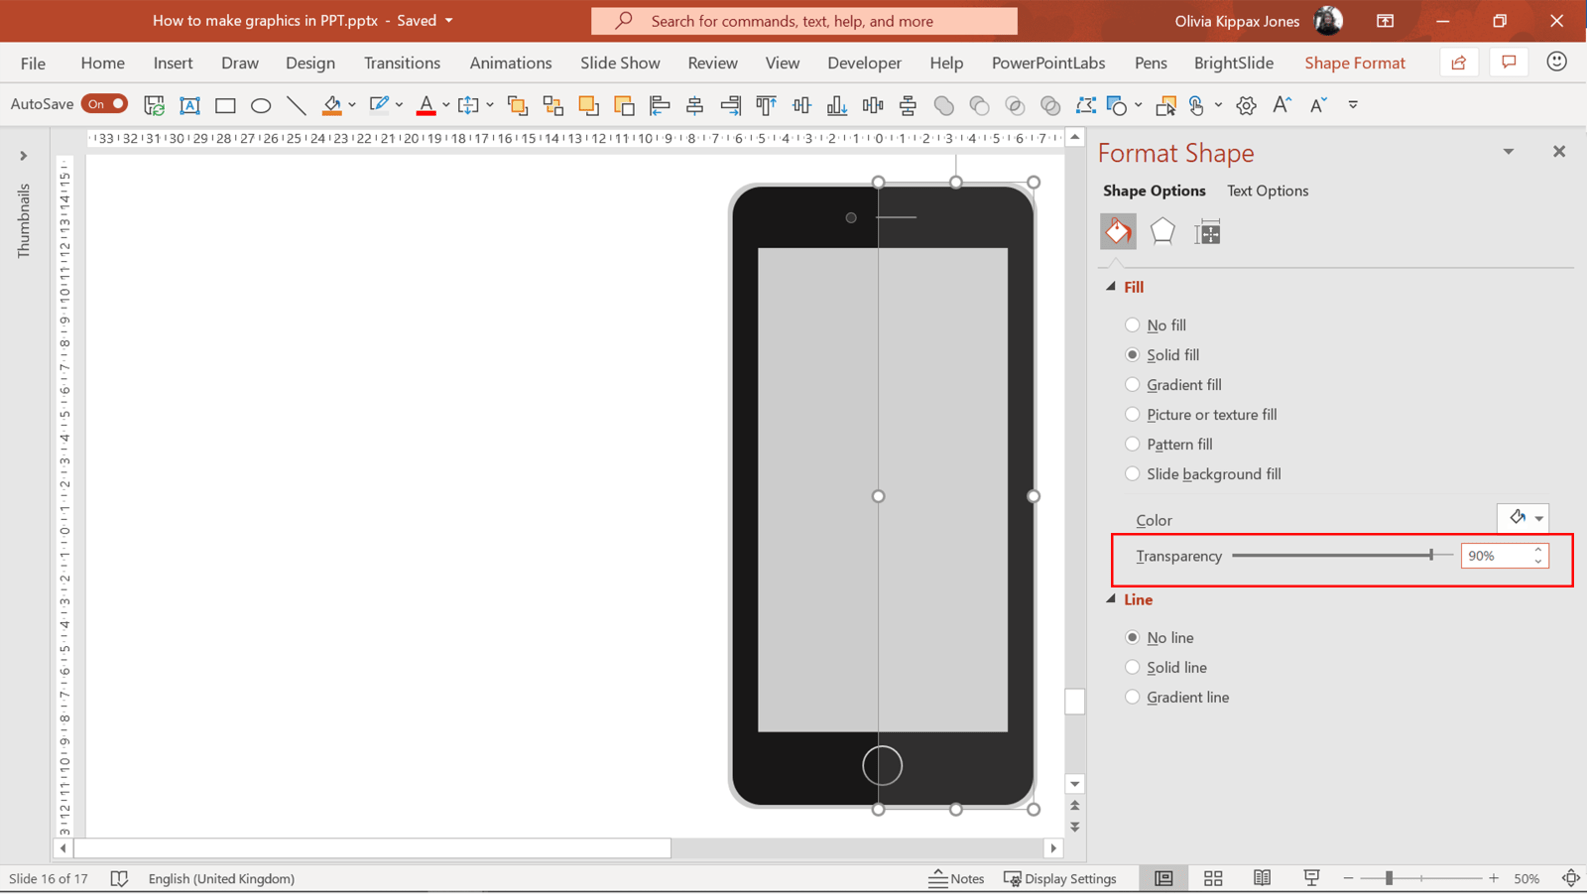
Next, you can add a little shine to your PowerPoint graphic thanks to a semi-transparent box. This will make it look more like the surface of a phone. Create a white rectangle half the size of your PowerPoint graphic. Change the transparency by rightclicking on the shape then selecting FormatShape> ShapeOptions> Fill> Transparency. Use the slider to increase the transparency to 90%. Place it over the phone.
On a white background you won’t be able to see the edges off this shape, however, if you are placing your PowerPoint graphic on a dark background you will be able to. You can remove these pointed edges using the MergeShapes > IntersectShapes tool. Copy and paste the grey rounded edge rectangle, then line up your transparent box on top. Select first the transparent shape then the rounded edge rectangle and click IntersectShapes. The edges of the transparent box should be cropped to match the rounded edged rectangle.
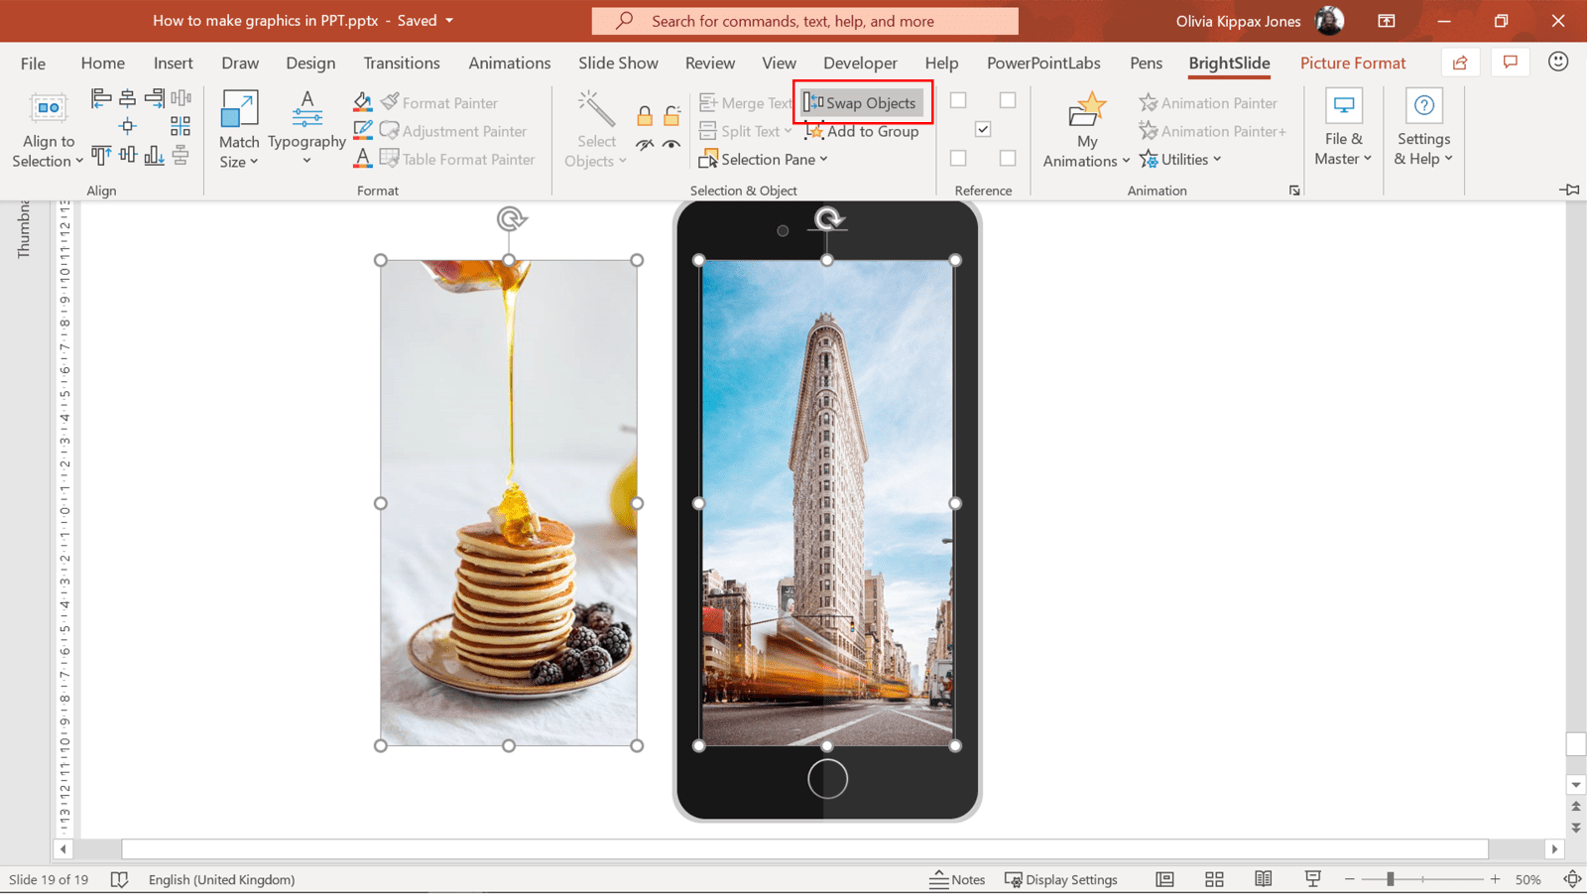
Congratulations! You’ve created your first graphic in PowerPoint! You can now save the PowerPoint file and copy and paste your media holder into a new deck whenever you need to use it. To swap out the image without messing up your beautiful graphic, use BrightSlide’sSwap Objects tool.
We’re calling out one of the major injustices of corporate rebrands across the globe – PowerPoint falling to the bottom of the rebranding checklist. We discuss why it's a problem and how to fix it!
A PowerPoint template is the foundation on which polished and professional presentations are built. We interview BrightCarbon’s new Templates Lead, Gemma Leamy, and pick her brains on the ideal process for creating robust PowerPoint templates.