When you’ve got a monster master deck in PowerPoint stuffed full of every bit of content you could ever hope to cover, navigation can be daunting. Maybe you’re presenting to different audiences with different priorities – do you have to create a unique presentation each time? What if someone asks a question which is perfectly answered by one of your slides – do you have to click through every other slide in the deck to find it?
Why should you use a hyperlinked menu?
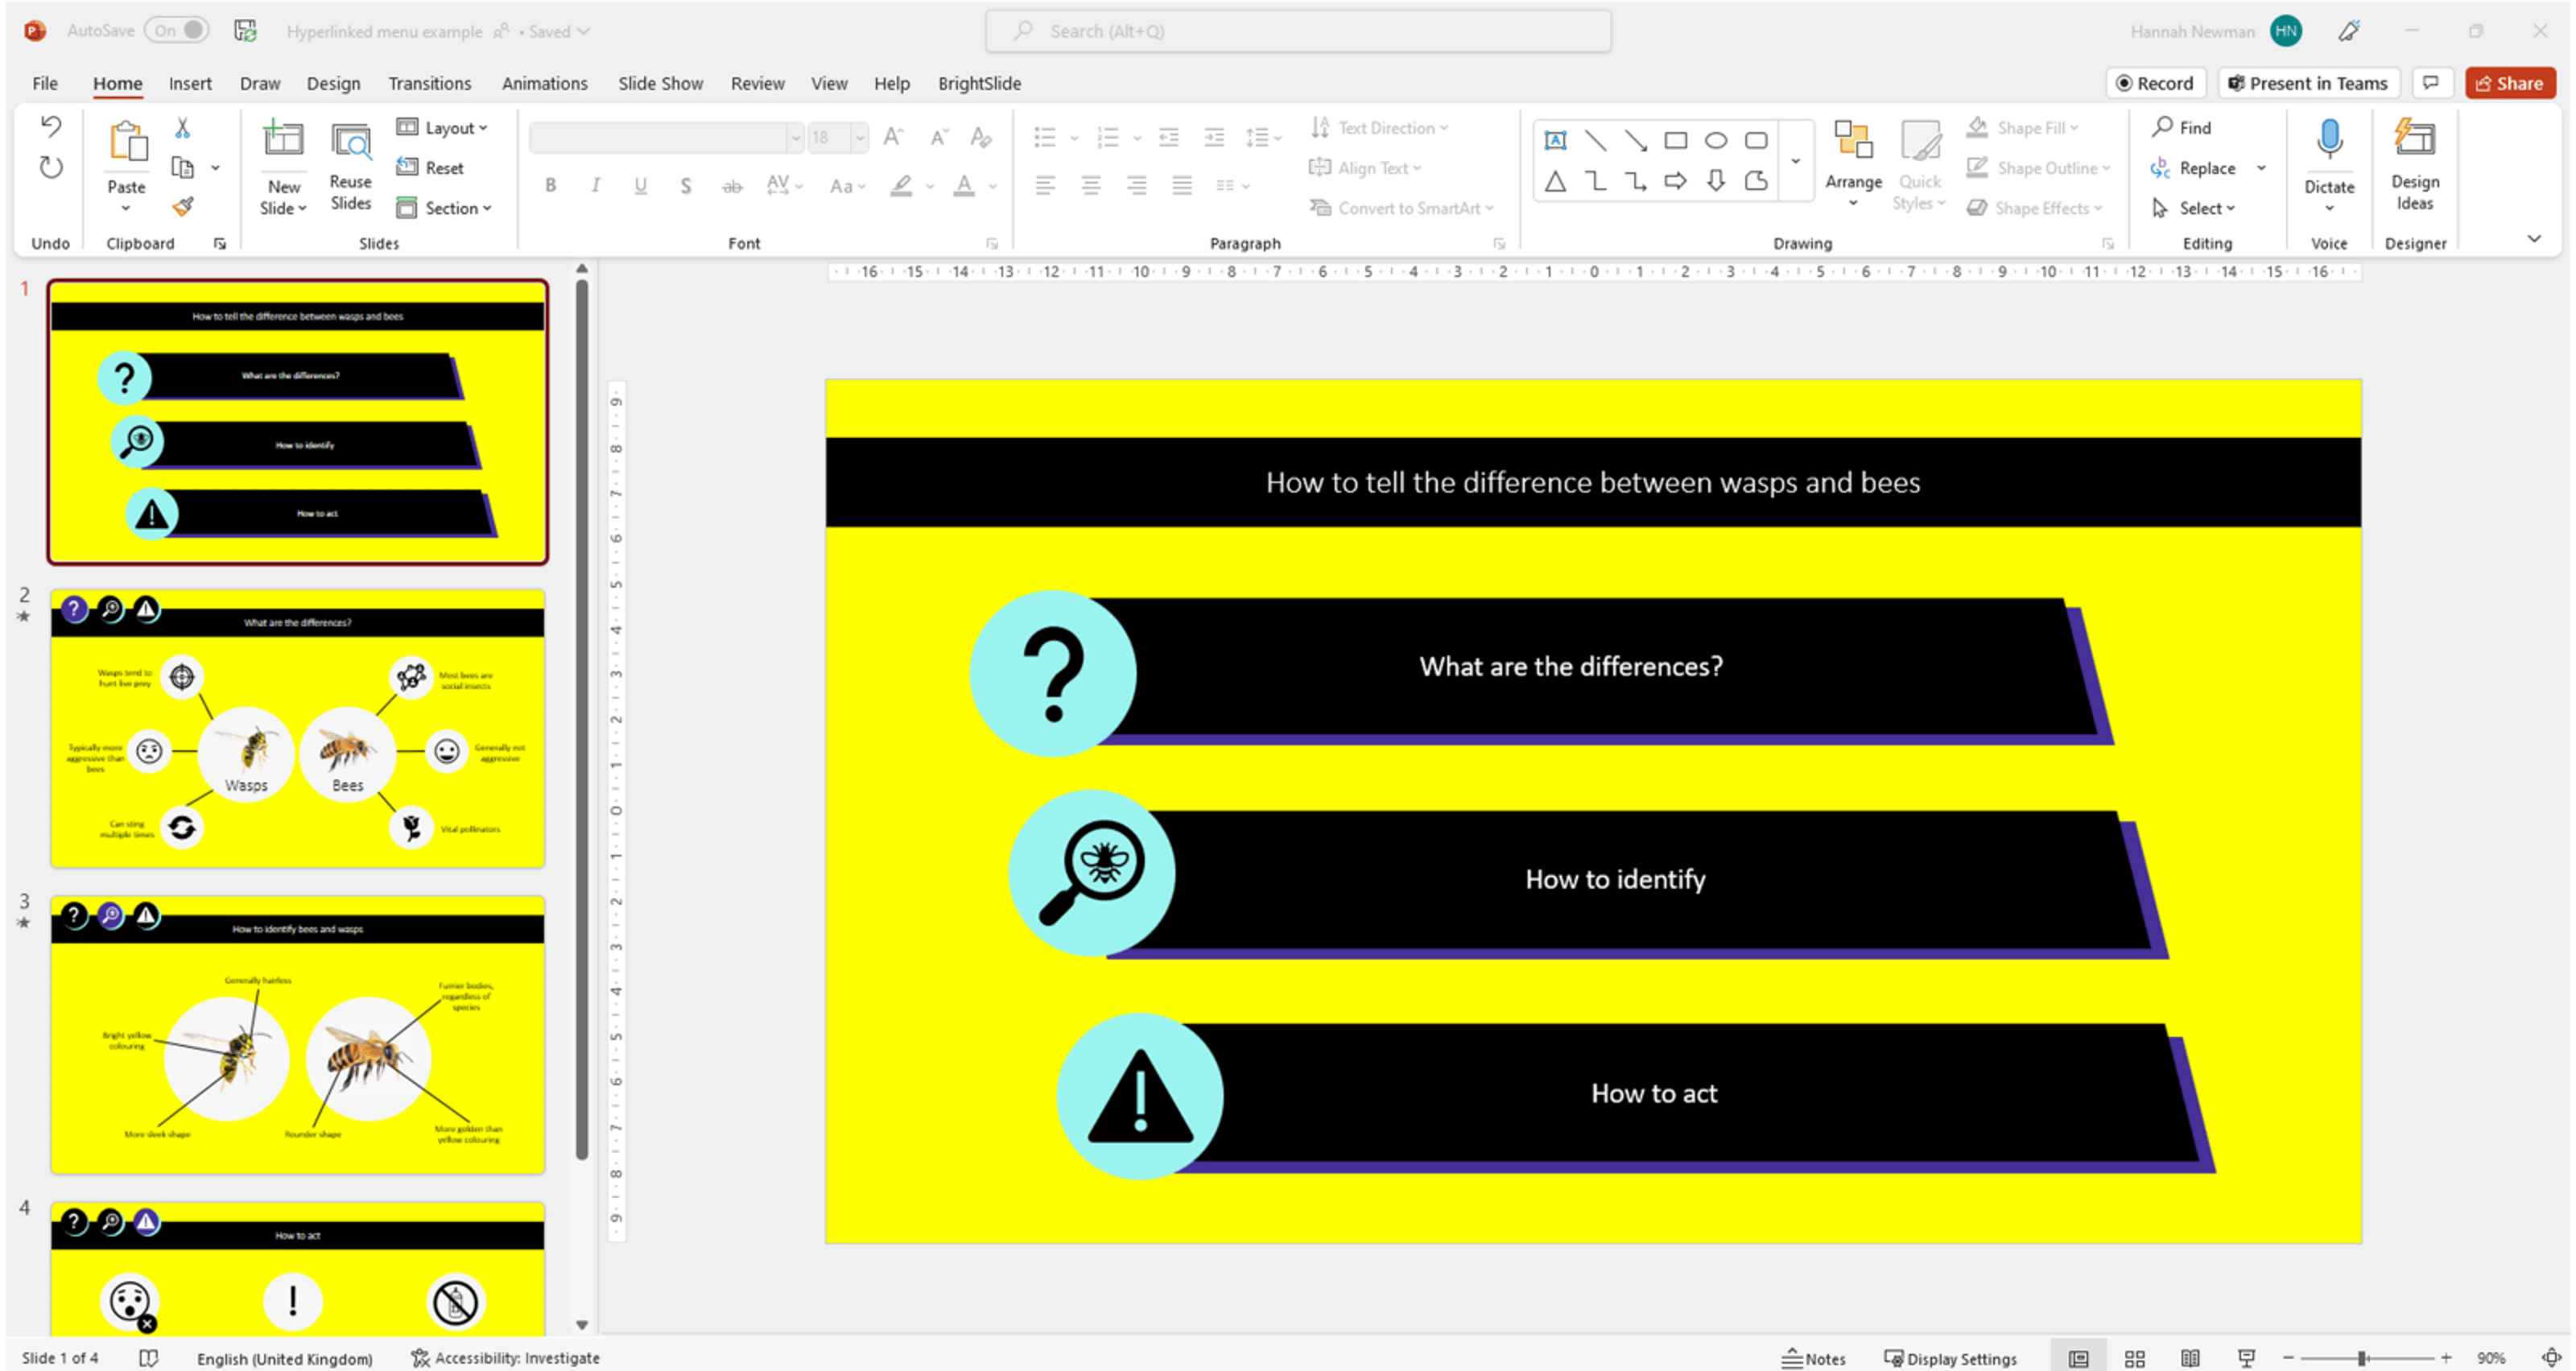
Adding hyperlinks to your agenda or menu slide not only allows you to jump seamlessly to relevant content, there’s also the added bonus of being able to give your audience a flavour of everything you can offer before personalising the content for them. For example, you can give everyone in the room a peek at the full suite of services or products you provide, before moving on to the solution tailored specifically to them.
If the audience can access the file themselves, for example in a kiosk-style deck, hyperlinks are a great way of adding interactivity to your content (for more tips and tricks have a look at this blog post on adding interactivity in PowerPoint). Having a hyperlinked homepage gives your audience the power to determine their own user journey by enabling them to access the content that they want to explore. Being able to go back to remind themselves of sections they’ve already passed, or skip the parts that are irrelevant to them means they’ll be much more engaged than if they had to scroll through everything.
How to build a hyperlinked menu in PowerPoint
If the thought of creating a hyperlinked menu is daunting, fear not! Here’s our step-by-step guide:
Step 1: Getting your presentation ready
Once all your sections are in the order you want them to be and you’ve designed your menu, it’s time to add in the links. We recommend that add your links in last because it avoids the risk of getting your navigation tangled up as you make changes and stops you from linking to deleted slides by mistake.
Step 2: Inserting the hyperlinks
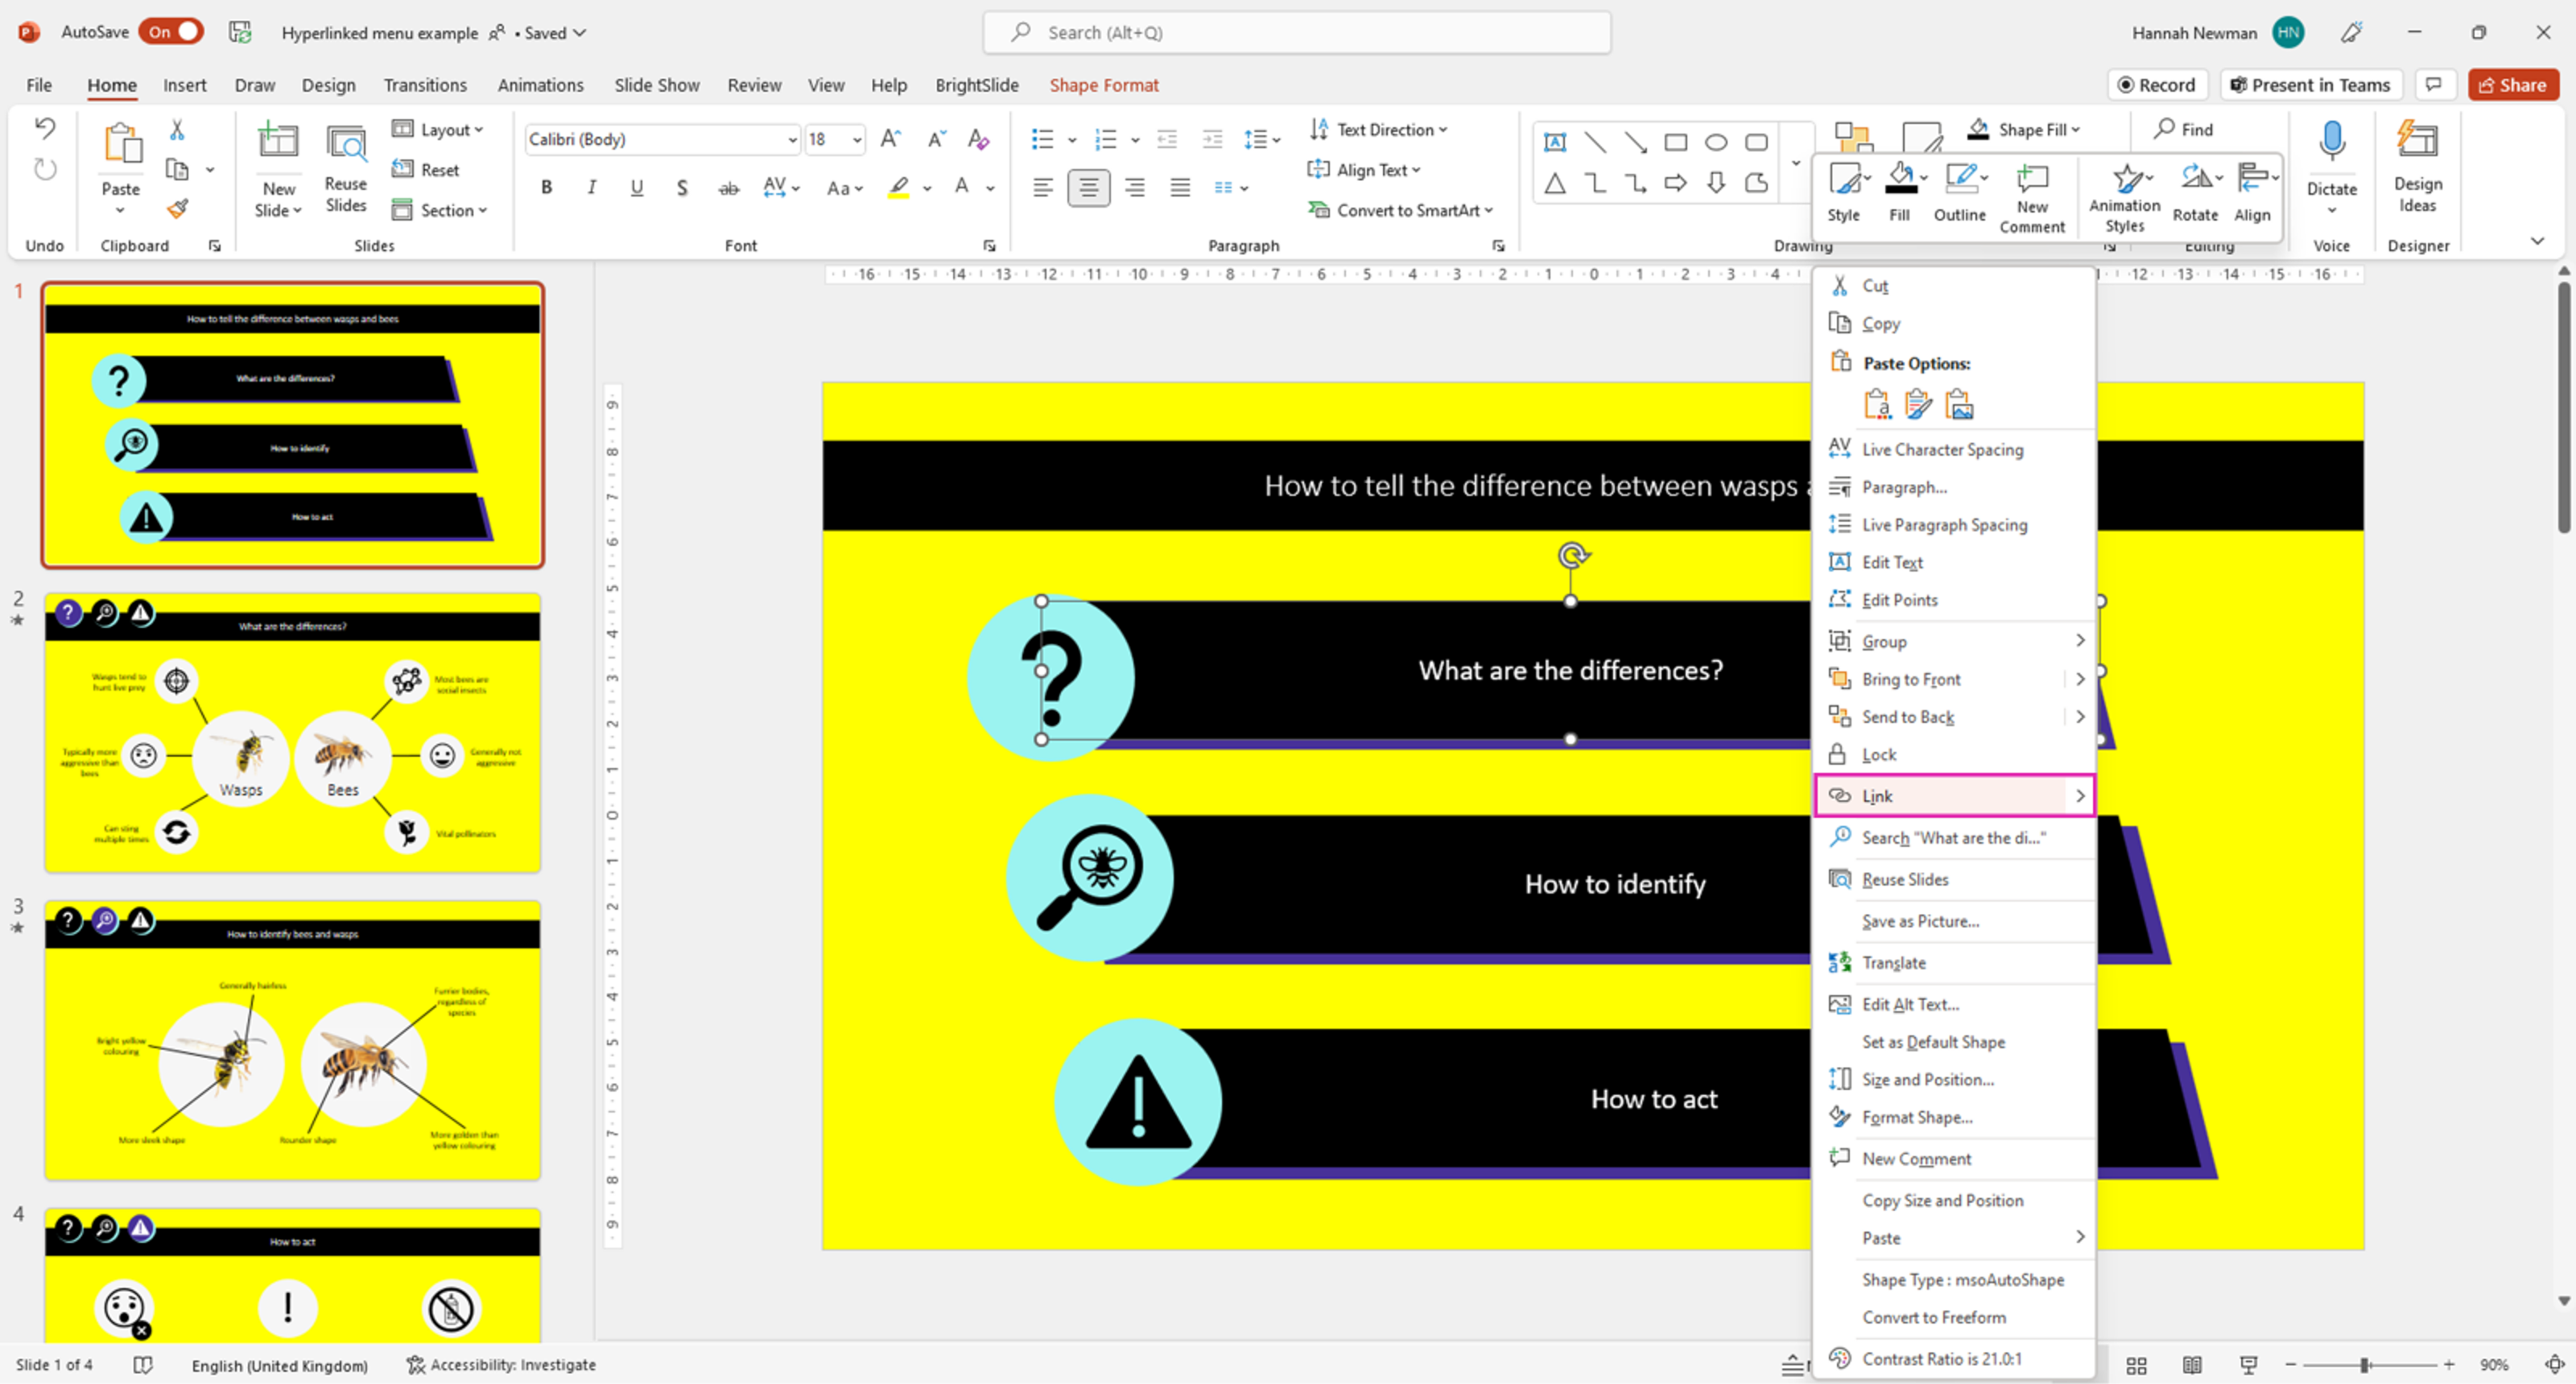
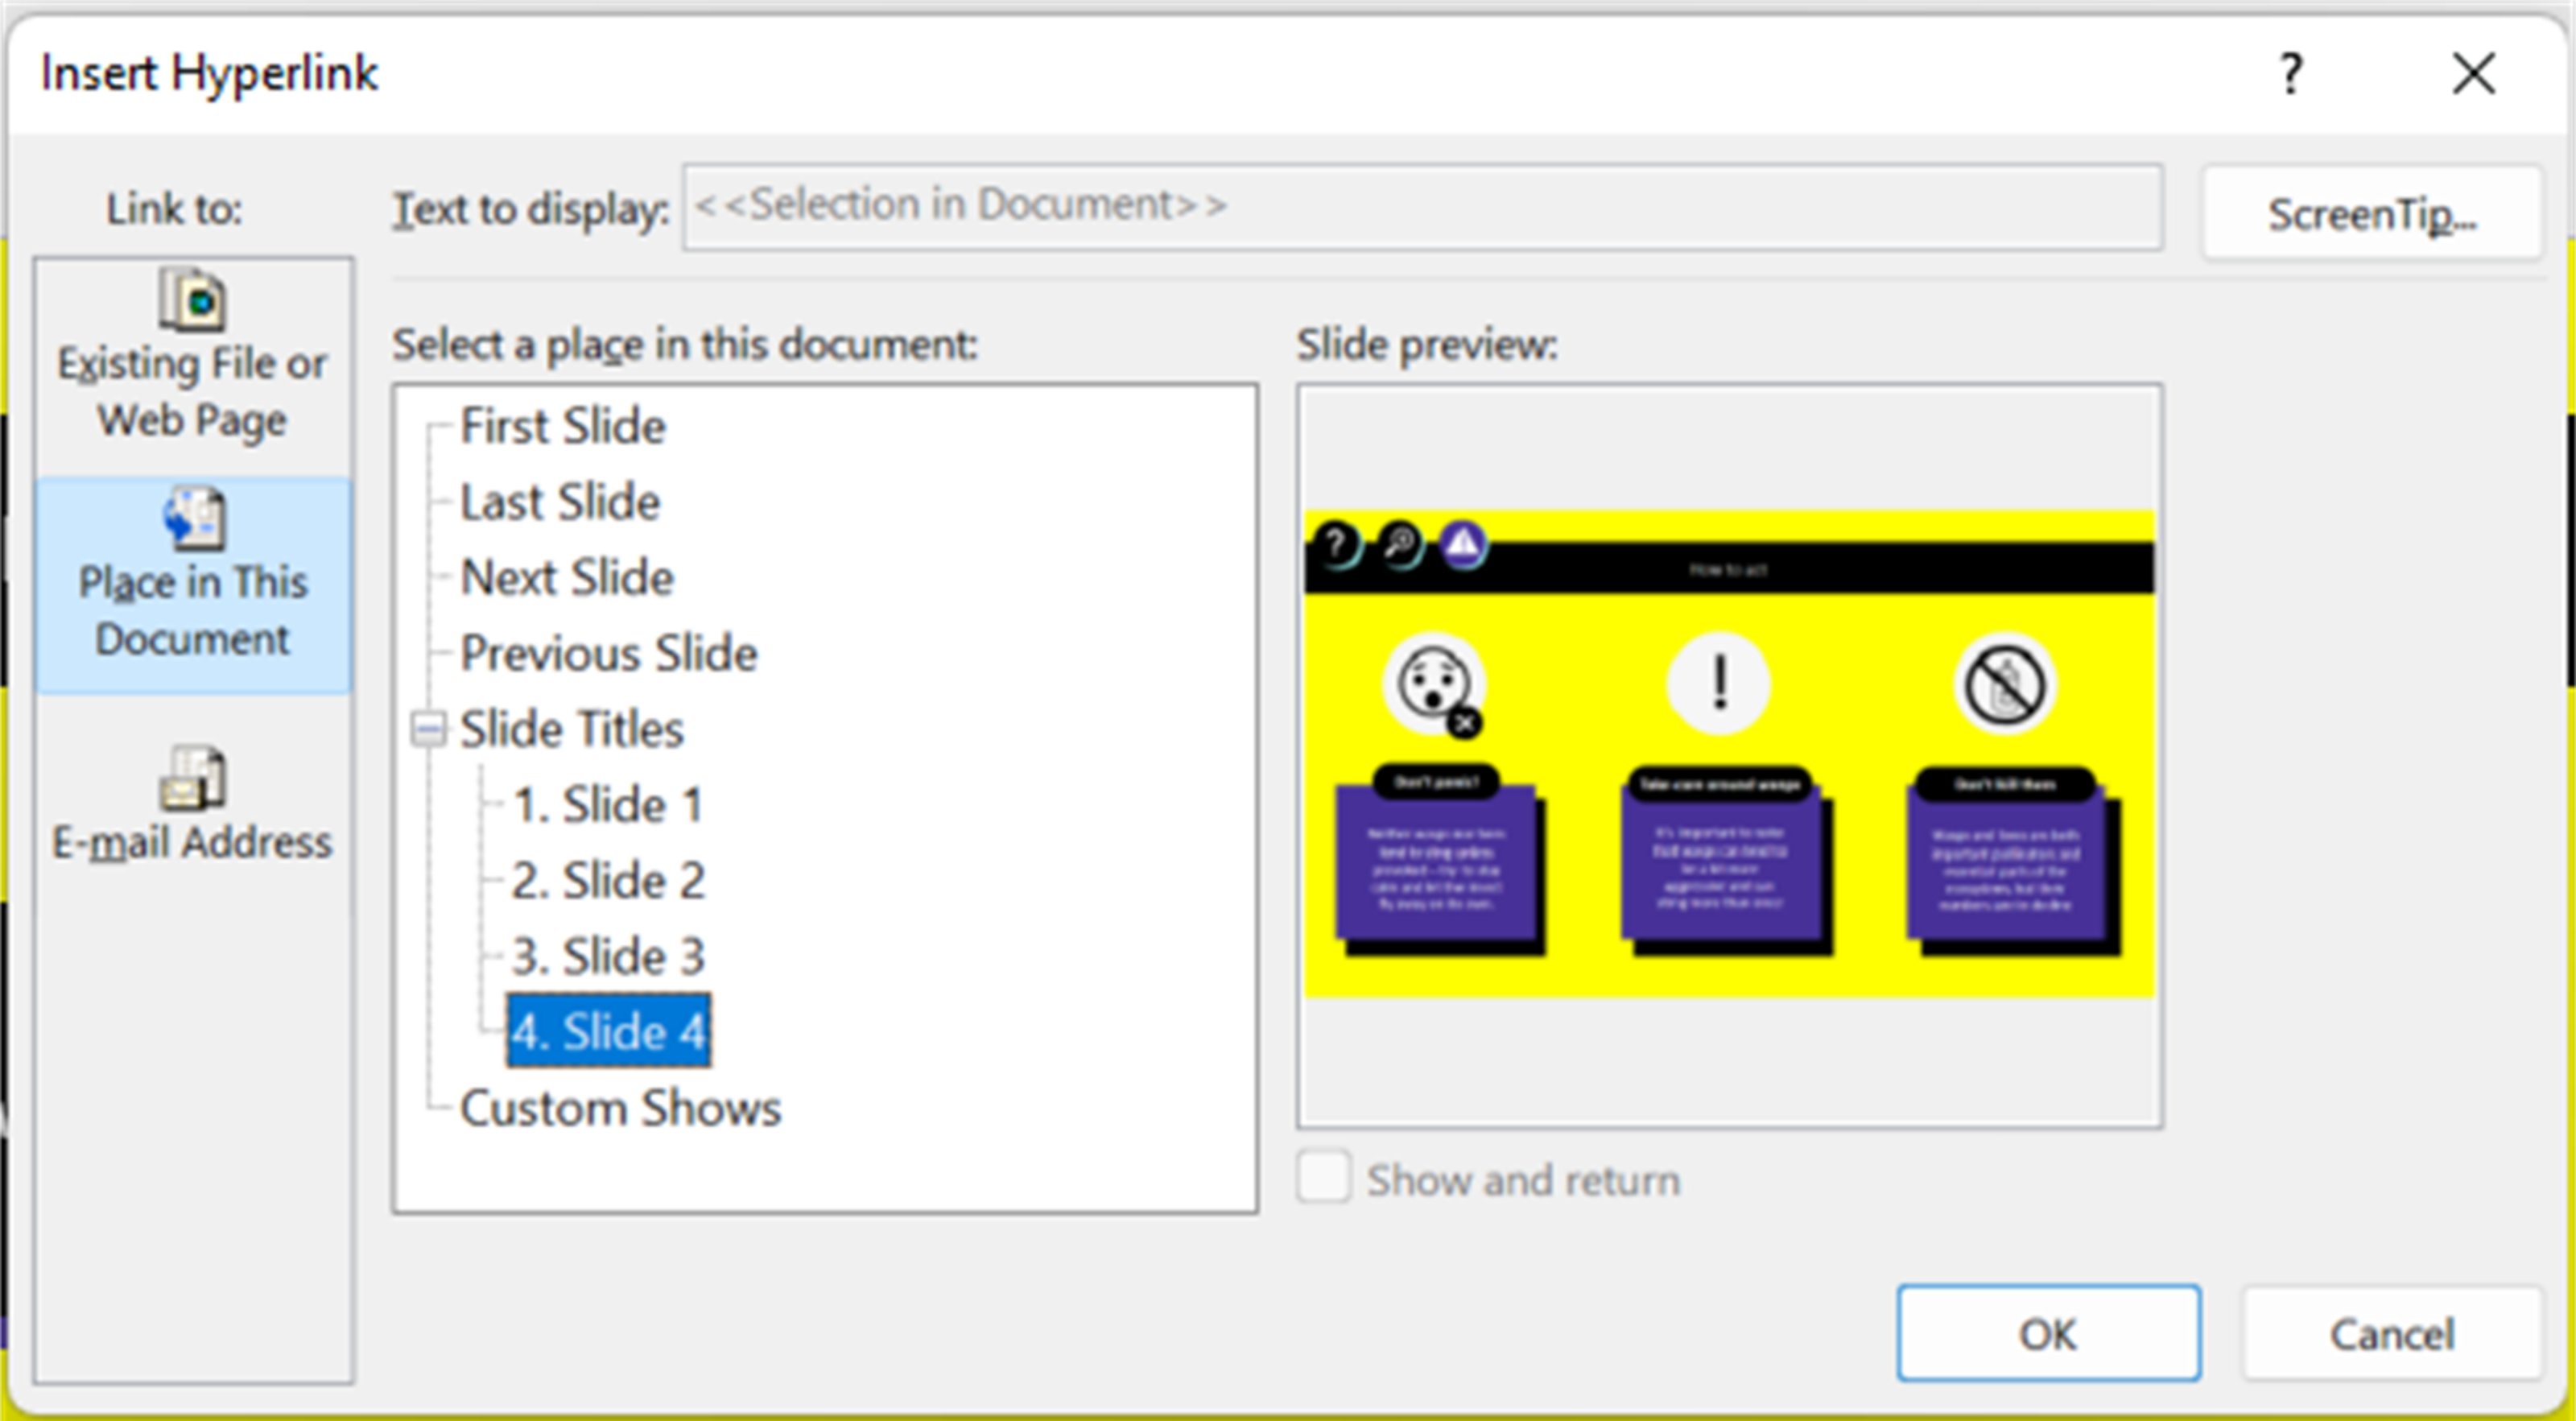
To add a link to any object in PowerPoint, simply right-click and select Link, or use the shortcut Ctrl/Command+K. The pop-up window that follows will give you some options of where you can link to.
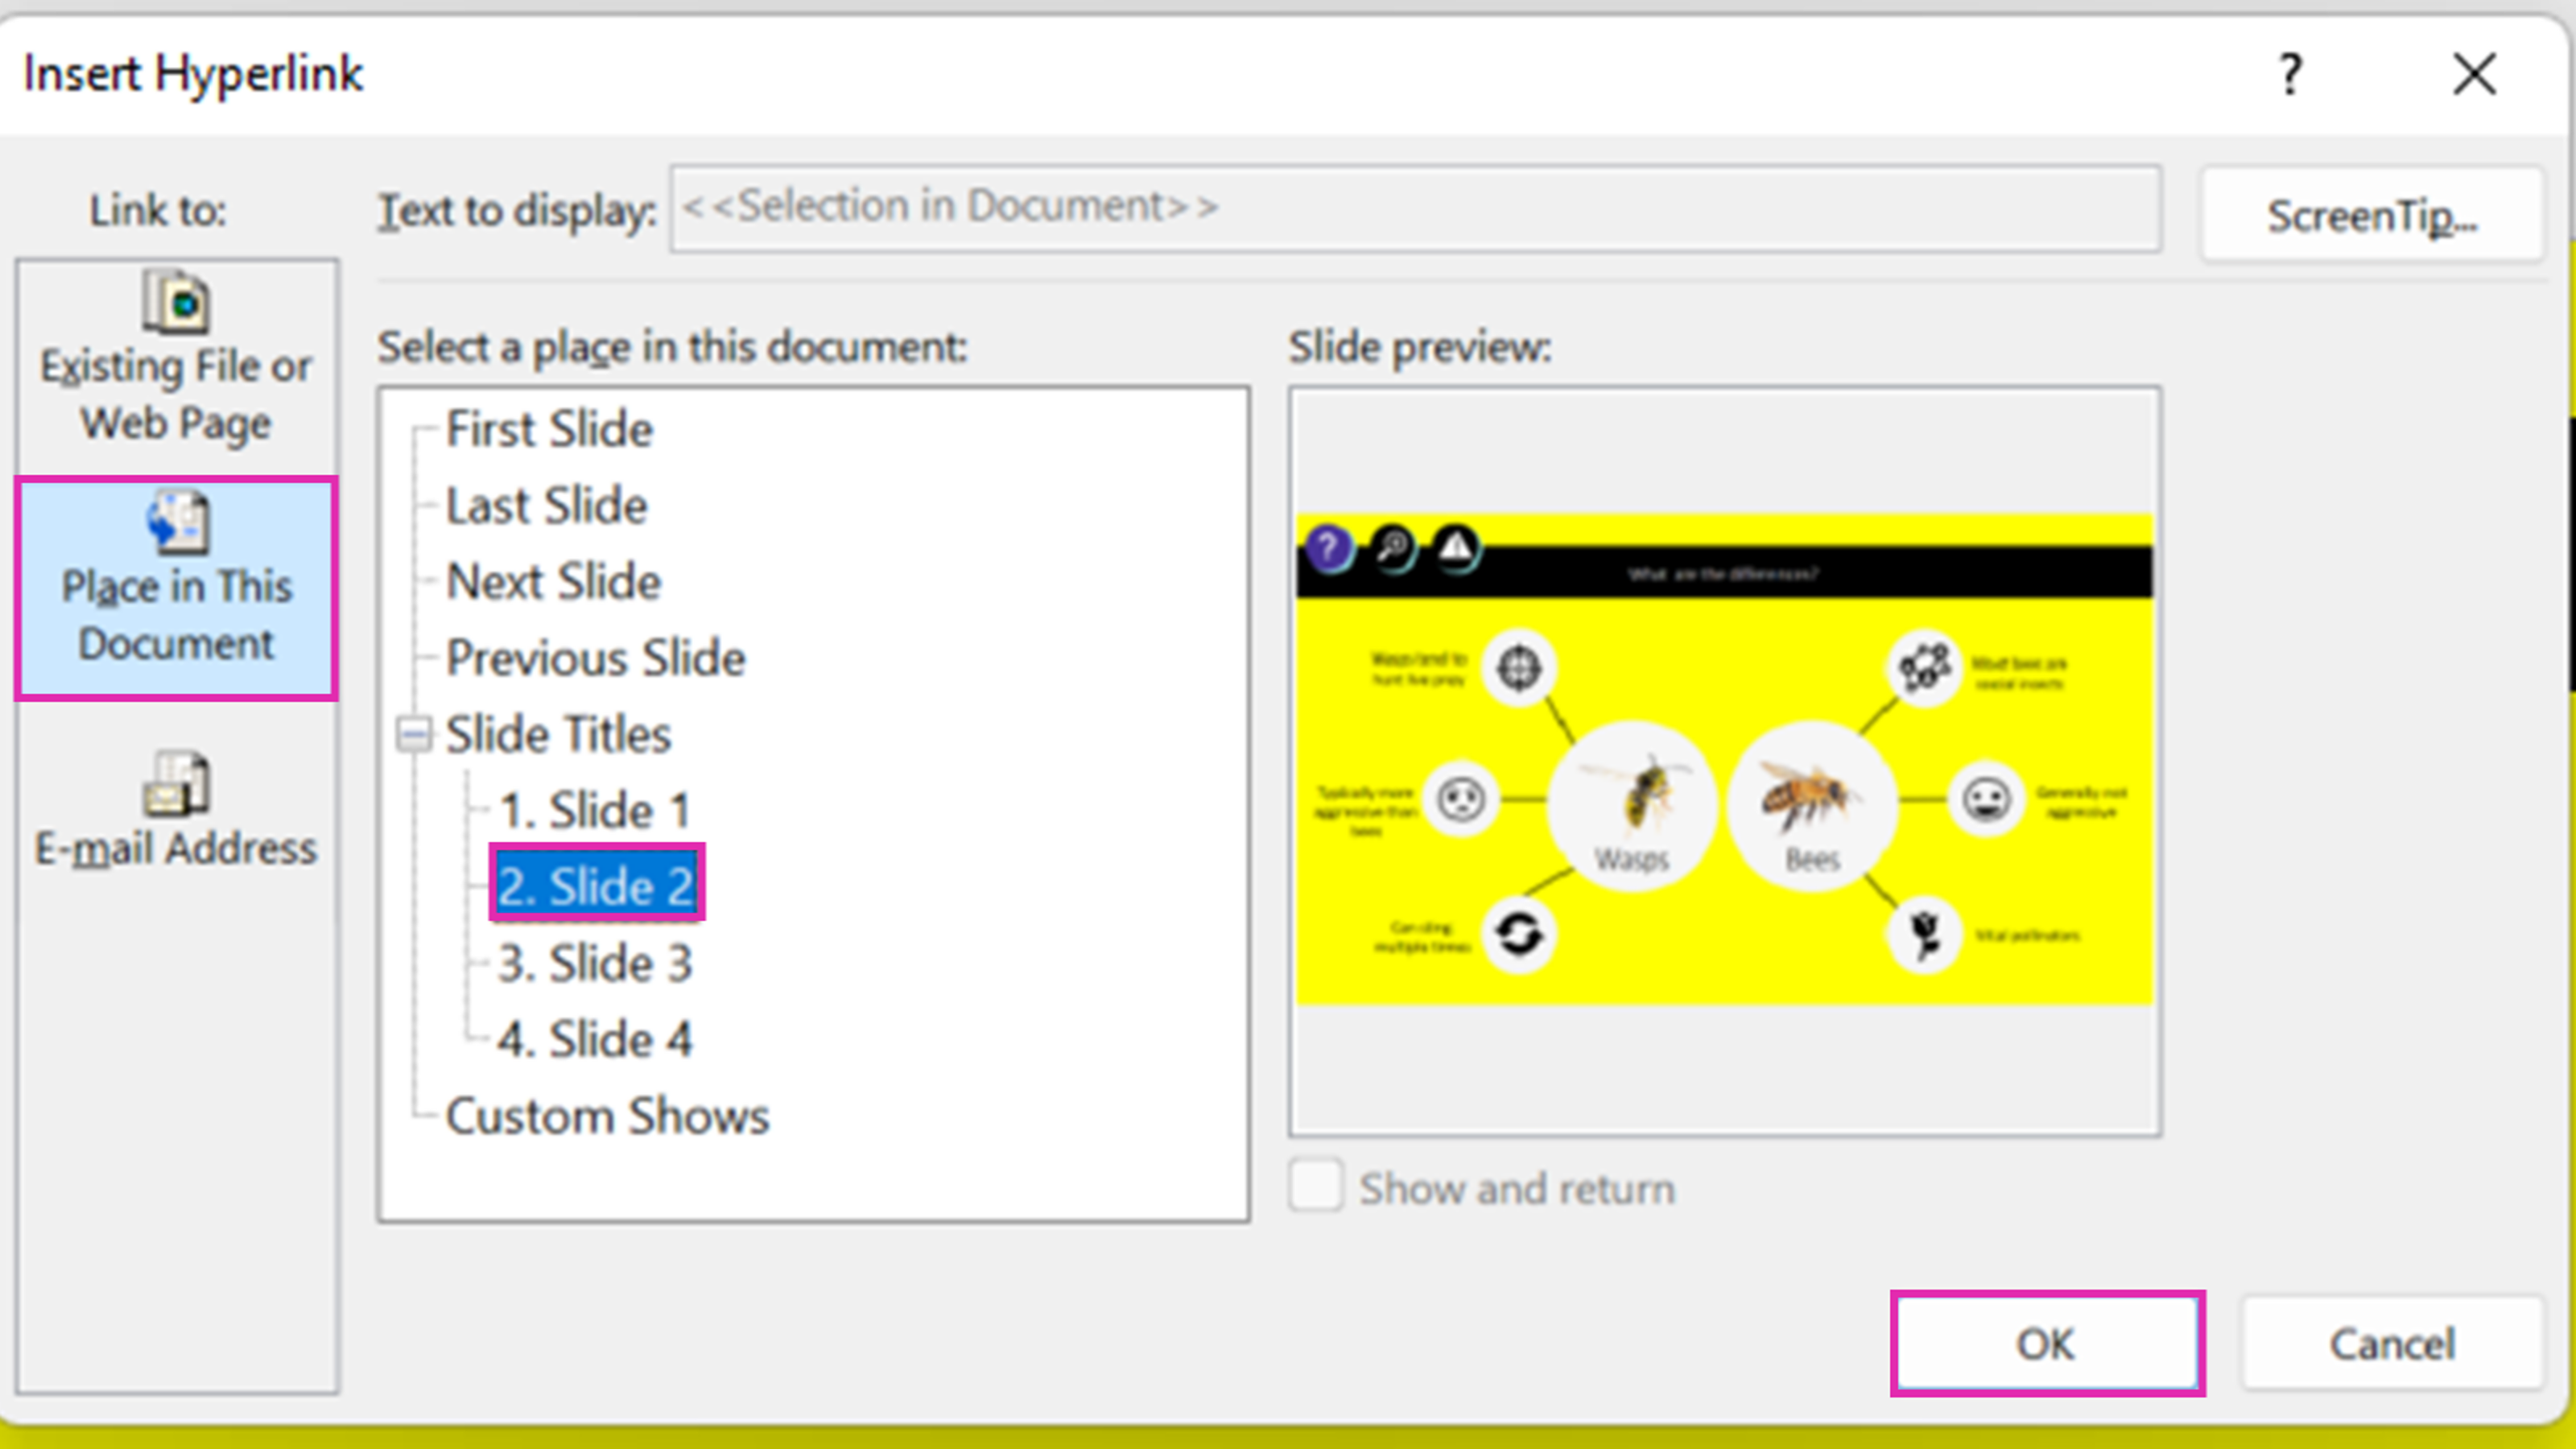
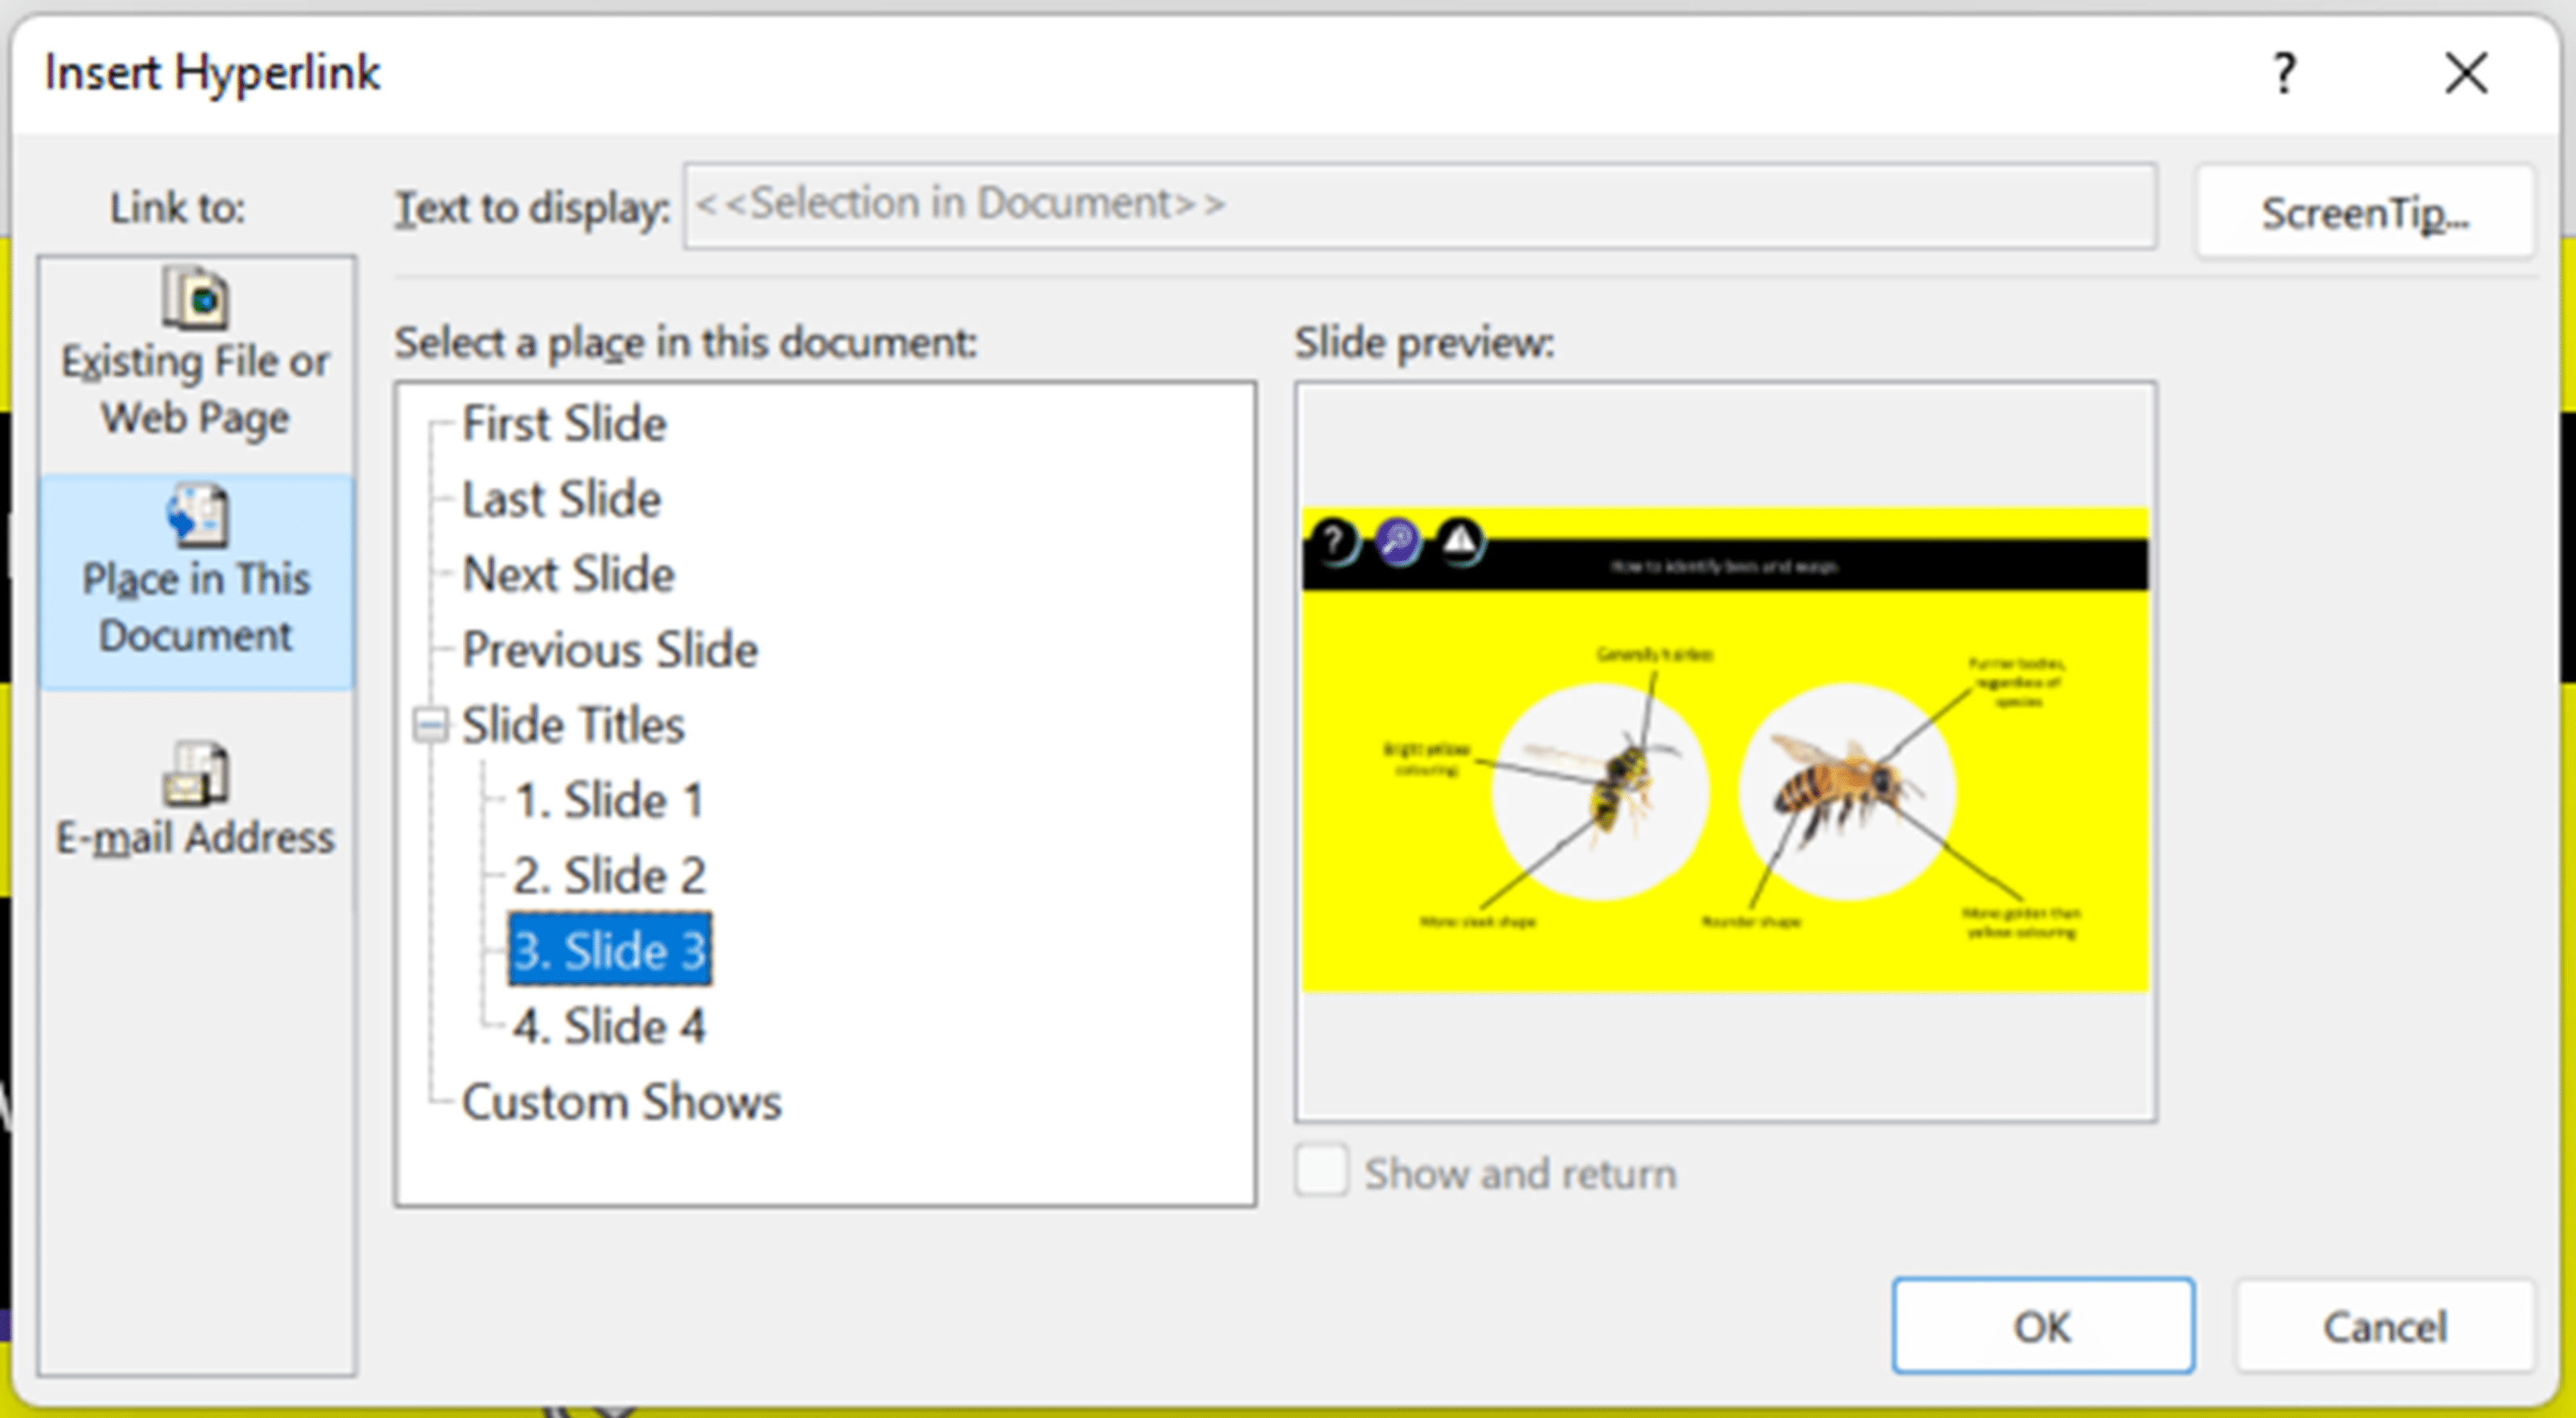
PowerPoint allows you to add lots of different types of hyperlinks – including webpages, email addresses and other documents. To link to a slide within your presentation, select Place in This Document on the left-hand side. You’ll then be able to see a list of your slides – simply click the right one and press OK.
Step 3: Rinse and repeat
Add a hyperlink for each section, and just like that you’ve created a navigable menu! Throughout the process, if you’re finding it hard to keep track of where each link leads or how many hyperlinks you’ve got, you can use our nifty (and free) add-in BrightSlide to add comments which label each hyperlink and tell you exactly where they go – download it here today.
Under the BrighSlide tab, go the File& Master section and select Review. From here, click Hyperlinks > Tag Hyperlinks with Comments.
Taking hyperlinks in PowerPoint further
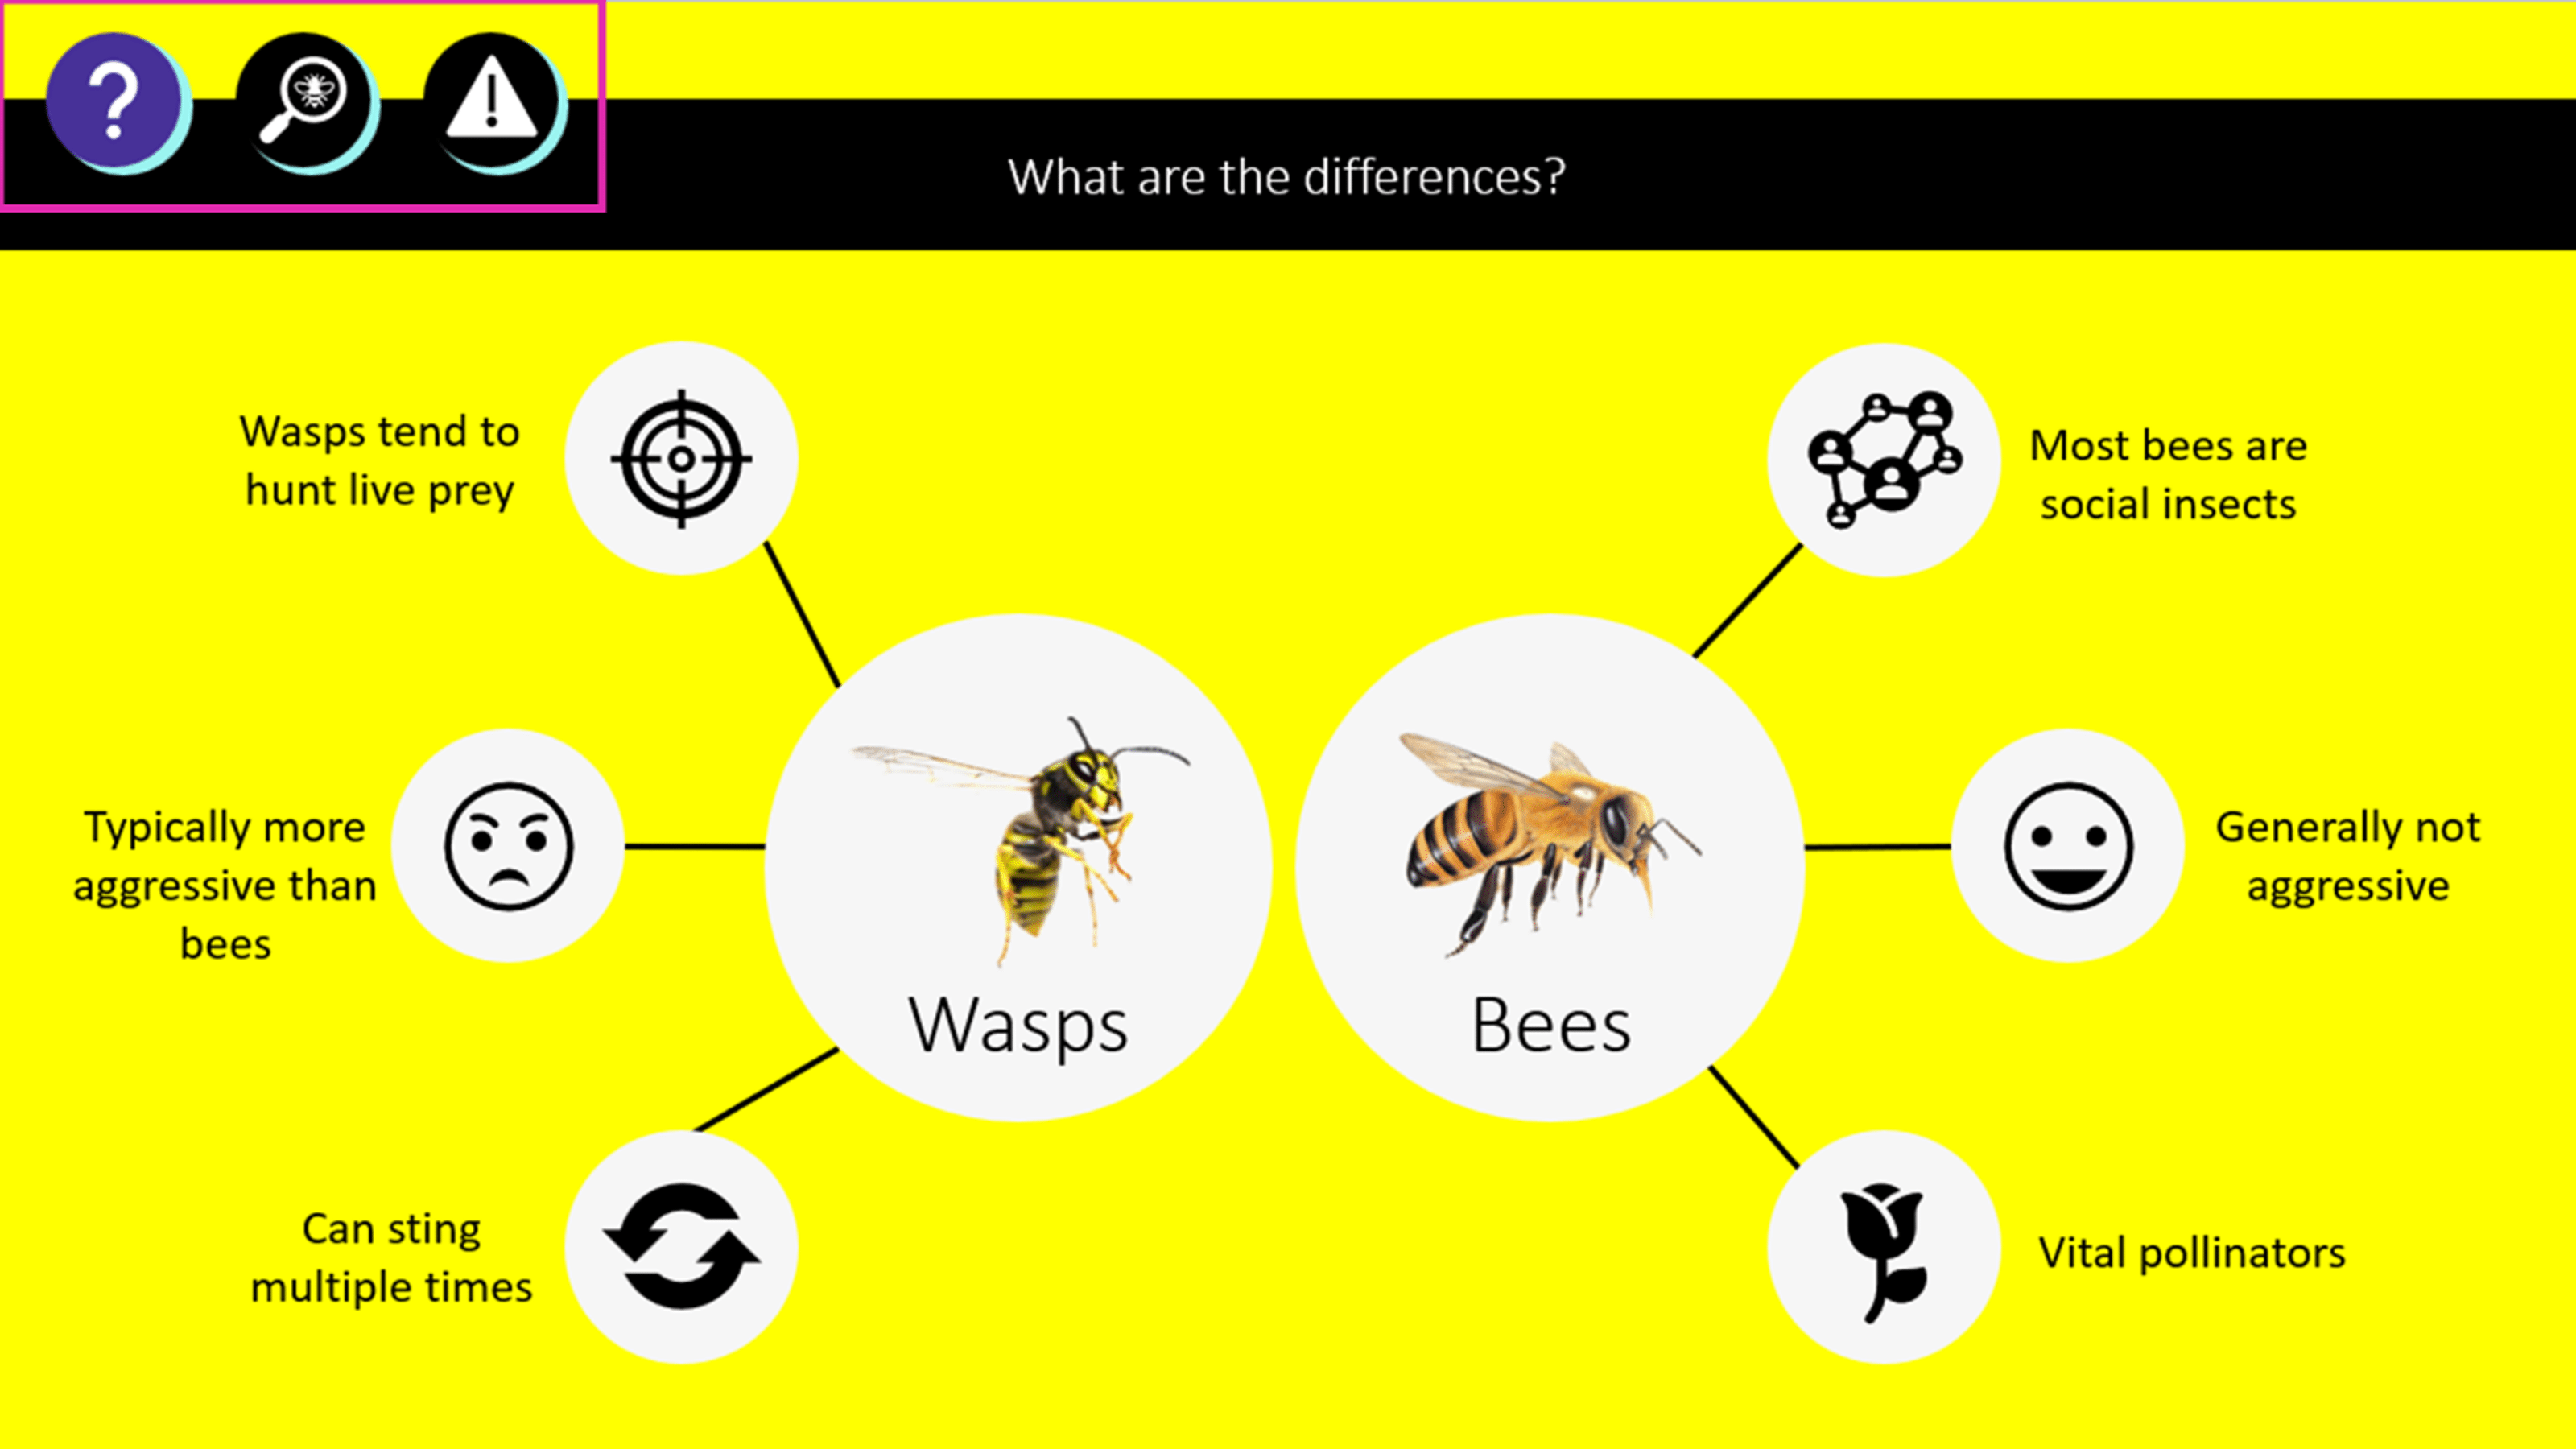
There are a few other things you can do with hyperlinks to make sure the user journey is a smooth one. If you have a menu, we’d recommend adding a home button on every slide which navigates back to the menu so you can jump around the deck easily. Alternatively, you can add an iconised version of the menu on each slide using the same methods, like we’ve done here:
You can use BrightSlide’s “Copy & Paste Clipboard to Selected Slides” function to speed this process up. Create the home button or menu, add the hyperlinks and select the button or menu. On Windows, press Ctrl+C, then select all the slides you want the objects to appear on and press Ctrl+V. On macOS, go to the Batch menu in BrightSlide and click Copy Selected Shapes to Clipboard, then select all the slides you want the objects to appear on and from the same Batch menu, click Paste Clipboard to Selected Slides.
This should give you all you need to get creating a hyperlinked menu in PowerPoint! However, if you prefer to learn by watching one of our experts in action, take a look at our advanced PowerPoint tutorial video on hyperlinked menus here.
Do you want to get the same done in Google Slides? Then this blog post should have you covered.
If you get stuck or have any questions, leave a comment below and we’ll do our best to help.
We’re calling out one of the major injustices of corporate rebrands across the globe – PowerPoint falling to the bottom of the rebranding checklist. We discuss why it's a problem and how to fix it!
BrightCarbon is buzzing with excitement, because we’ve just released BrightSlide - our incredible PowerPoint add-in. BrightSlide was created by our team of PowerPoint experts with input from our professional presentation designers. Its purpose is to supercharge your workflow with a bunch of incredible PowerPoint productivity and design tools, functions and shortcuts way beyond PowerPoint’s normal functionality. And best of all? It’s totally free!
All of the content I've seen so far has been valuable and definitely worthwhile. The resources are awesome, and you're really crushing it with useful content.