Have you ever thought about what makes some PowerPoint slides look a bit too much like PowerPoint? There are some default effects that are just so #classicPowerPoint that it can really put an unwanted ‘retro’ stamp on your presentation. The Wipe animation effect is one of those. The soft gradient edge creeping in. I shudder. Anyway, there is an alternative, and it involves one of my favourite PowerPoint tricks. It’s called ‘the mask’. So without further ado read on to learn three masking effects in PowerPoint to tidy up your slides, and bring them into the 21st century.
One more ado, actually. This article is the first of three parts of all you need to know about masking effects in PowerPoint. Click below to level up your masking abilities:
Masking effects in PowerPoint: 3 simple animation tricks
Masking effects in PowerPoint: 3 simple animation tricks
I mentioned earlier how the wipe animation gives presentation everywhere a slightly 80s tinge: you don’t see that gradient edge anywhere anymore. Here’s a report on design trends for 2018, notice how clean and sharp the edges are pretty much everywhere. Okay so number two on the list says gradients, but it’s talking about gradient fills, not a gradient that wisps into nothingness leaving a soft edge.
The answer for a long time in PowerPoint has been to use a Fly In animation (with a smooth end if you fancy sprucing it up a little) – read more about that here. But if your object is too far from the edges of your slide, it’s still going to look a bit PowerPoint-y.
We want subtle movement, and we want it to look tidy and slick. That brings us to our first tutorial.
How to use the Peek In animation with a mask
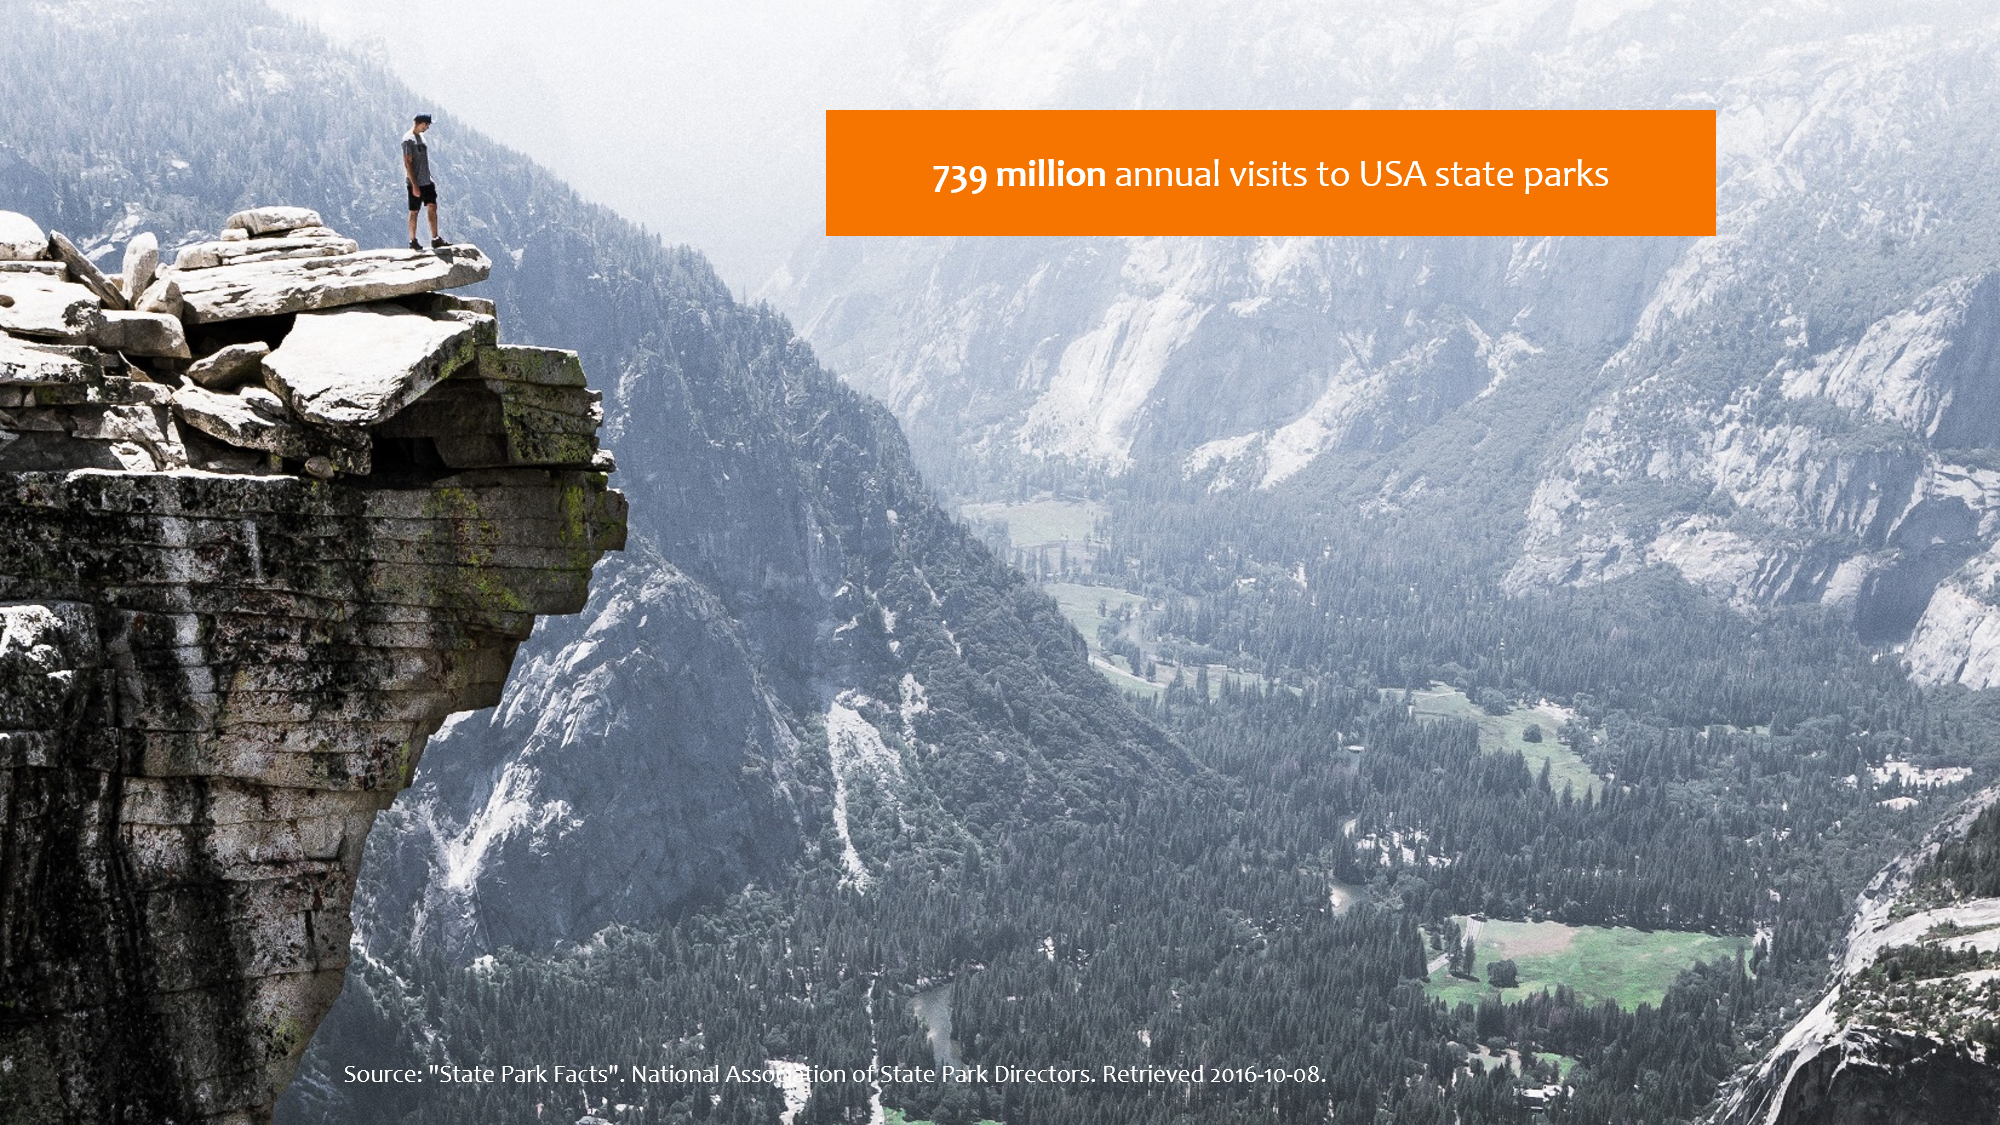
So let’s say you’ve got a slide like this:
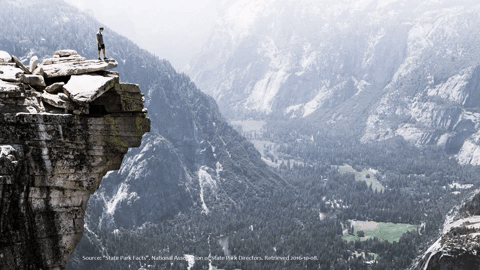
I have a nice picture, courtesy of Unsplash, and a fact I want to draw attention to. I could use a Fly In or a Wipe, but it wouldn’t look slick and clean.
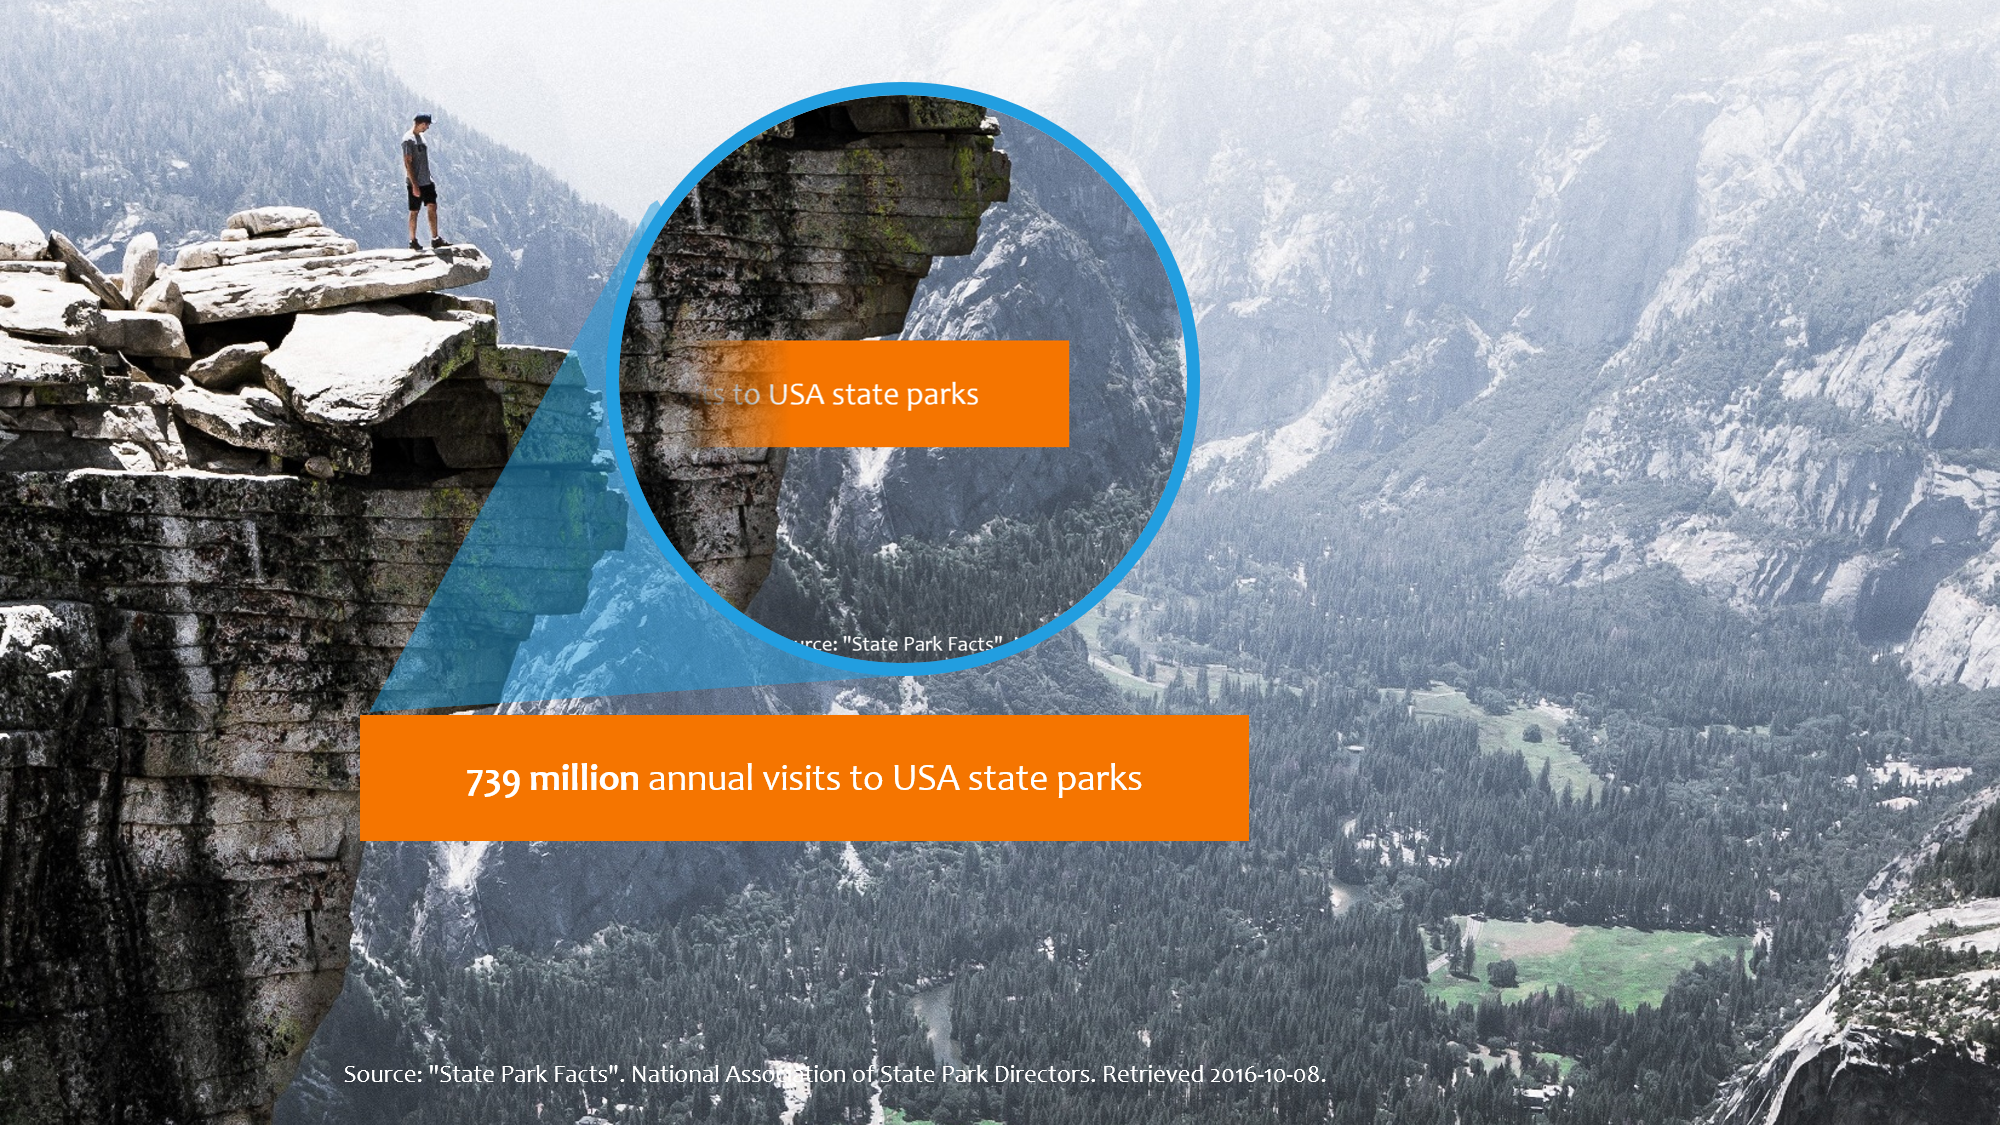
So I’m going to use a Peek in animation with a mask. First of all, I’ve going to choose something for my object to peek out from behind – like the mountain – and I’m going to apply a Peek In animation (find this under Add Animation > More Effects). I’m also going to have it peek from left.
But even the Peek In has a nasty gradient when it animates in – see below.
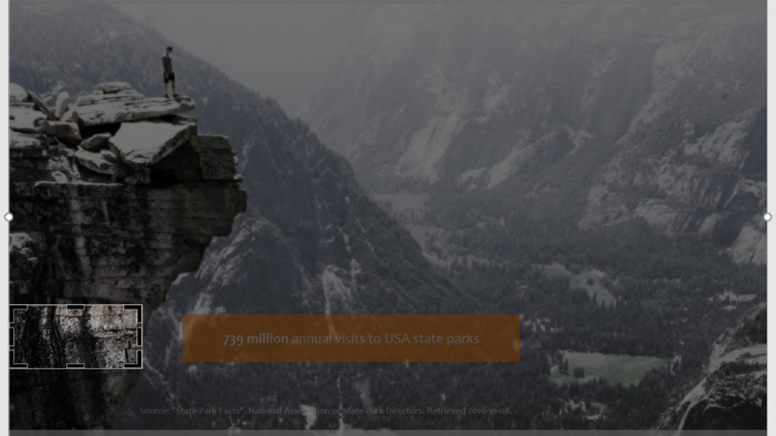
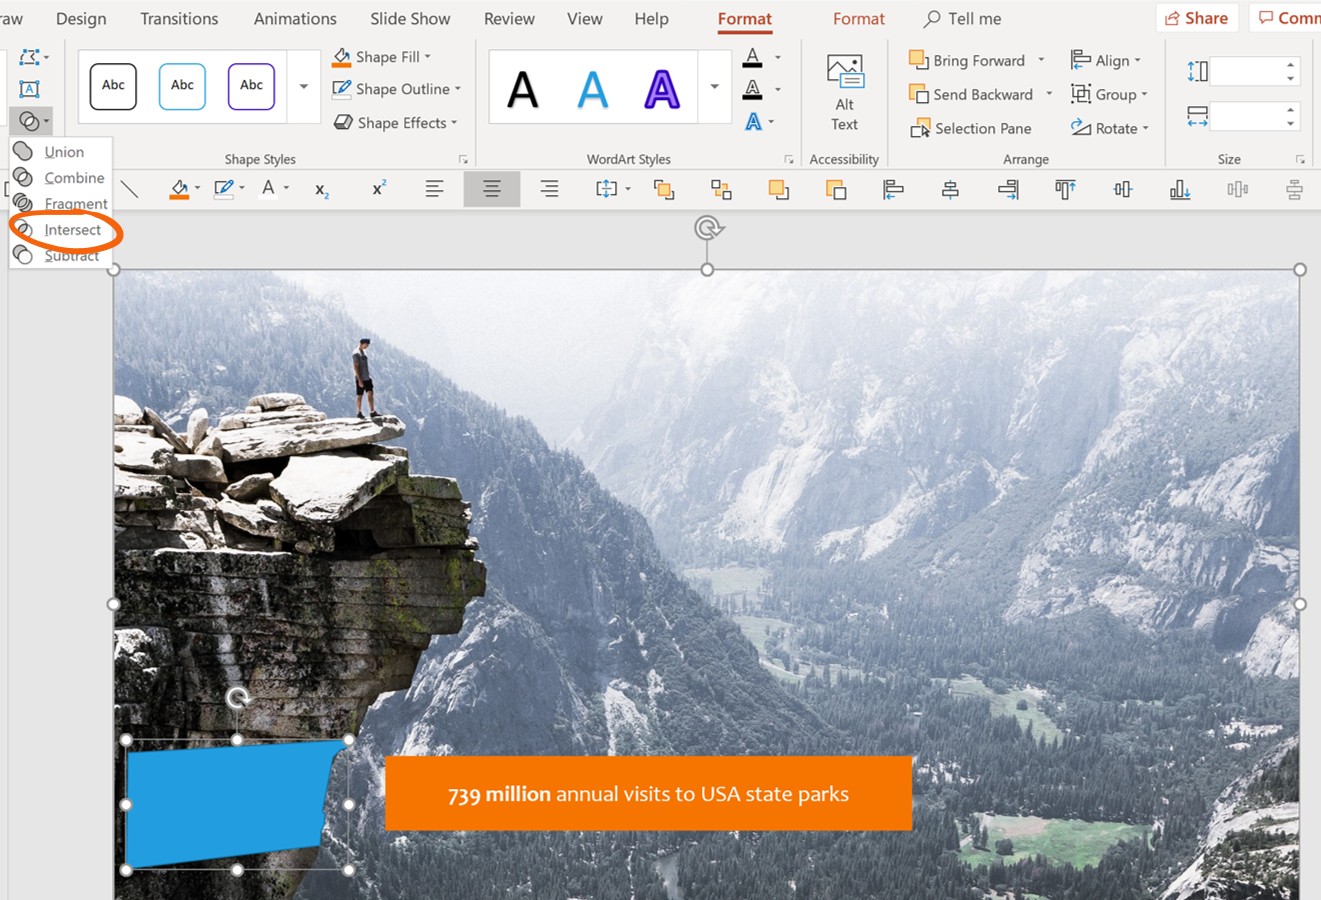
So we make a mask and there are two ways to do this: the complexity of your object will influence which method you choose.
Cropping your image: duplicate your image and use the crop tools to crop the shape you want. Arrange the mask so it lines up with the original, and hey presto! Your object slides out gracefully.
Using the Freeform and Merge Shape tools: if, like me, you have a more intricate object you can use this method. First duplicate your image, then select your Freeform Shape tool and draw around the area you’d like for your mask.
Next select the duplicated image, hold down Ctrl, and select the shape you have just created. Navigate to the Drawing Tools tab on the ribbon, and select the Merge Shapes drop-down. Choose intersect.
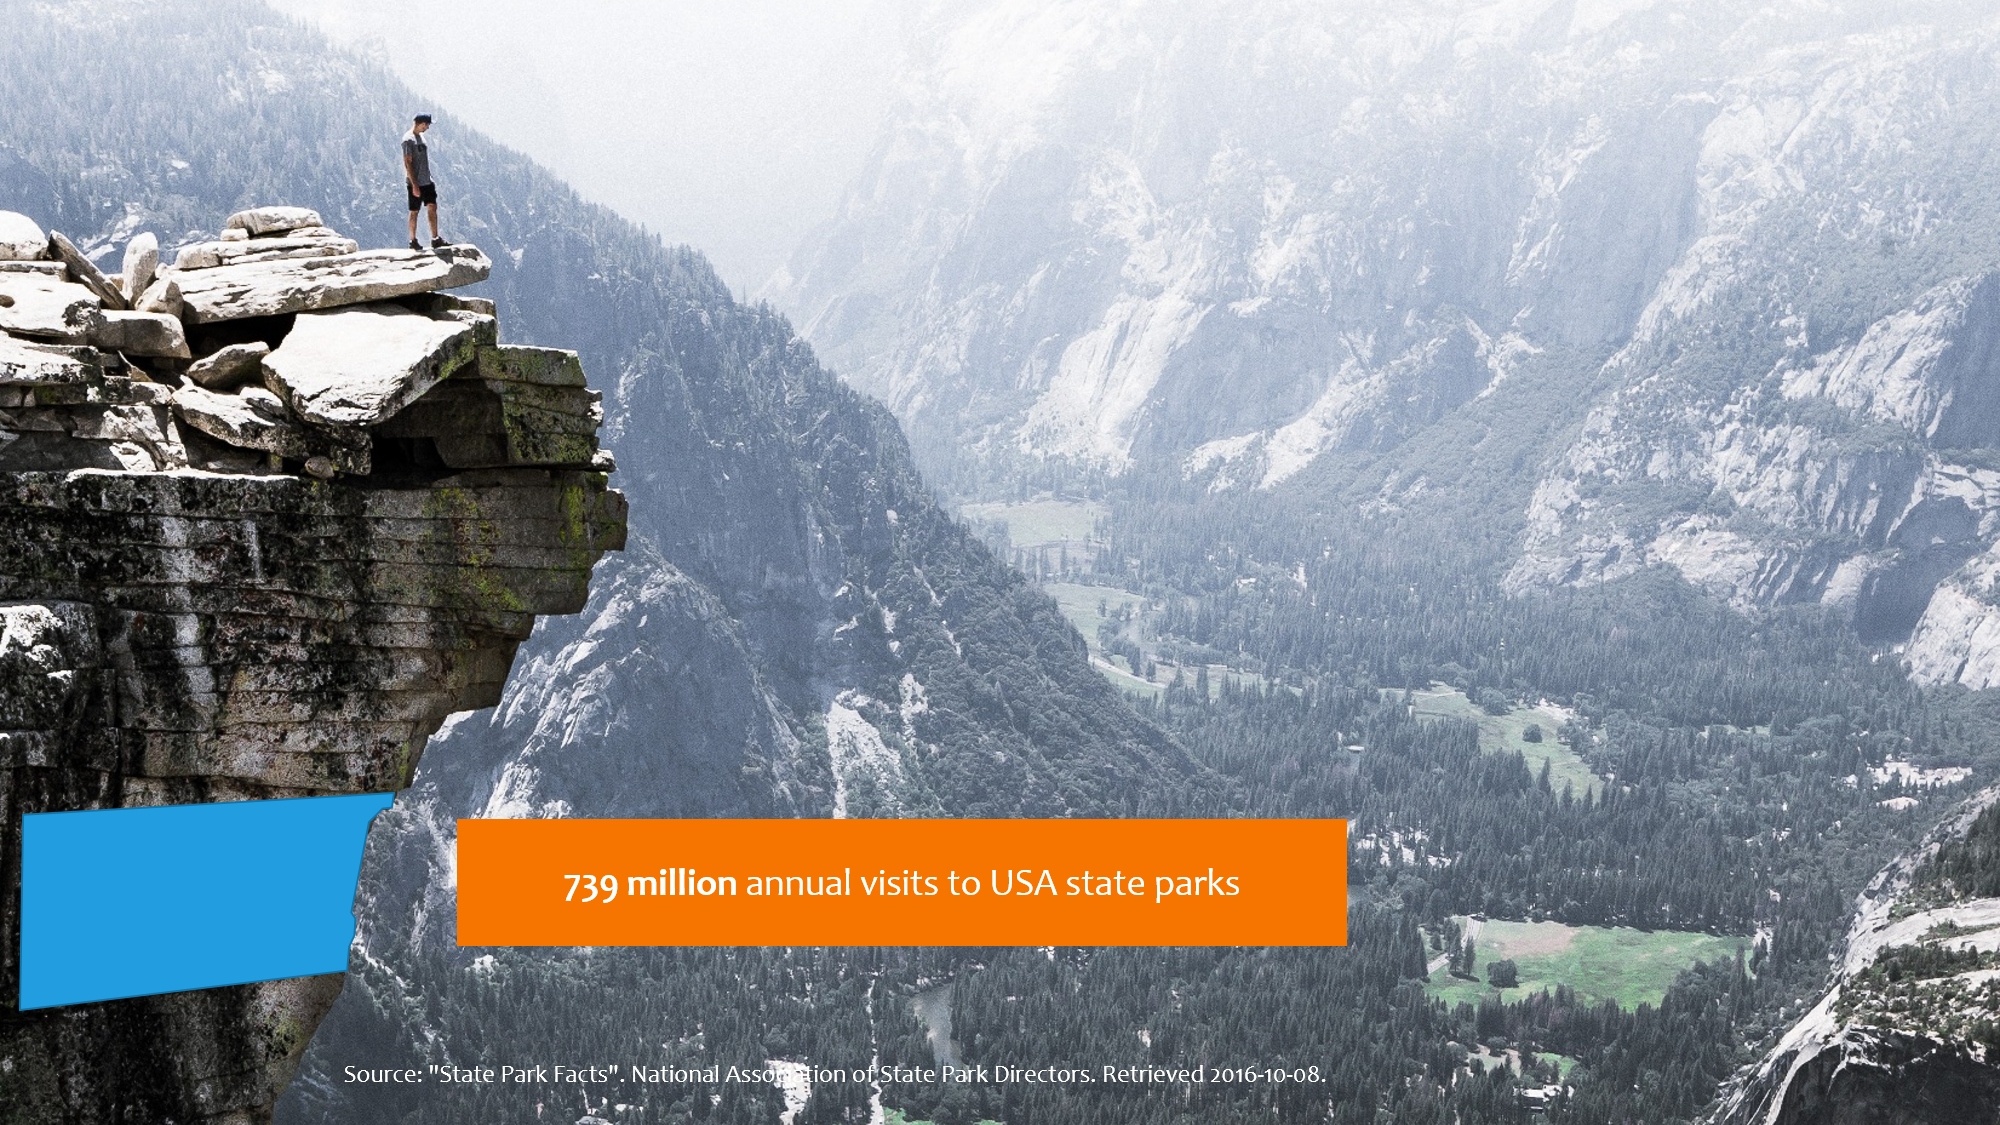
Arrange your object behind your mask and run it in show mode. Effect complete!
How to create slick animation for non-live graphs
And it’s not just images that this trick works with. Using PowerPoint’s default charts can be really helpful – especially if you have complex data – but if you make a non-live chart (just using shapes and lines) you have a lot more animation flexibility.
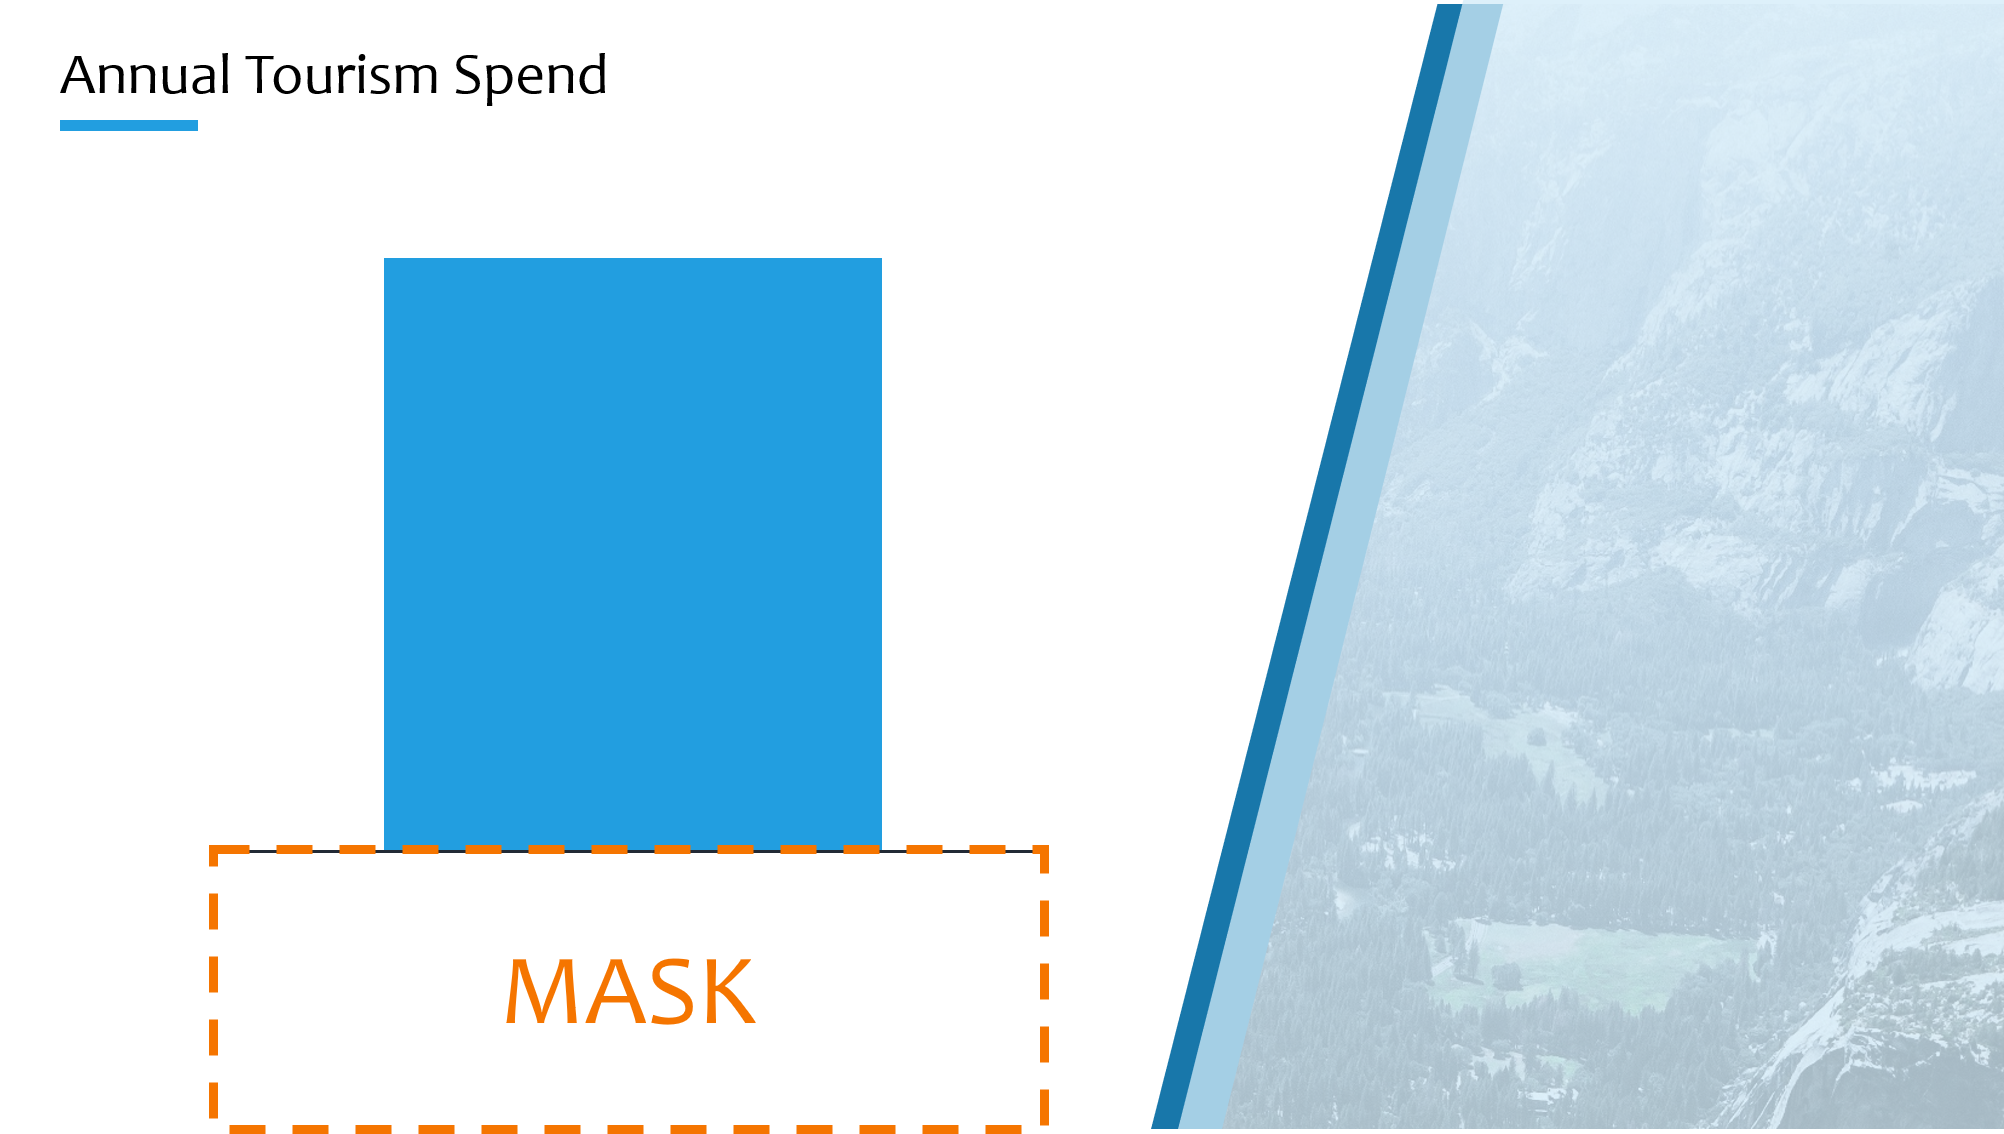
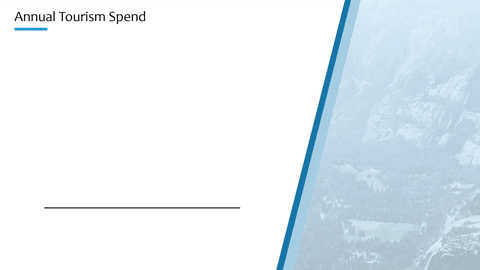
Let’s say you have a slide that looks like this:
The default for most would be to apply a Wipe animation to the bar. But what if we drew a box to mask the bottom of the slide so we could use a Peek In for that crisp edge? The mask would fill this area:
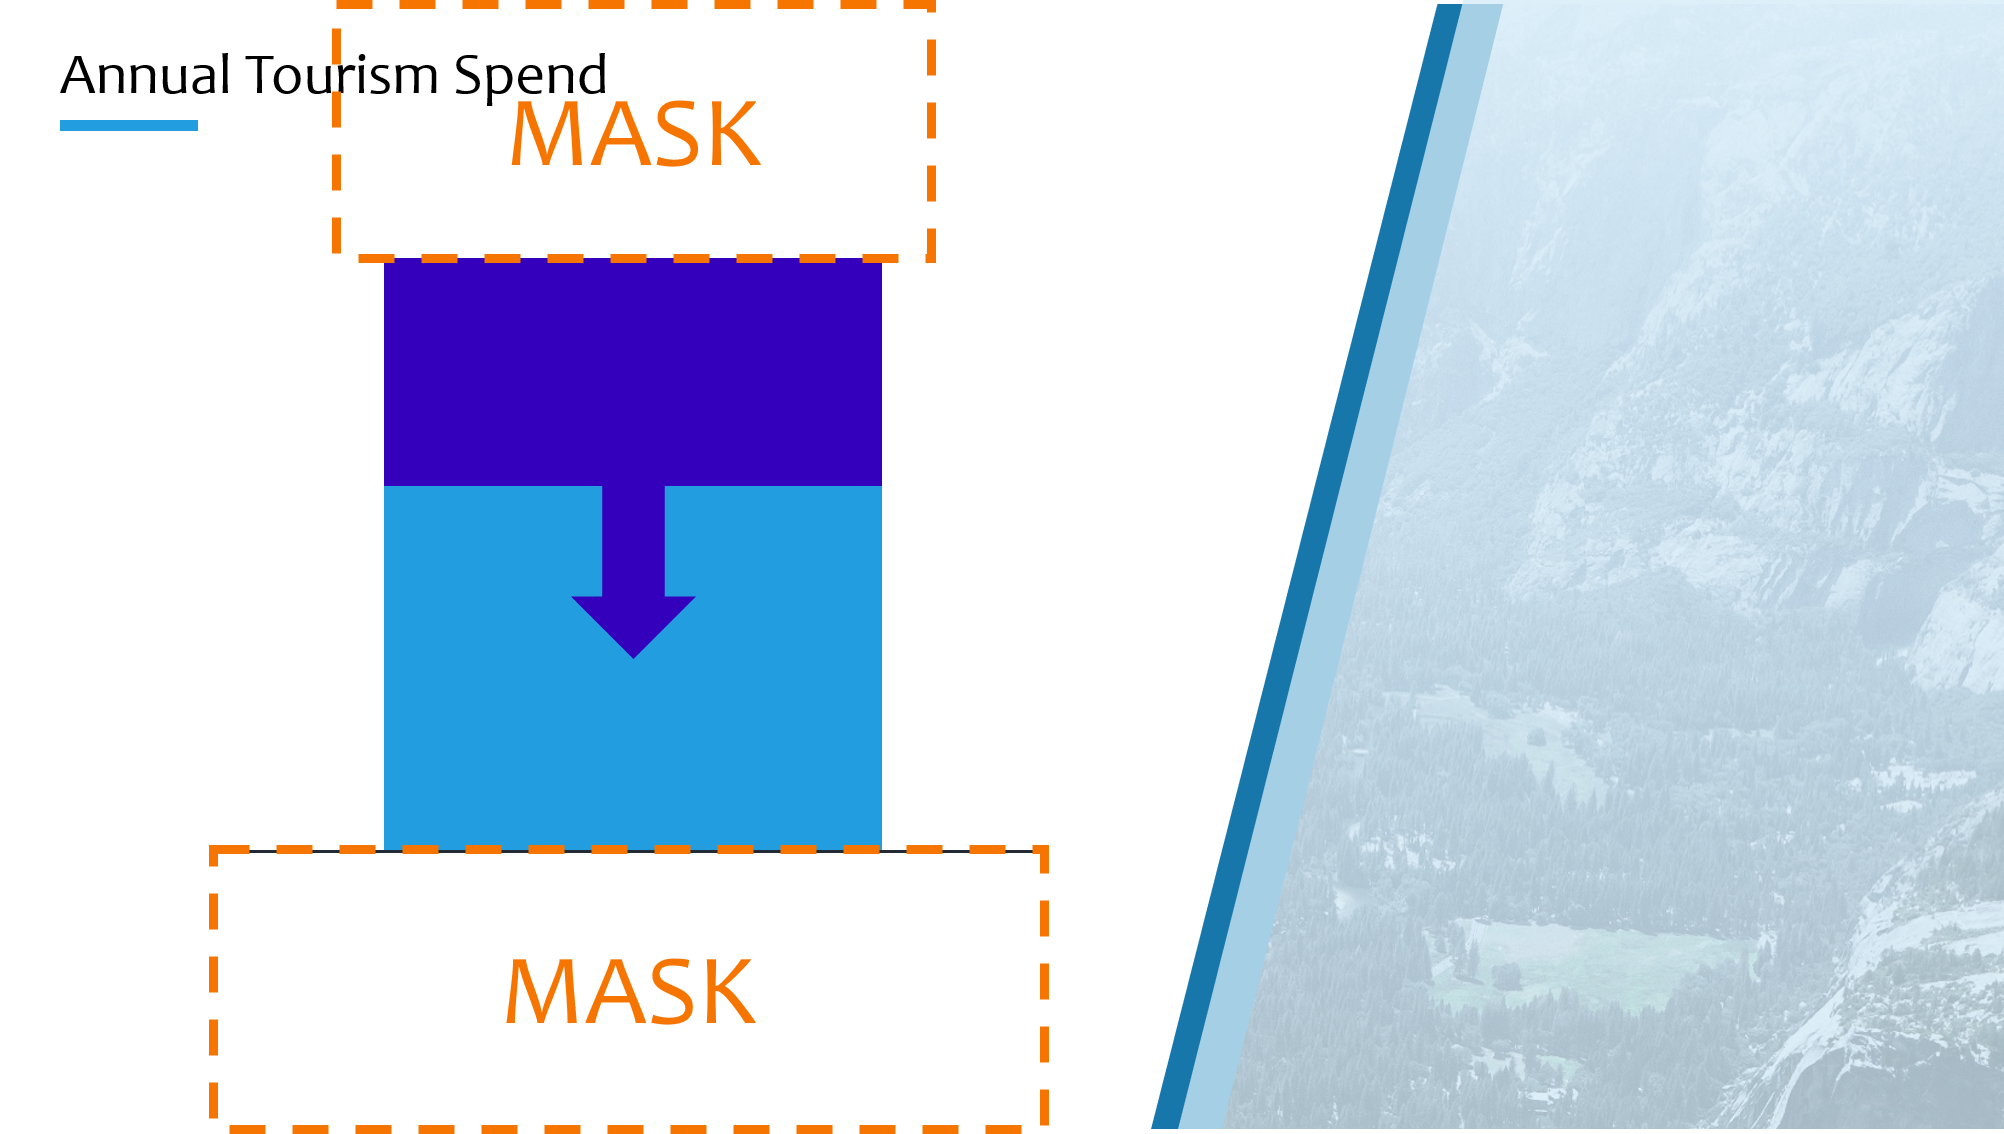
And you don’t have to stop there, how about if you wanted to tell more of a story – that annual tourism spend had been high, but global economic effects have hampered profits, pushing down the annual spend. The elements might look something like this, with the mask this time at the top.
And this is what it looks like:
Top tip: If you have objects relatively close to the edges, but not flush to the edges, you can also use a Fly In animation. We like Fly Ins because you can give them a smooth end by opening up the Effect Options and it makes the motion look a bit more natural. If your objects are in the centre of slide, just note that there will be a small delay for your object to appear as it flies underneath your mask during the first part of the animation sequence.
So first things first, let’s make sure we don’t actually have a list of bullet points. Go for something like this – an icon next to a text box:
If you’re interested, this icon set is built into PowerPoint 2016 – more icon insights here – and is really helpful for telling more effective and visual stories on your slides.
By applying the Peek In animation to these text boxes they look as if they’re sliding out from behind the icon.
If you have smaller icons you might still need a mask like the image below:
And this is what the finished animation will look like!
And there you have it! Three simple masking effects in PowerPoint to make your animation sequences look slicker and smoother – much more in-keeping with all of those new-fangled design trends!
And if that was just enough to whet your appetite, don’t forget to have a go at our other two masking tutorials to take you through intermediate, all the way to being a masking expert!
Logo slides are a regular fixture of presentations, but they're often ugly and messy and tend not to do too much to build the credibility they're supposed to. Follow along to learn how to make a logo slide look neat and tidy, and if you want a stretch task, get inspired by some competitor-trouncing alternatives
When it feels like the call is to make more and do it faster, design smart and build a presentation toolkit packed with effective layout slides. We show you how to start off by building five of your own.
This article is dedicated to the bit hitting combination of PowerPoint and PDFs, and three particular use cases that will have these two giants working together in perfect harmony: how to convert PowerPoint to PDF on Windows and macOS, how to convert PDF to PowerPoint, and how to insert a PDF into PowerPoint.
using the picture mask (for me) just keeps the flat color of the shape… I mean, I could do this in Photoshop easily enough, but I can’t figure out how to keep the settings of the picture cropped to the shape.
Thank you so much for conducting our advanced PowerPoint training workshop. We will definitely use BrightCarbon in the future – we really think that we would be hard pressed to find anywhere better!


Have just started attending your webinars – the first of which was excellent. Now I’m getting amazing free tips too!
Awesome, simple to follow instructions.
Upping my PowerPoint game, thanks to you.
thank you for helping me achieve a good grade in my 7th grade class
This is AWESOME!!!! Just watching some of your videos I’ve learned some tricks that I never would have thought of.
Thank you for all the tips and tricks. Love your website!!!!!
Great
Thank you Hannah. Much appreciated.
using the picture mask (for me) just keeps the flat color of the shape… I mean, I could do this in Photoshop easily enough, but I can’t figure out how to keep the settings of the picture cropped to the shape.
Thanks!
thanks!