If you’re like me, you love GIFs and couldn’t imagine the world without them. Most of my online interactions include GIFs, making any point I want to convey visual, engaging and (more importantly) funny! So why not bring a bit of this magic to your presentations? This blog post will show you how to add GIFs to Google Slides and how to edits GIFs to fit seamlessly into your deck.
Before we start we need to acknowledge that, after much debate, it’s been decided the right way to pronounce GIF is with a soft G – like Jif. I know it’s infuriating! I’ve always said it the other way too…
As we’ve discussed before, Google Slides has limited animation functionality. A GIF can be the ideal solution, adding movement and life to your presentations in the place of complex animations. Just make sure to use GIFs selectively; they need to serve a purpose, helping to inform your audience and grab their attention but not acting as a distraction. Here are some examples when inserting a GIF into Google Slides can look great and engage your audience.
Title slides can look much more polished with some motion.
Charts and Cycles can often be improved by adding purposeful movement, helping the audience understand the order in which things happen.
Screengrabs – Showing your audience a step by step GIF, calling attention to each action, is a super effective way of demonstrating how to do something on their computers or devices.
URL GIFs – We all use internet GIFs to express ourselves when chatting to our friends and colleagues, so why not add one to your deck? Sometimes a powerful GIF can help drive your message home whilst a funny one can offer a much needed laugh. However, please be aware of copyright laws when selecting a GIF – they can be complicated. We’ve written a brief guide to Creative Commons which runs through the different types of licences for Creative Commons images. If you want to learn more about using images from online sources in general, this article is a great place to start.
How to add GIFs to Google Slides
Now that you know how GIFs can enhance a presentation, let’s find out how to insert GIFs into Google Slides. There are two ways to add a GIF to your slide; via URL or from a stored file.
From a stored file: If you have a custom made GIF or a file saved on your computer, inserting a GIF into Google Slides is straight forward.
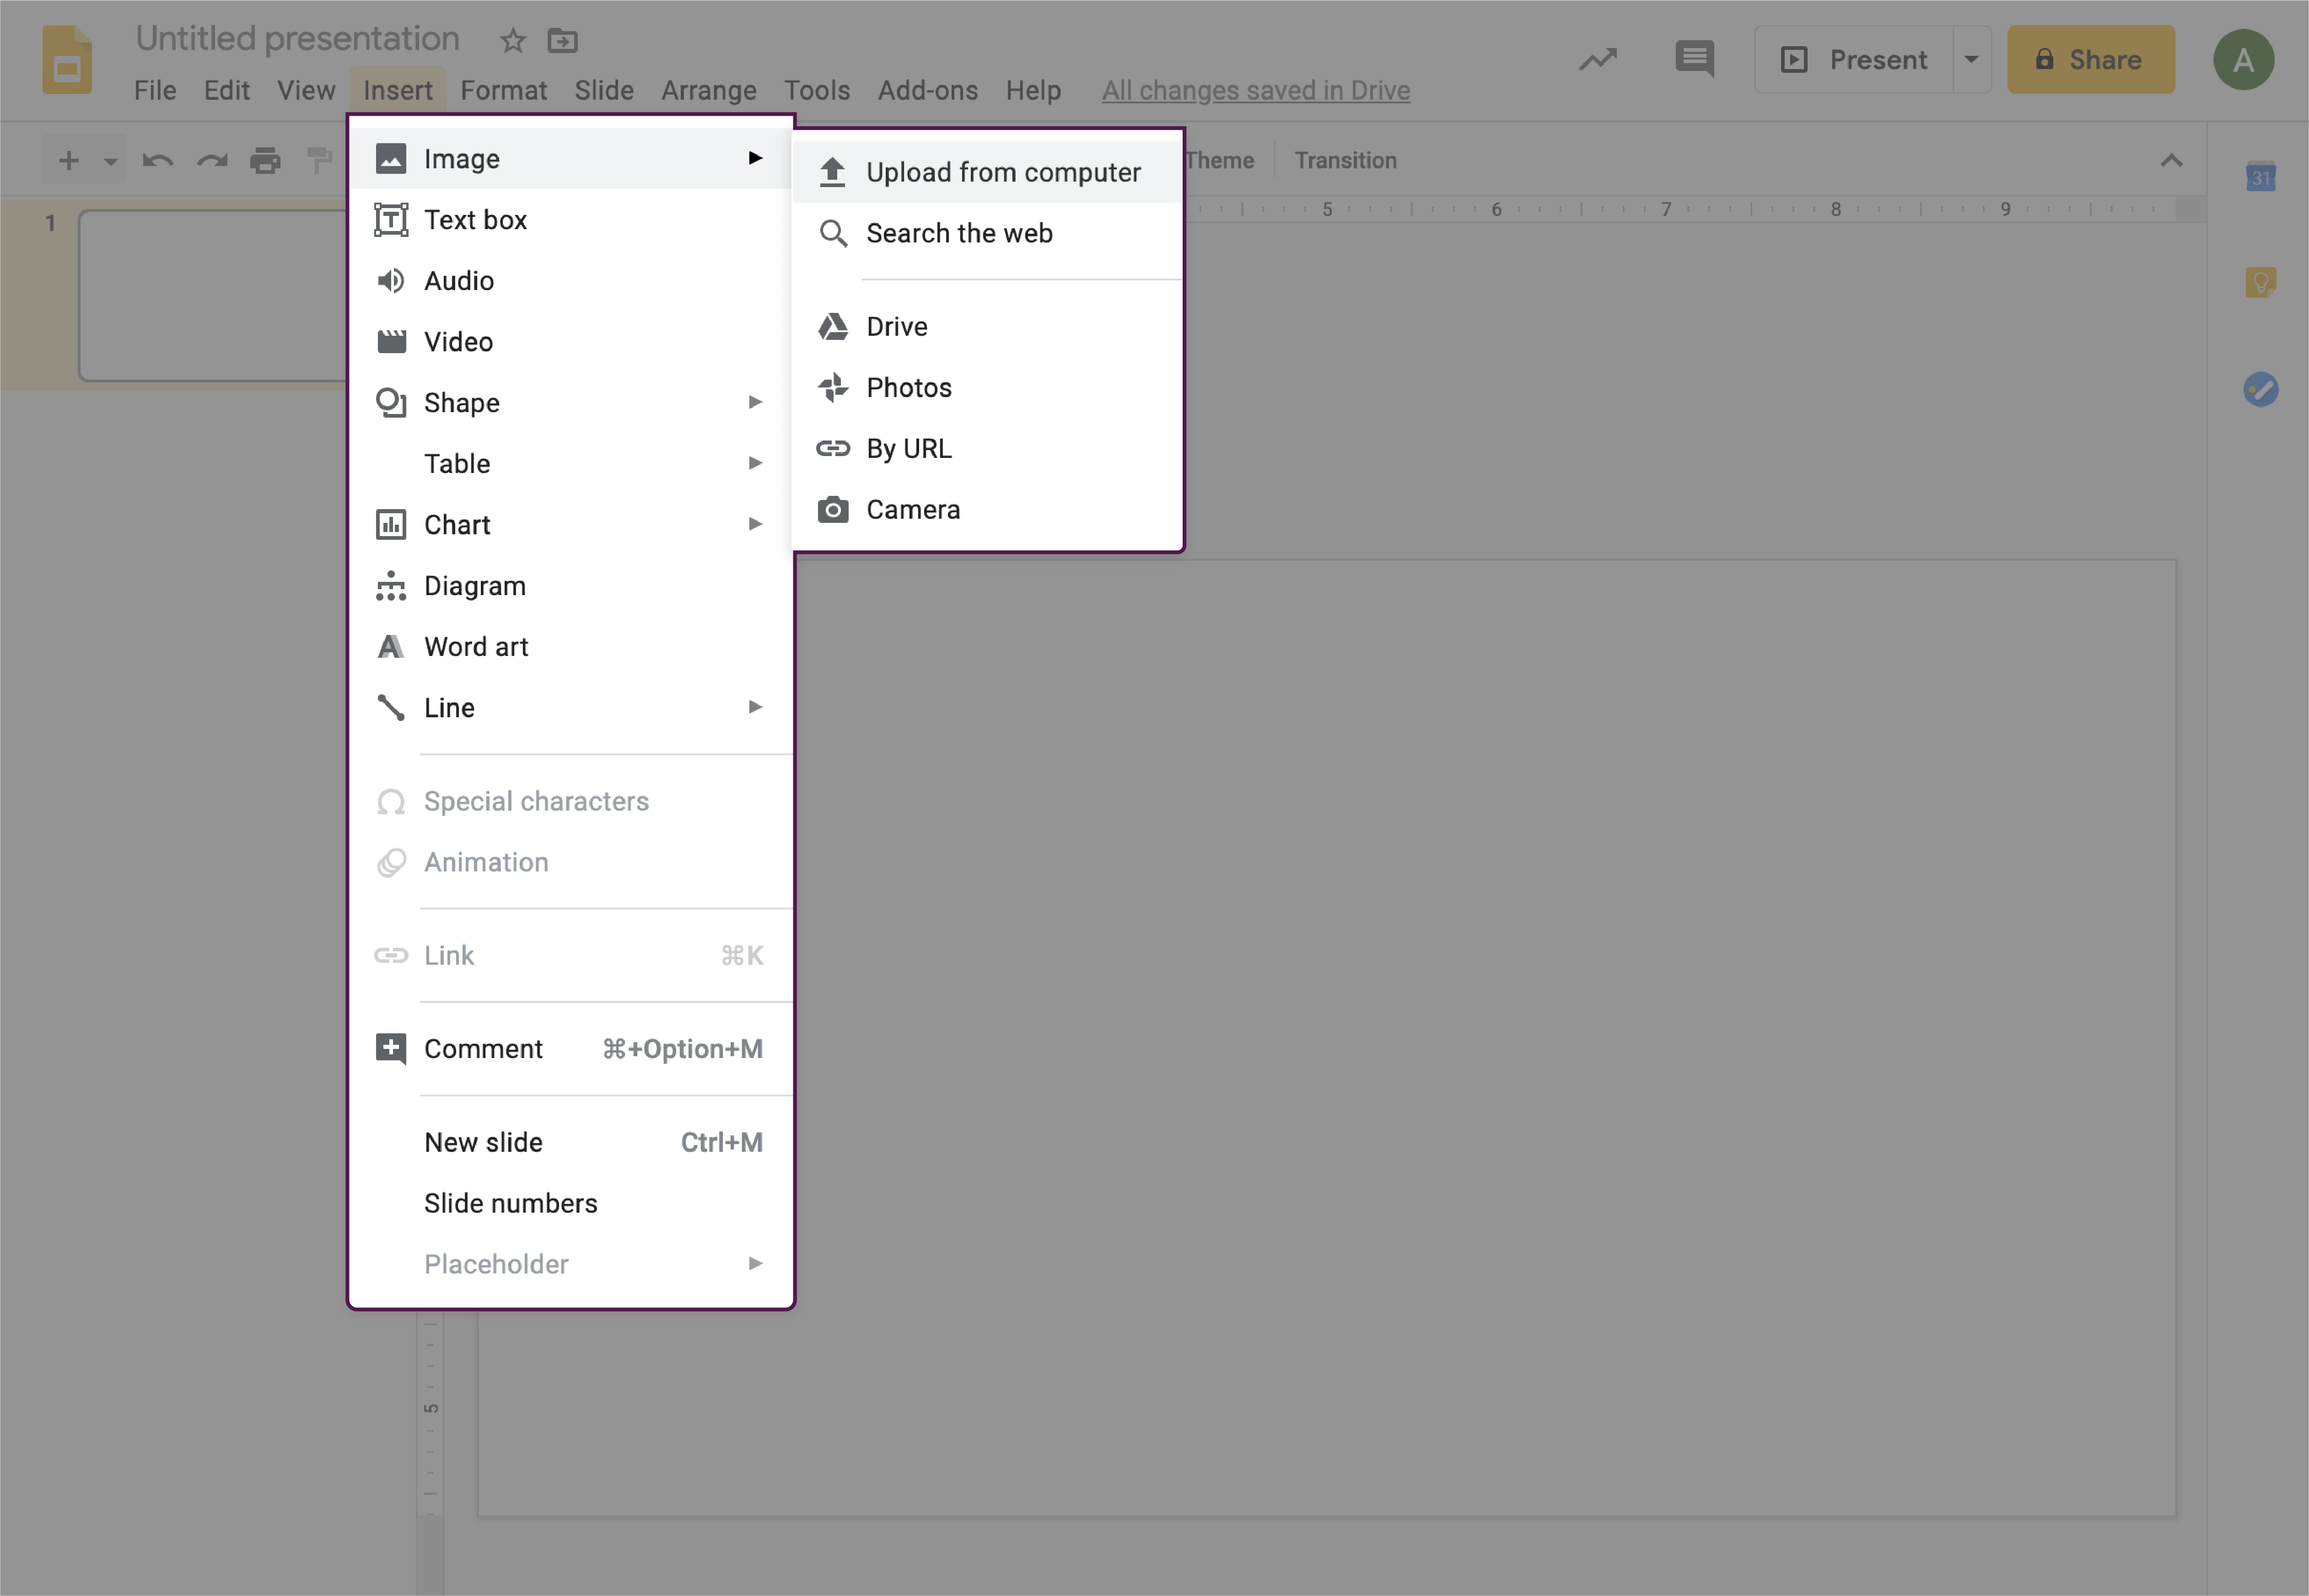
How:The easiest way to insert a saved GIF is to simply drag the file and drop it onto a slide. Navigate to where the image is stored, click it, then drag and drop it onto your slide. Alternatively, click the slide you want the GIF to appear on then, in the toolbar, select Insert, Image, and finally Upload from computer. Search for your stored file. When you click on the file, the GIF will appear on your slide.
Via URL: Adding a GIF from an URL is also pretty simple. First, navigate to your favourite GIF website. On popular GIF websites, like Giphy, you can select Copy link on the right-hand side of your GIF to copy the URL.
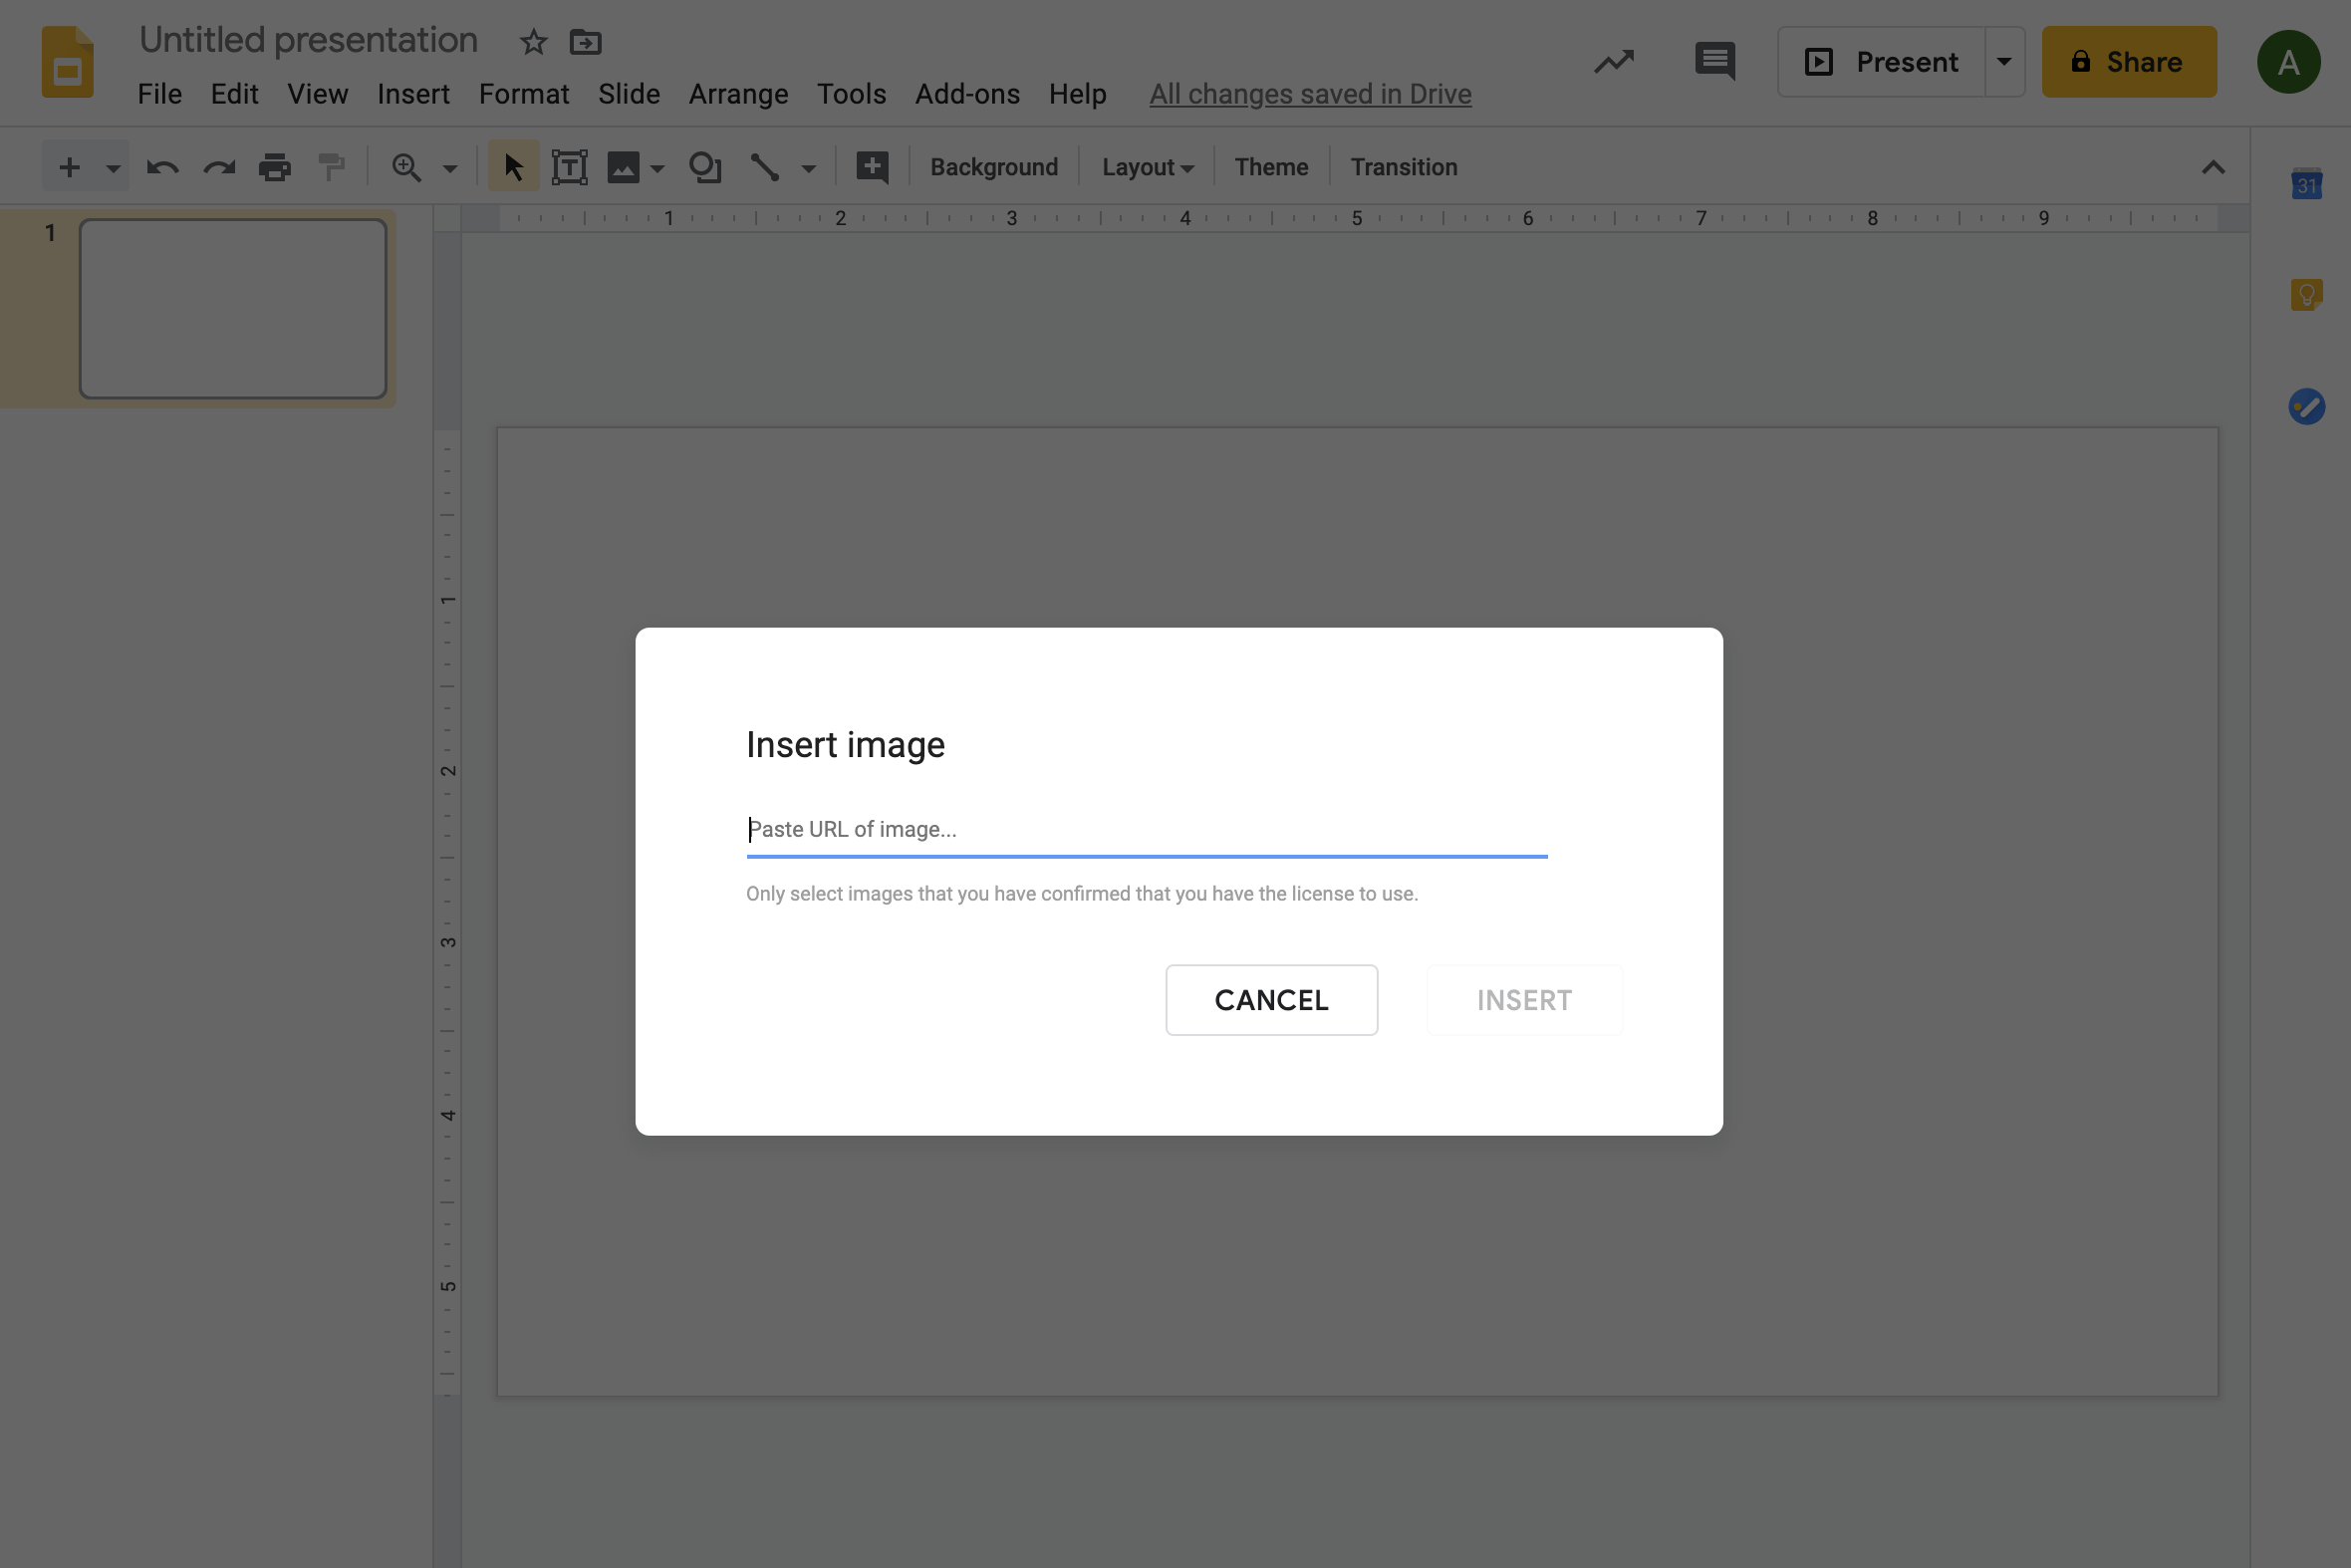
How: Open your presentation or create a new one. Click the slide you want the GIF to appear on. In the toolbar select Insert, then Image, and finally By URL. Paste your copied URL into the box. Once the GIF appears, click Insert.
How to edit a GIF in Google Slides
Now that you know how to add GIFs to Google Slides, you can start to manipulate them just like any other image. Click and drag to move a GIF to a different place on the slide, or grab a corner and pull to resize and reshape. That’s the basics, but you can do lots more!
Crop GIF:
The crop tool allows you to trim the edges of your GIF or remove any unwanted sections. Cropping helps bring focus to the relevant part of the GIF and can also help develop a style or theme in your deck. For instance, you could crop all your GIFs to the same shape to produce a consistent design identity.
How: Double-click on your GIF then drag the black tabs to the desired size. Now, hit Enter to crop the GIF. Make sure you’re dragging the black tabs and not the blue nodes, as the latter will change the size of your GIF. If you accidentally pull the blue nodes, just hit the Undo button (or Ctrl + Z on your keyboard) and try again.
Crop to shape:
If you want to change the shape of your GIF to match the style of your presentation – from a rectangle to a hexagon for example – you can!
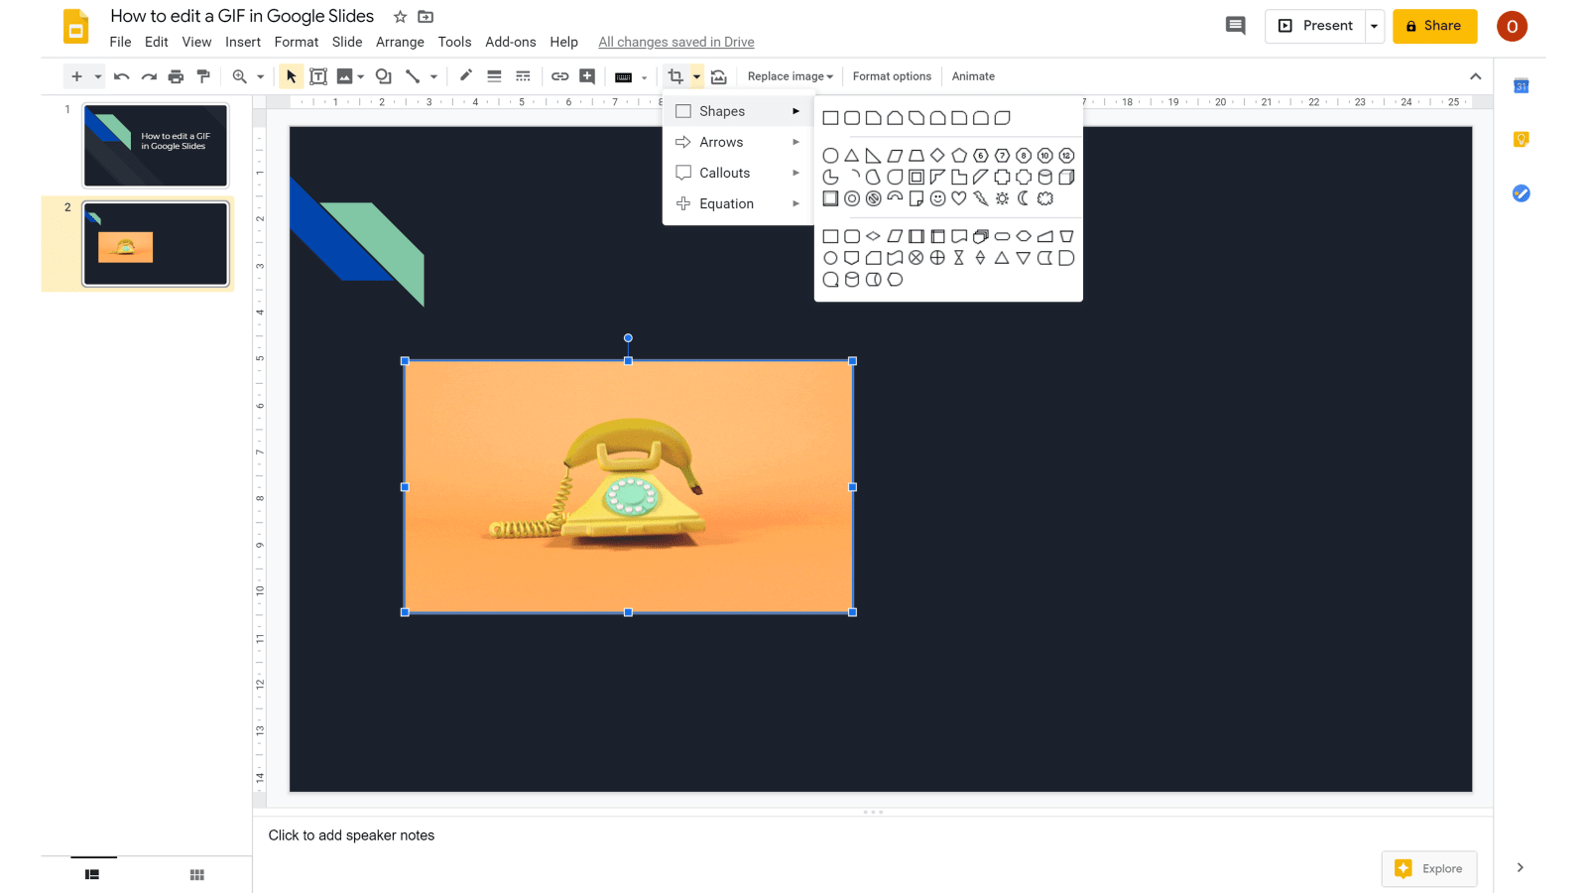
How:To crop your GIF to a particular shape, click on the arrow next to the Crop icon, select Shape then select the shape you want. There are lots of shapes, arrows and callout designs to choose from.
To avoid warped or stretched GIFs when cropping to shape, you need to make sure your GIF has equal proportions. To do this go to Format, scroll down to Format options and click the Size & Position box to make sure the width and height are equal.
Add border:
Adding a simple border around your GIF can help keep it consistent with your design style.
How: Select your GIF then go to the menu bar and click on the Border colour icon to select the colour you want. If you want to make the border thinner or thicker, you can click on the Border weight icon and select the desired weight.
Format Options:
Now that you’ve decided on the shape and size of your GIF, you can rotate and recolour it and adjust its brightness.
How: Click on your GIF, then on Format options in the toolbar.The Format options bar is now open.
Rotate: Under Rotate in the Format options bar, you can choose to rotate your GIF and flip it horizontally or vertically.
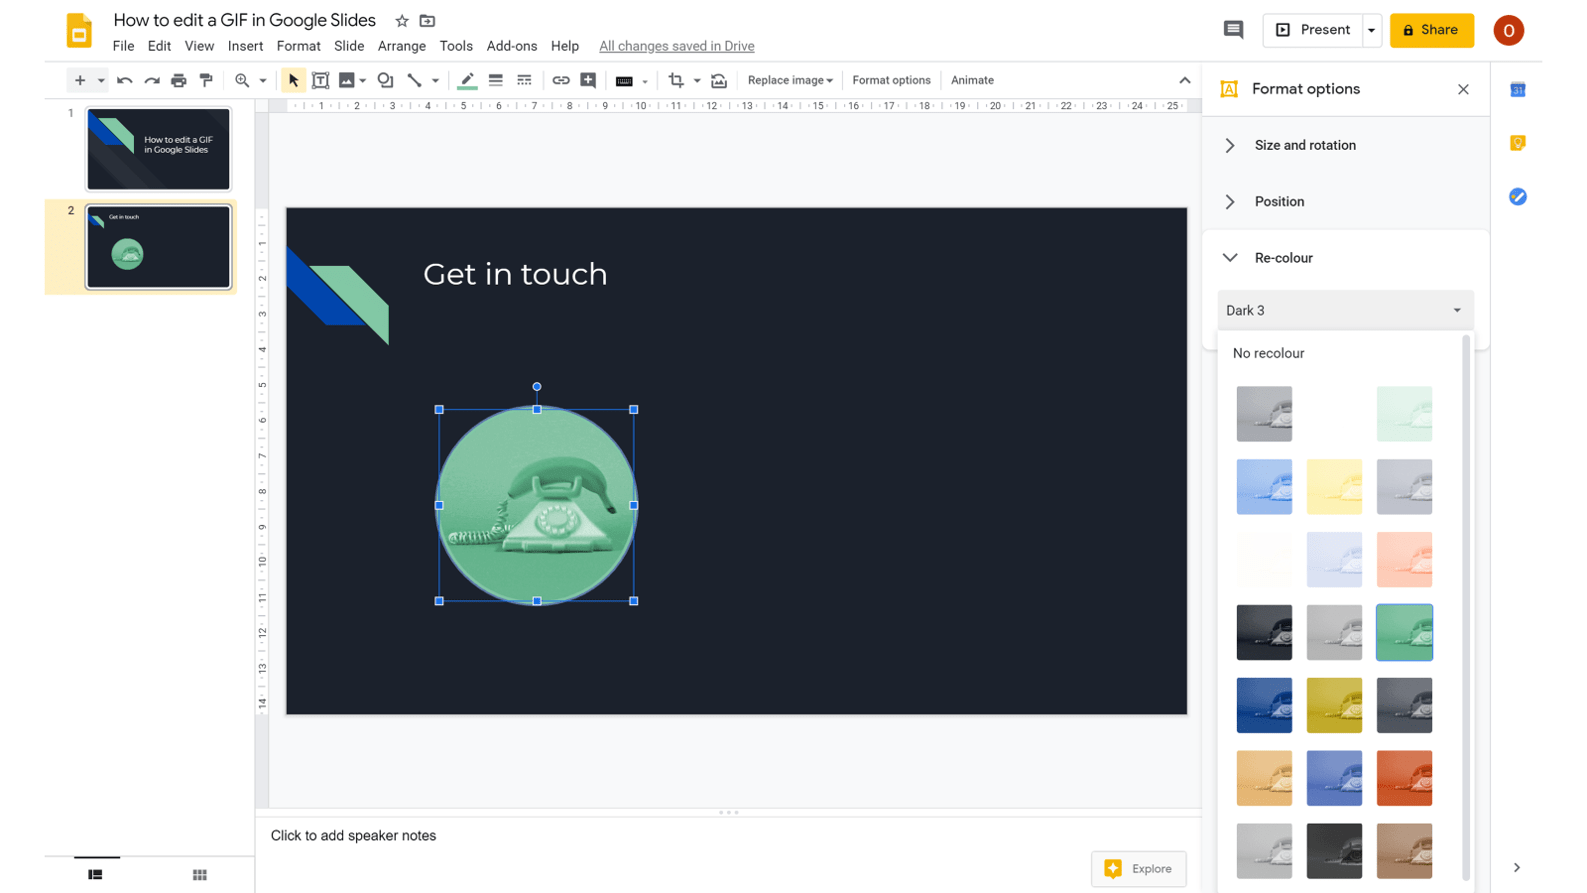
Recolour: Under Re-colour you can scroll down and change the colour of the GIF – to match your presentation colour theme, for example.
Brightness: Finally, under Adjustments you can choose to change the brightness, transparency or contrast of your GIF.
Now that you know how to add GIFs to Google Slides, go forth and bring life to your presentations!
Looking for more info on Google Slides? Check out our ULTIMATE guide. If you’re interested in custom made GIFs, we have a number of experts at BrightCarbon. Get in touch!
If you're using Google Slides regularly then it's worth getting to know how you can integrate it with your other favorite Google Workspace programs - this time, Google Keep!
If your organization is considering using Google Workspace it will impact the way you create presentations. Microsoft PowerPoint will no longer be your default and you’ll need to count on Google Slides. Before you make a change like this, it can be hard to know what to expect. How might your business benefit? What are the potential downsides? How can you make the transition as smooth as possible? Let's find out!
A big and sincere thanks for all of your superb help and effort in preparing such fantastic material and for all your excellent coaching tips. Look forward to working with you again soon.


Thank you so much for your help! #ILoveThese
THIS ACTUALLY WORKS. SO MANY TIMES ONLINE THE INSTRUCTIONS DON’T WORK. THANKS
So delighted to hear this was helpful to you! 🙂
It was very easy to do it, but this webside helped me to find out where I should klick to get the final result!
-LCg