
Sometimes PowerPoint feels a bit finnicky, right? Lots of features and functions, but where is it all hiding? Surely there's a better way. You're right. There is a better way, and by applying three changes to your workflow you can shave hours off your slide creation time - no exaggeration.
Blog
18th Jan 2017
5 lifesaving PowerPoint hacks for graphic designers
What happens if you’re tasked with a project where you can’t rely on your beloved Adobe suite and – shock of all horrors – you have to use PowerPoint? I grant you, PowerPoint may not be the obvious choice for a piece of design software. However, it is possible to create beautiful things with it. This is much easier of course if you know some tricks of the trade – as luck would have it I have complied a list to get you started:
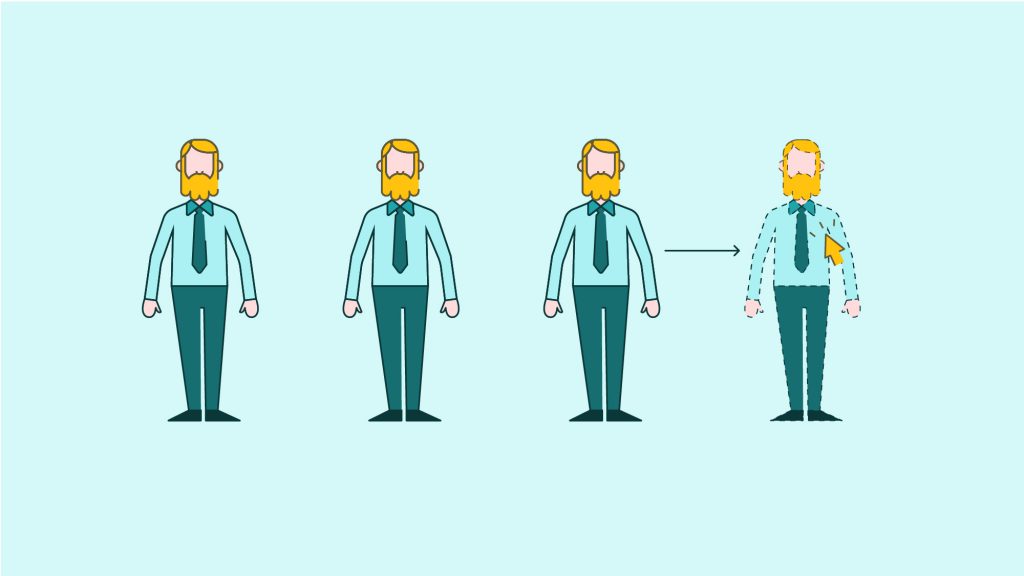
Ctrl/Shift/Drag
This is my most commonly used shortcut. It’s great for constructing quick layouts for almost any slide. Just drag an object with Ctrl+Shift and you will create a carbon copy of it (animations and all). You can then use the alignment tools to keep everything neat and TA-DA! Hours saved.
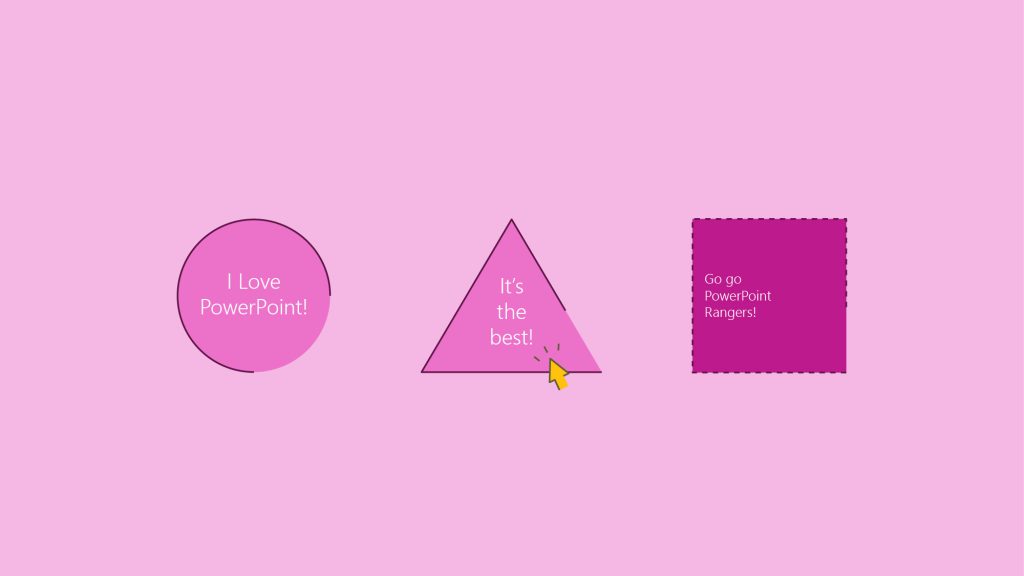
Ctrl/Shift/V Ctrl/Shift/C
This is the ultimate hack for consistency across a presentation. Highlight a piece of text or an object and Ctrl+Shift+C to copy the style but not the content. Then select the object/text you need to alter and paste the style with Ctrl+Shift+V. When you have a deck of slides that need to have consistent fonts, colours and graphic style this is a quick way to make sure that everything is as it should be without having to write anything out again or play around with altering each element individually. See this in action in a cool Tweet we made.
Fade
Everyone has worked on projects with an impossibly quick turnaround. Even in the face of fast approaching deadlines, it’s still possible to make a few small changes to your content that will really lift the visuals and make them far more engaging.
Changing each transition to a fade helps the presentation run much more smoothly. It takes literally seconds to do and yet makes every slide appear more considered.
The same goes for elements within the slides. Even if you just have each part of the slide fade in, one by one it helps to carry the narrative you are telling and looks so much better.

‘Smooth end’ on ‘Fly in’ animation
This is a very easy way to get your presentations from clunky to slick in an instant. Once you have animated your object to fly in, right click on the effect in the animation pain and select ‘Effect options’ from the menu. You should see a panel with blue sliders. Slide ‘Smooth end’ onto full capacity and job done. Zero to hero in less than 5 seconds.
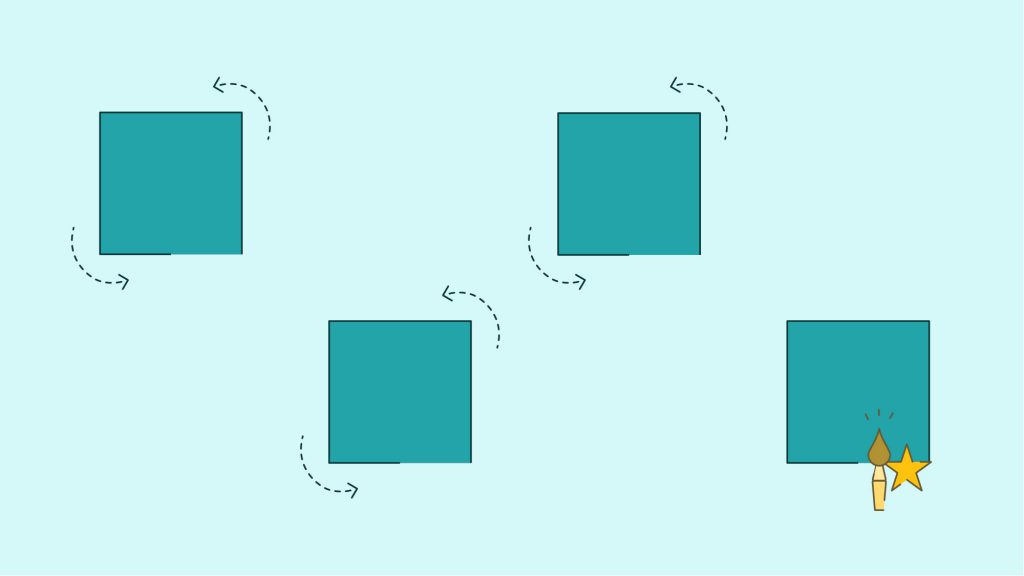
Animation brush
Once you have created an animation you are happy with use this tool to paste the animation onto any other object. Select the object you want to copy from, then click the animation brush. Your cursor will change to the brush symbol, then ‘paint’ (click) the object that you want to paste onto. If you want to paint onto multiple objects, then just double click the brush in your toolbar. Once you are done double click again to turn it off. This is a shortcut to multiple objects animating in exactly the same way without having to mess around with tweaking the individual elements of each one.
So go forth and be productive in PowerPoint! And if you’re keen for more, then why not read up on our list of PowerPoint keyboard shortcuts #geekout.
*Bonus Hack*
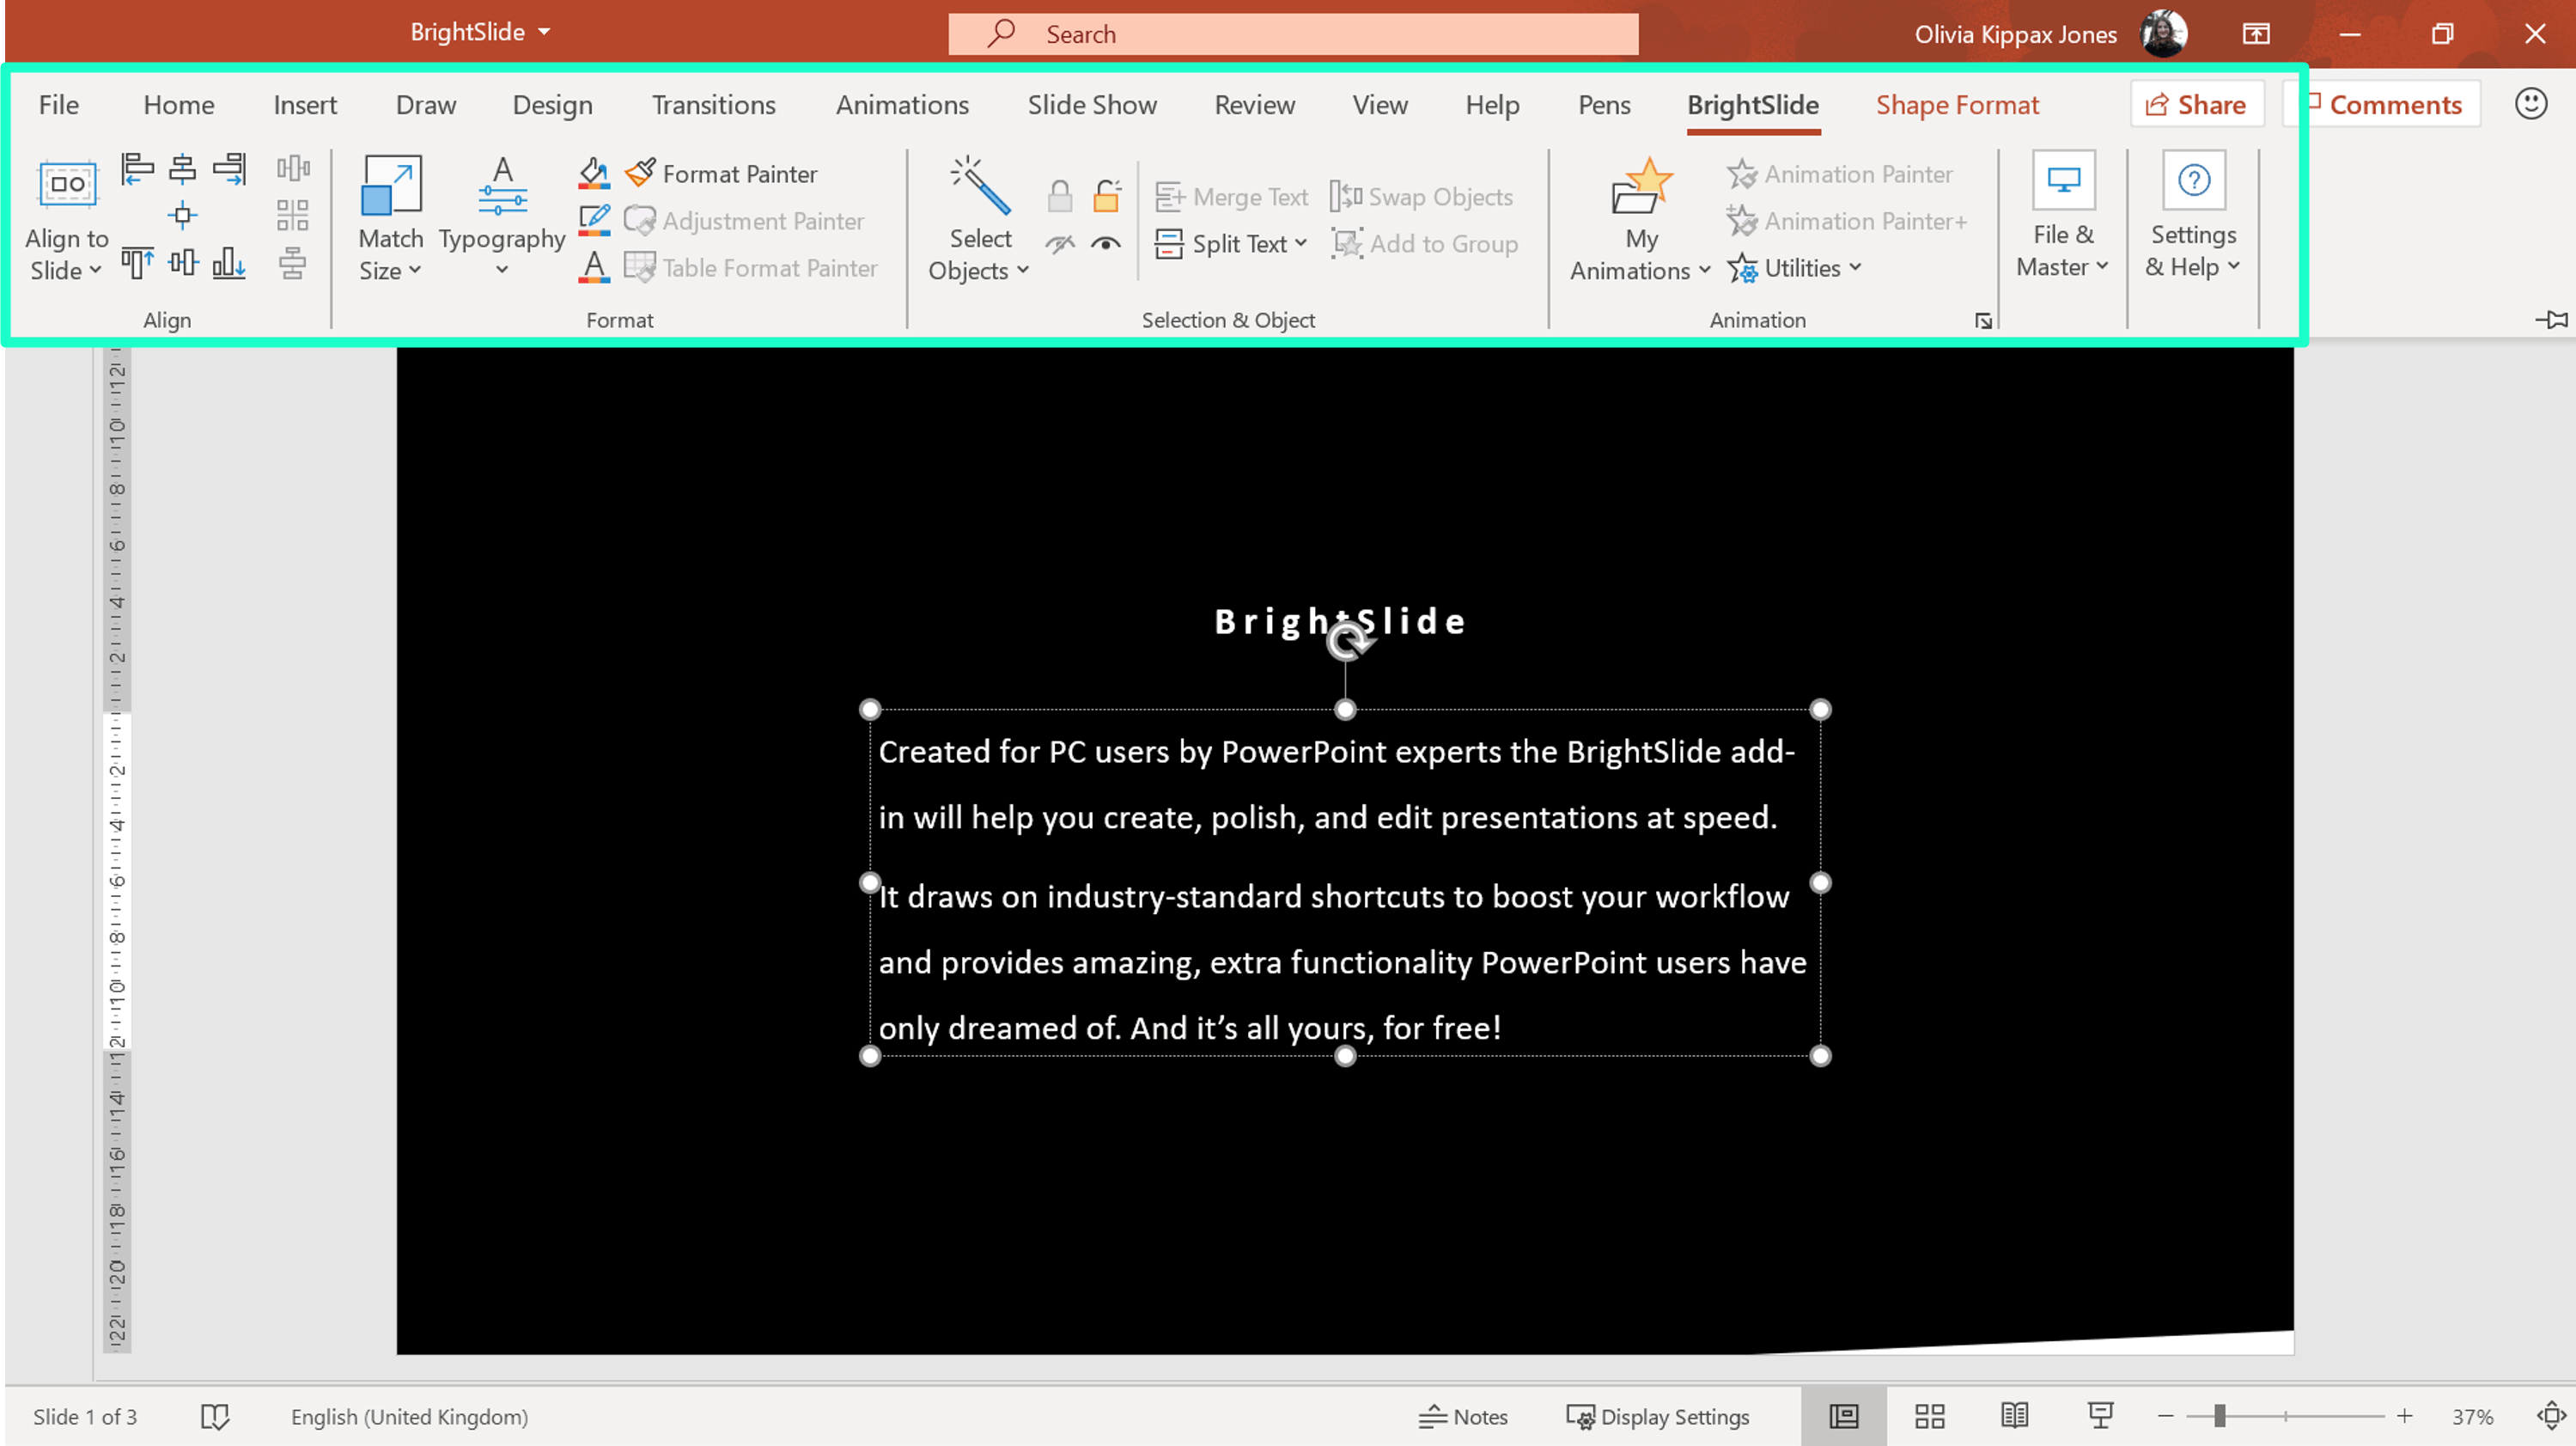
The ultimate PowerPoint hack for designers is our very own PowerPoint add-in BrightSlide. It has 18 new shortcuts designed to make the transition between PowerPoint and Adobe CC programs super smooth as well as numerous other incredible tools like live character and line spacing, advanced grid creation, extra animation options, advanced alignment tools and much more!
Related articles

05th Feb 2026
PowerPoint template tips for design agencies
A PowerPoint template is the only brand element you put in the hands of the whole organisation – regardless of computer literacy, or design skill: it has to be robust enough so that it can’t be broken, but strong enough to carry your brand voice into every meeting, or leave-behind, or proposal it gets used for. Read on for a list of the essential elements every PowerPoint template needs to have.

- PowerPoint design
- Comments: 1
Designing content to be accessible doesn't have to mean you compromise on vibrant design, or your brand guidelines. In this article you'll learn more about colour contrast and how you can preserve colour vibrancy without having to sidestep WCAG accessibility guidelines.

Join the BrightCarbon mailing list for monthly invites and resources
Tell me more!It provides us with powerful presentation material to use again and again. This helps us get our message across and enhances our professional image.
Joe Critchley Trade Extensions